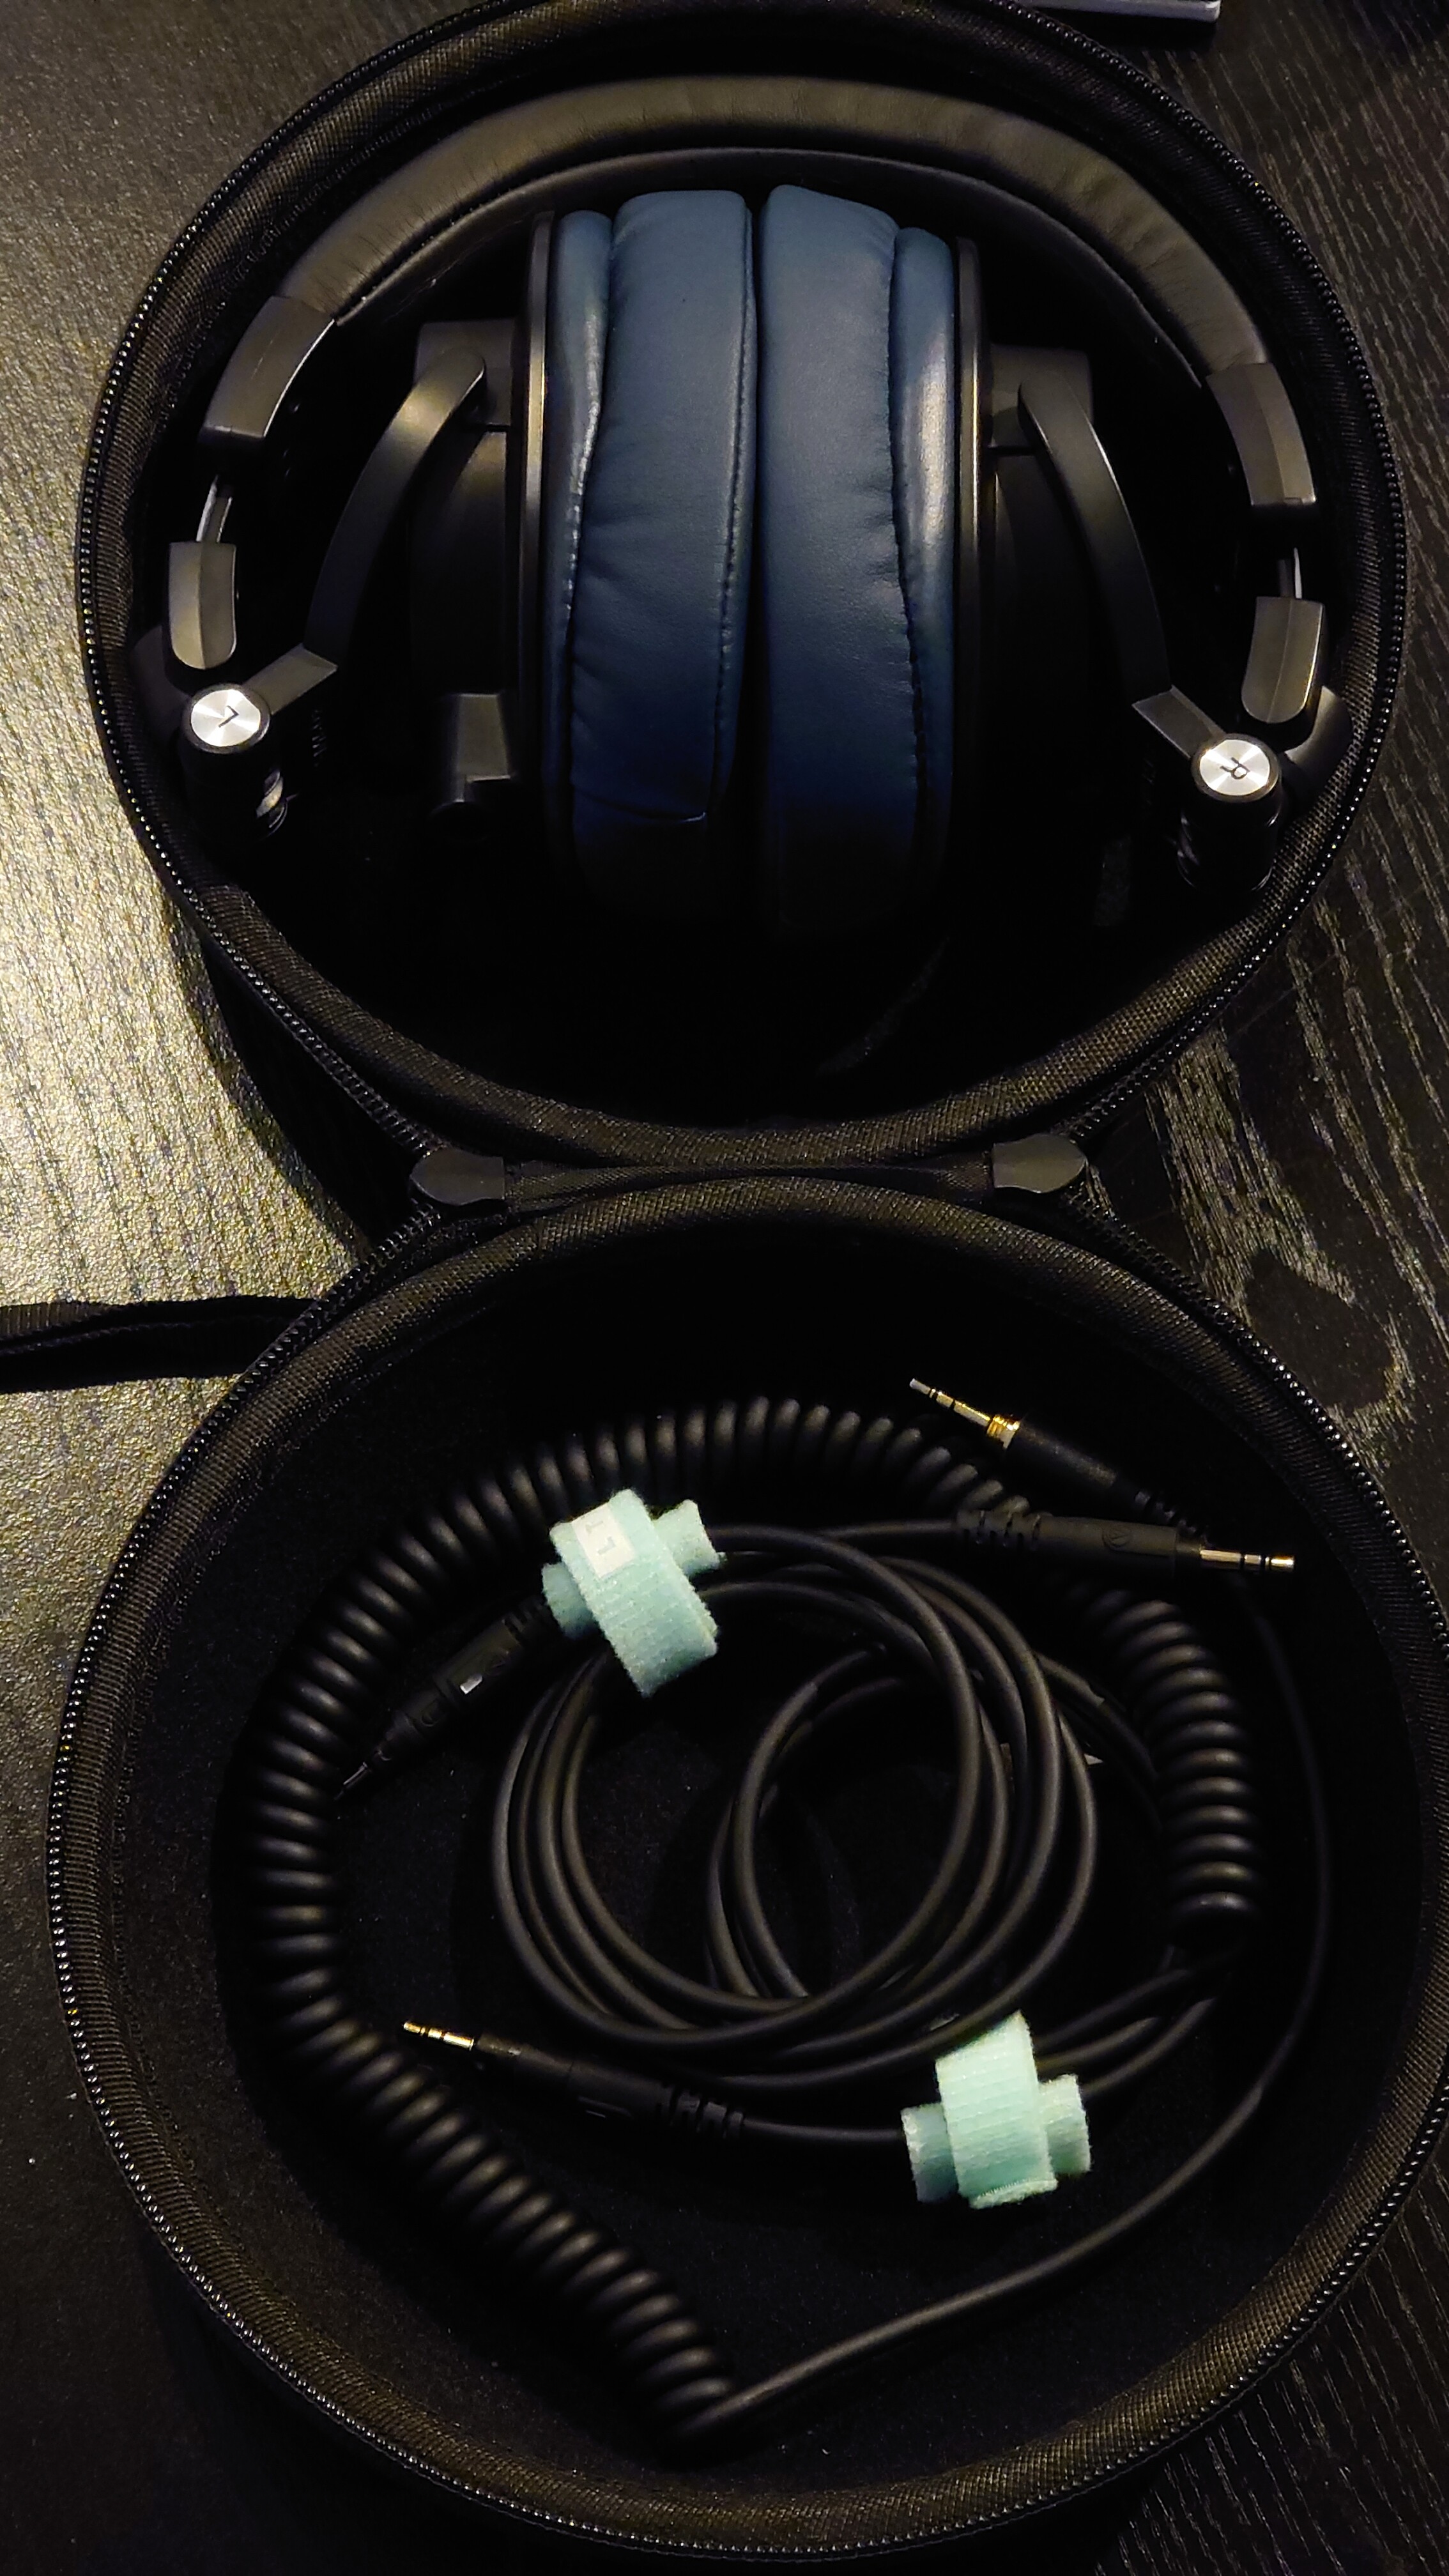
One of my buddies let me try his HD 800S with a DAC/Amp and hifi audio streaming. The DAC/Amp with the higher quality tracks really helped seperate the instruments, which sounded more clear on both my ATH-M50X and his HD 800S.
notable examples that showed the difference
I think the band where I noticed this was Cage The Elephant. The base guitar was more distinct than usual. Normally when I listen to it from my headphones on my phone/computer as well as my klipsch speakers the base tracks are all muddled together. Other notably base heavy tracks such as Red Bone, Clint Eastwood, and Feel Good Inc, on my buddy’s setup had better seperation as well
headphone comparison
Between the HD 800S and ATH-M50X, the balance felt pretty comprable, but the open back headphones really helped with the sound stage as I expected. My pedestrian ears couldn’t really notice significant difference. Between the two, I prefer the HD 800S’s because it’s far more comfortable to wear with glasses (even with the new pads on my M50X).
Now will I make the upgrade? Not likely since it isn’t part of my daily workflow. When I listen to music, it’s usually during the workday which is usually on speakers, on the bus, or while gaming (on my hd 588). I appreciate the quality, but it’d probably be lower on the next tech upgrade. My priority right is getting a NAS, pihole, and living room setup before I splurge on audiophile gear.
While using my modular keyboard, the T key would sometimes ghost or double input. This was quite annoying and really messed my typing
My friend and I thought it was the switch, so I bought some new mx brown switches and a switch puller.
Unfortunately, when I removed the switch and swapped it with a new one, the T key did not work at all. I thought the pcb was broken, but my friend stated if it was a pcb issue, the entire row would not work. My friend suspected it might have been a issue with the modular switch interface and suggested I should take the keyboard apart and inspect the pcb.
Alas I took the keyboard apart and found a gap between the pcb and the board
After taking it apart, my friend suggested shorting the two switch connectors while plugged in. When I shorted the pins, the t key had a 1:1 input. After inspecting the board, I noticed lot of play on the part pointed by my pry tool from the previous image. My fried said if I wanted to fix it properly, I would need to reflow the solder. Unfortunately, I did not have a soldering iron with flux, so I couldn’t fix it this evening. However, I wanted my T key to work as I use the keyboard for work, so I decided to experiment with the board.
Since there was a lot of play with the bridge, so I hypotheized that the bridge was not making enough contact to the swtich pins. I tested this hypothesis by applying pressure to the bridge and see if I could get input. The test was successful and I then started thinking of ways to stabilize the bridge.
My first thought was to tape the switch to the pcb with scotch tape, but when I tested it out, it wasn’t reliable, so I had to go back to the drawing board. While inspecting the board, I noticed there were holes cut out of the pcb for support brackets. When I checked the pcb housing I found that the holes aligned and realized I could instead build my own support to the housing of the pcb
Since I didn’t have any foam or plastic that would fit in low profile area of the pcb, I decided to use painter’s tape and rolled it up until would fit and apply enough pressure to the T pin bridge. Once I got the tape to a working height, I ran into another issue – there wasn’t a good way of aligning the tape support with bridge. To solve this, I raised the fastening tape to the height of the pcb with my rolled up support tape. I then used a pen to mark a black dot on the fastening tape through the empty switch hole to get the position of the T key switch.
Once I got the alginment, It was a matter of making sure the area around the support tape is supported and secure. Afterwards I put it back together. I had some troble popping off the keyboard body, so I taped around a corner to make the inevitable soldering/reflow easier to take apart the keyboard.
Overall, I’m surprised by my ingenuity and how quickly came up with this janky solution.
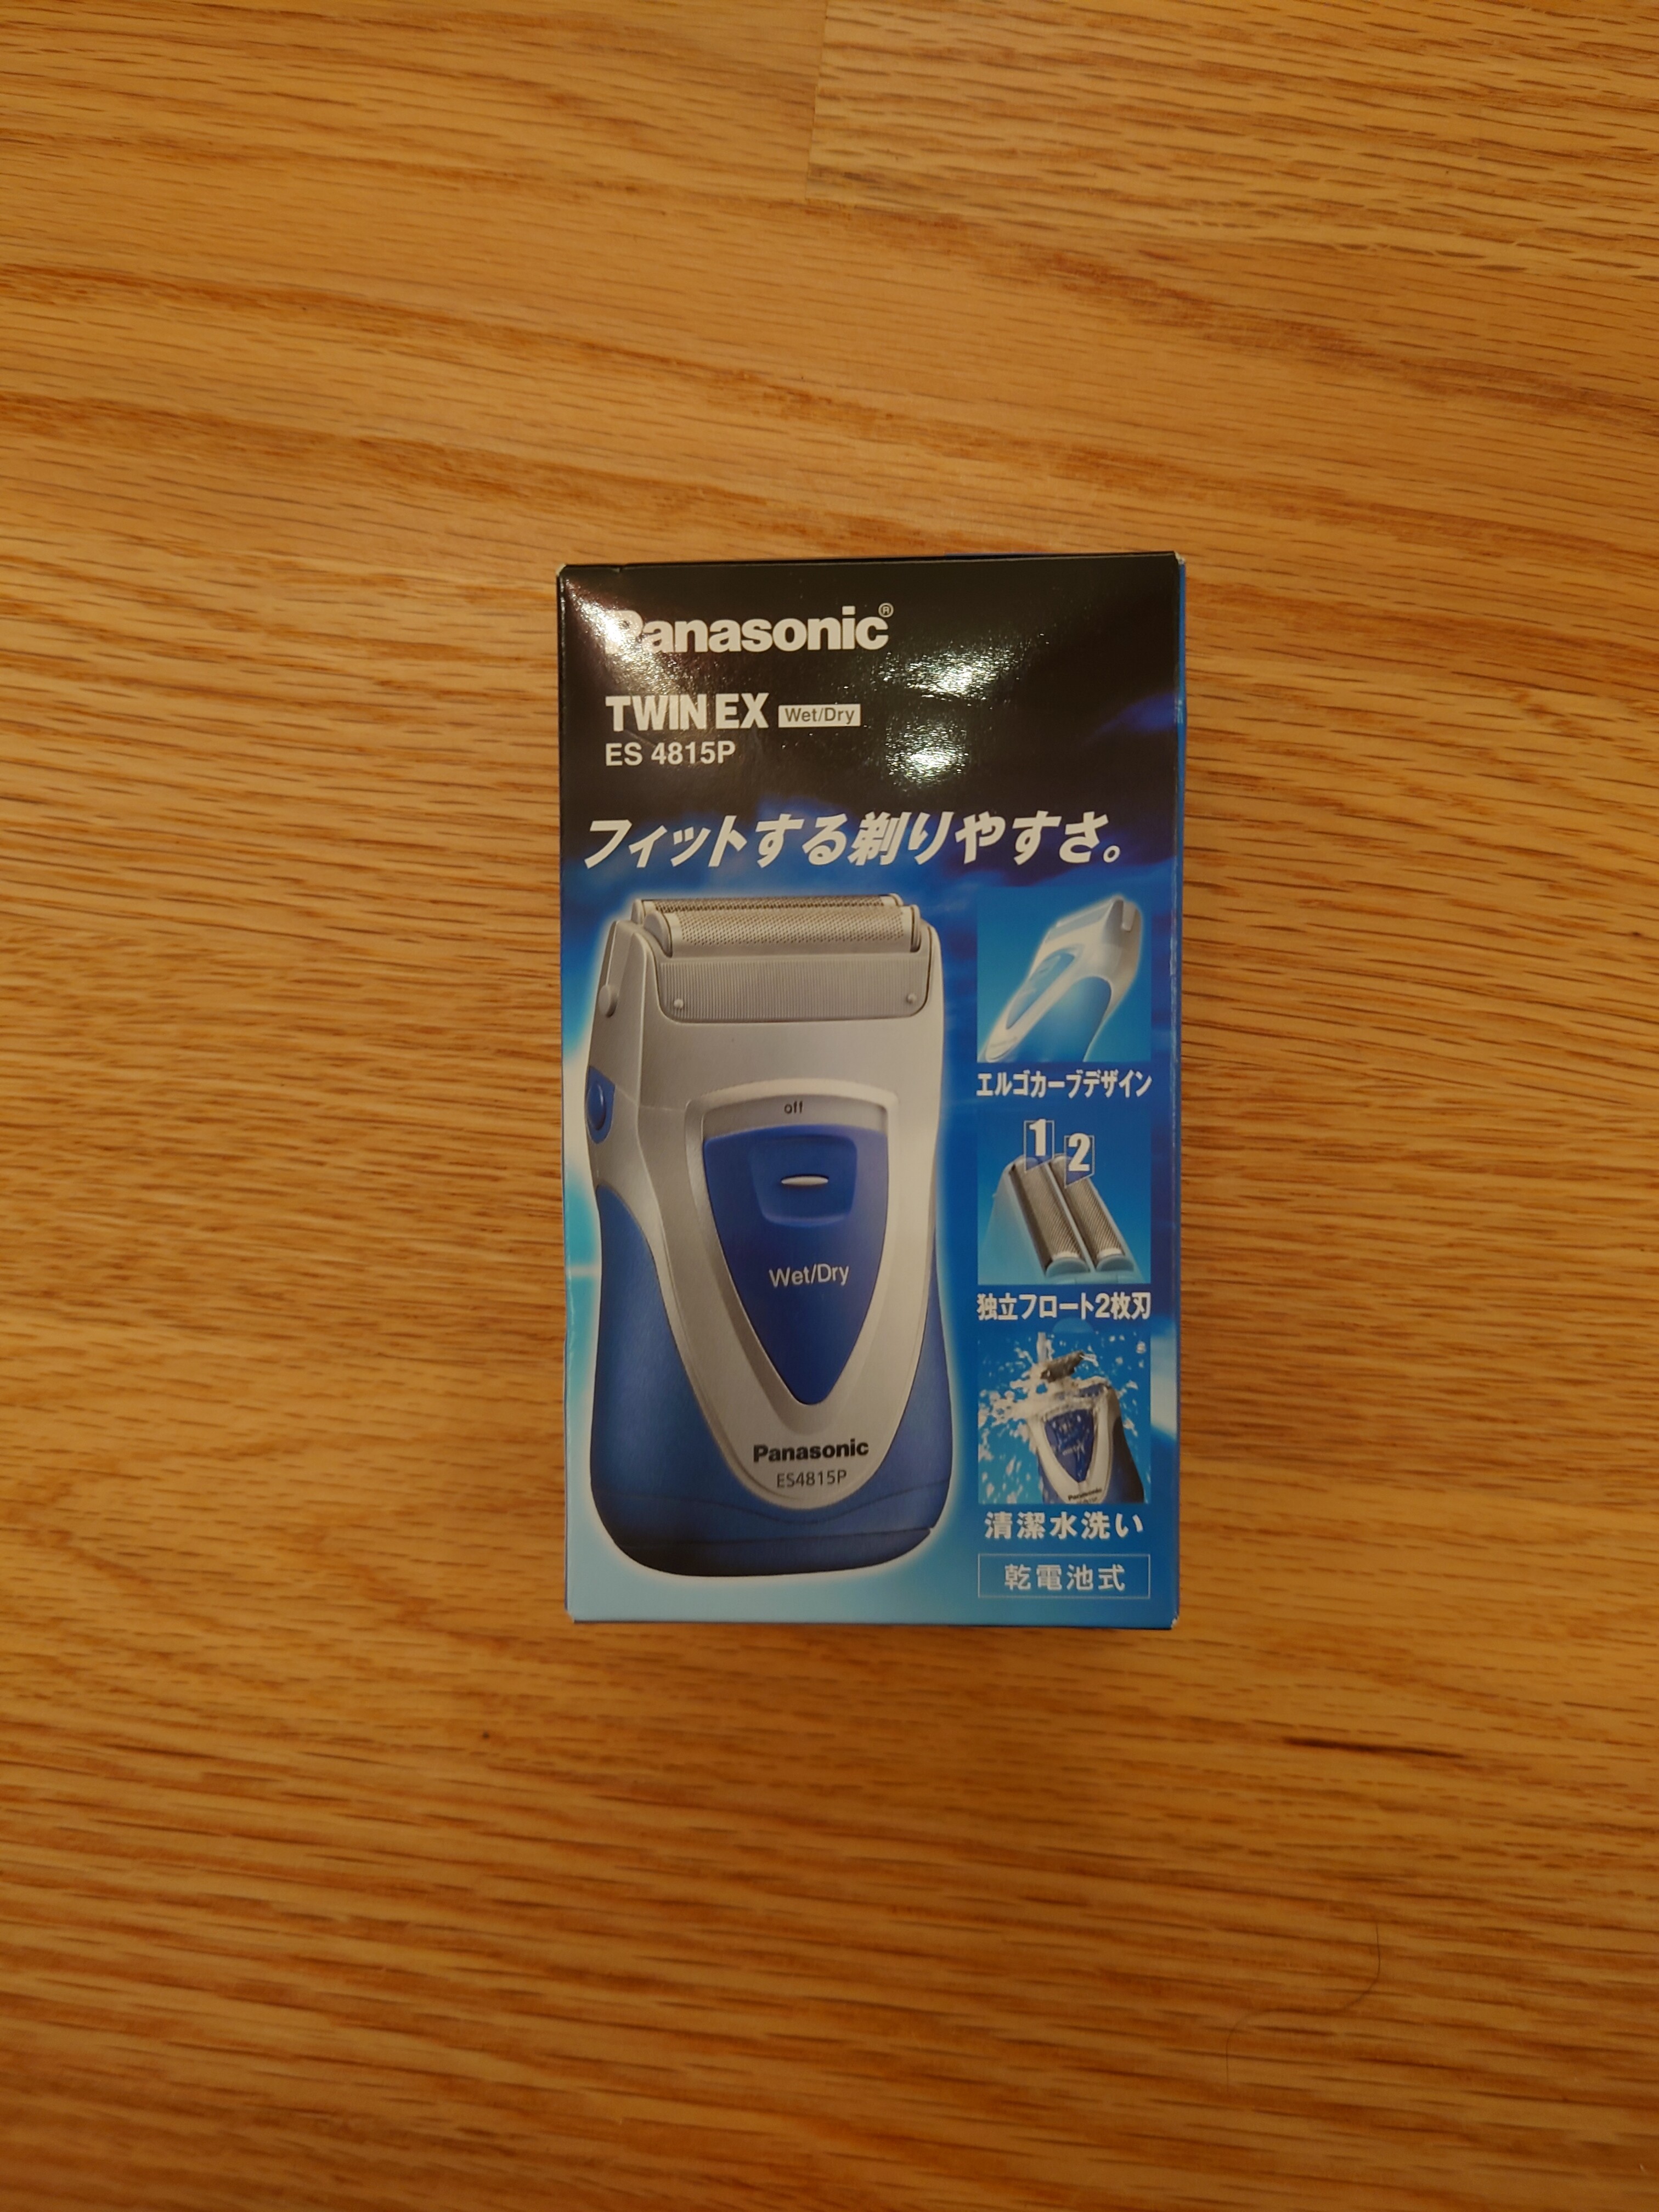
But the reviews on amazon were pretty negative, so I went to search on youtube. Furthermore, I also remembered Philips being pretty anti right to repair and I wanted to avoid e-waste in 2 years, so I decided to look for battery operated ones.
While on youtube, I came across this video comparing rotary vs foil shavers
In the video, the foil appeared to perform better and was recommended, so I decided to search for aa battery foil shavers. I came across this video and it helped me finalize my decision
The panasonic had everything I was looking for
foil blades
replaceable blades
replaceable batteries
Eventually I’ll get rechargeable ones once I finish off the last 2 that came from my HP reverb controllers