Hi all, this is my second post, so I apology for the formatting.
Quick Background
I have a arch Linux host with 2 VM’s with GPU-Passthrough for me and my wife. Was a hardcore Apex
player and got more the 144FPS so I was happy, after around the season 3 patch I was unable to play
it anymore and it will lock up with 100% CPU, requiring me to hard reset. Unable to resolve I quit the
game, now at season 7 I wanted to play again with this problem still happening with VM’s and
normal PC’s and no help out their, I finally figured it out and FIXED IT!
How to Fix
Note: I don’t know every CPU out their so you may have to modify the settings to work for you.
The problem happens mostly when you have more the 4 cores and you need to set that Apex only
uses only 4 cores.
In my case i have 6 cores and 2 threats per core, give me 12 processors.
So for me to set 4 cores it will be: 4*2 = 8 processors
As Apex runs through Origin, you need to set Origin to run only use 4 cores and that will make Apex
run on 4 cores.
Step 1:
Open Task Manager and find Origin
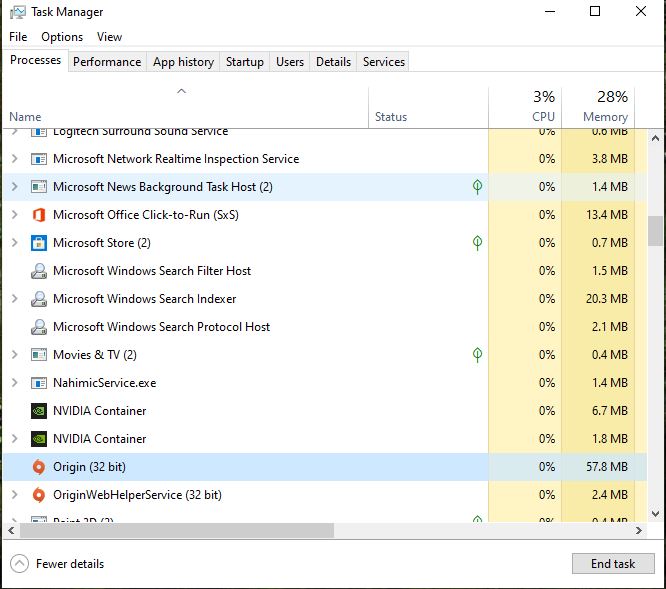
Step 2:
Right click and click on “Go to details”

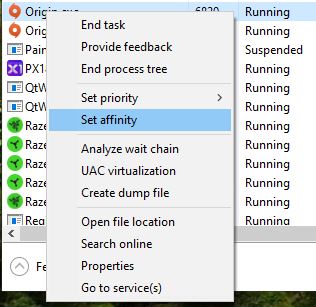
Step 3:
Right click on “Origin.exe” and click on “Set Affinity”
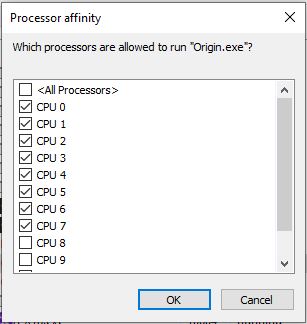
Step 4:
Select the amount of processors, in my case 8 (4 Cores * 2 Threads = 8)
The picture shows CPU 7, but the count start at CPU 0…so 8 
If you have only 4 cores, then I recommend setting it to only use 3 cores instead.
Step 5:
Launch Apex through Origin and you should be good to go.
You will have to do this each time you start Origin before playing Apex.
Making Affinity Permanent
Sorry but you can’t, cuz Windows, but their is work around.
We will create a shortcut that will launch Origin with our Affinity settings. If your CPU setup is the
same as mine then you can just copy and past my command.
Step 1:
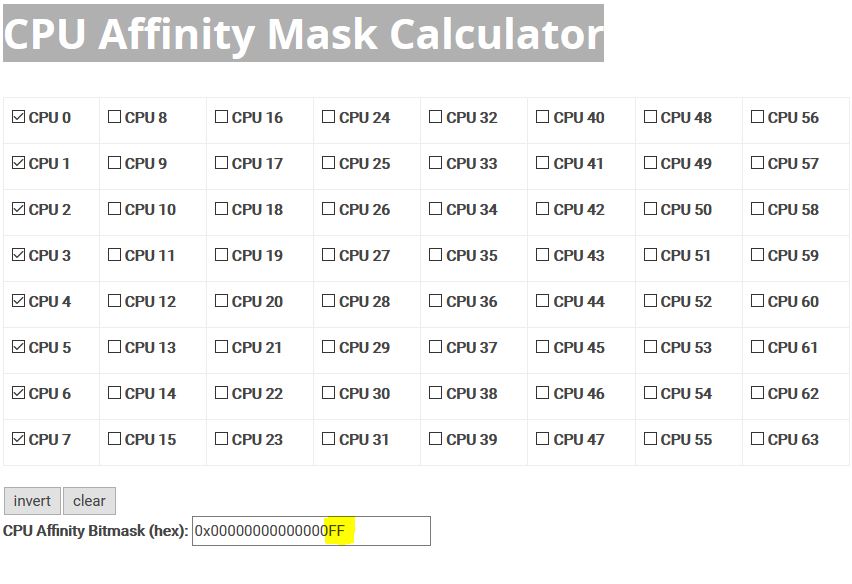
Open this link to work out your hex code you will need for the amount of processors that worked for your
game and make a note of the hex code.
CPU Affinity Mask Calculator
Make note of the letter/number after all the 0’s
my case it is “FF”
Step 2:
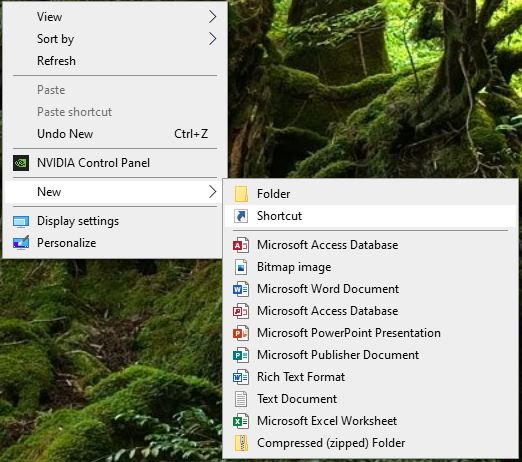
Right Click on Desktop go to "New and click on “Shortcut”
Step 3:
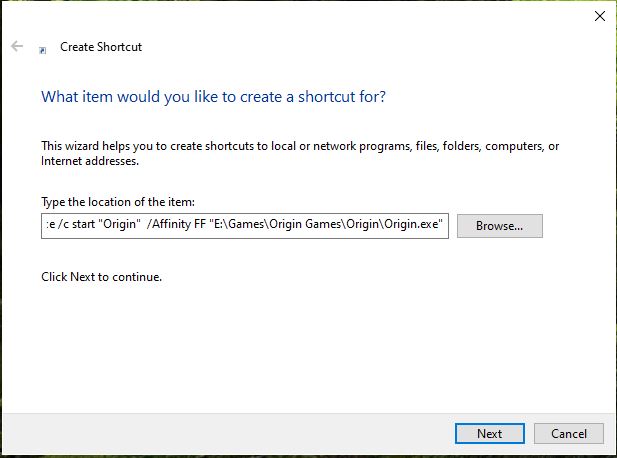
Copy and past the following command and edit it according to your setup.
Make sure to change the Windows drive letter to your Windows drive letter, usually it is C:
C:\Windows\System32\cmd.exe /c start “Origin” /Affinity --hex-- “–Path to your Origin–\Origin.exe”
Example:
C:\Windows\System32\cmd.exe /c start “Origin” /Affinity FF “E:\Games\Origin Games\Origin\Origin.exe”
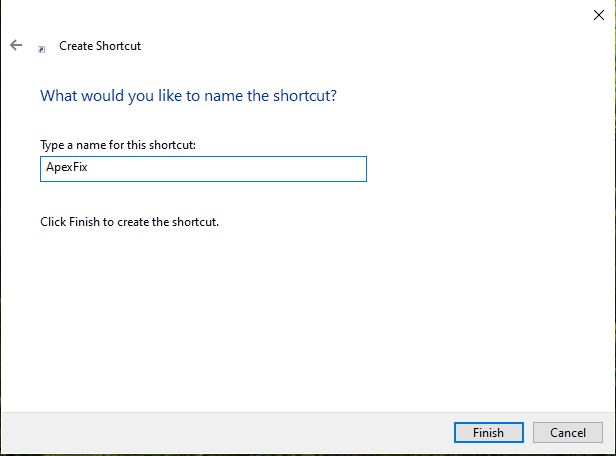
Click next and then give your shortcut a name
NOTE: MAKE SURE YOUR ORIGIN IS CLOSE/NOT RUNNING BEFORE STARTING IT WITH YOUR NEW ICON
Optional:
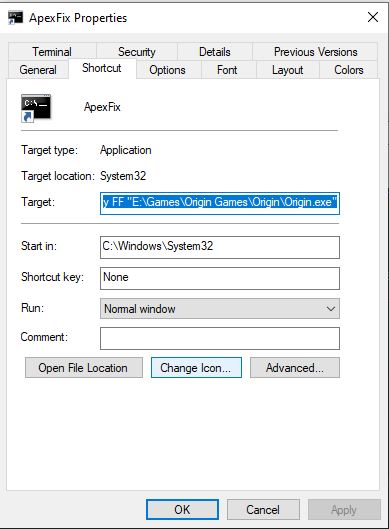
Right click on the icon and click properties
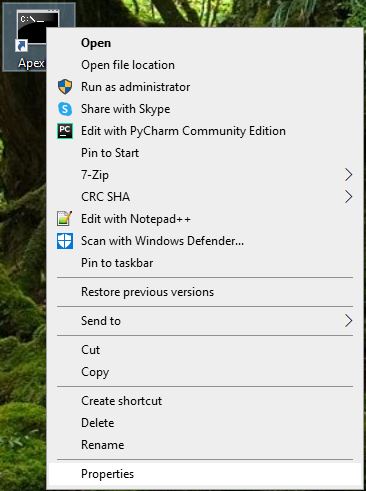
Click “Change Icon”
Click “Browse”
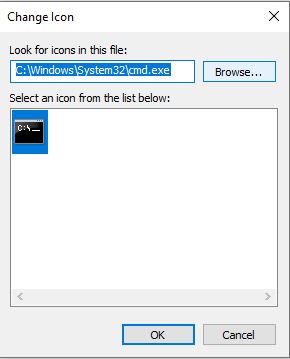
Select Icon you wish to use
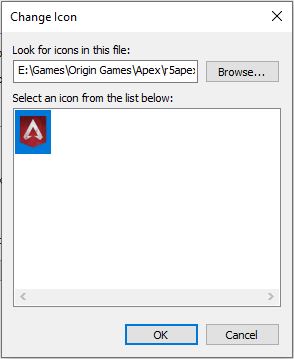
Click “OK” and “OK” again
Hope this helps everyone.