So It’s been a little while, but I posted a picture of an Epyc 7402p Processor in the What you acquired recently thread https://forum.level1techs.com/t/post-what-new-thing-you-acquired-recently/149881/6240 and said that a Proxmox build was incoming. Well, I finally have most of the pieces so I began the build yesterday.
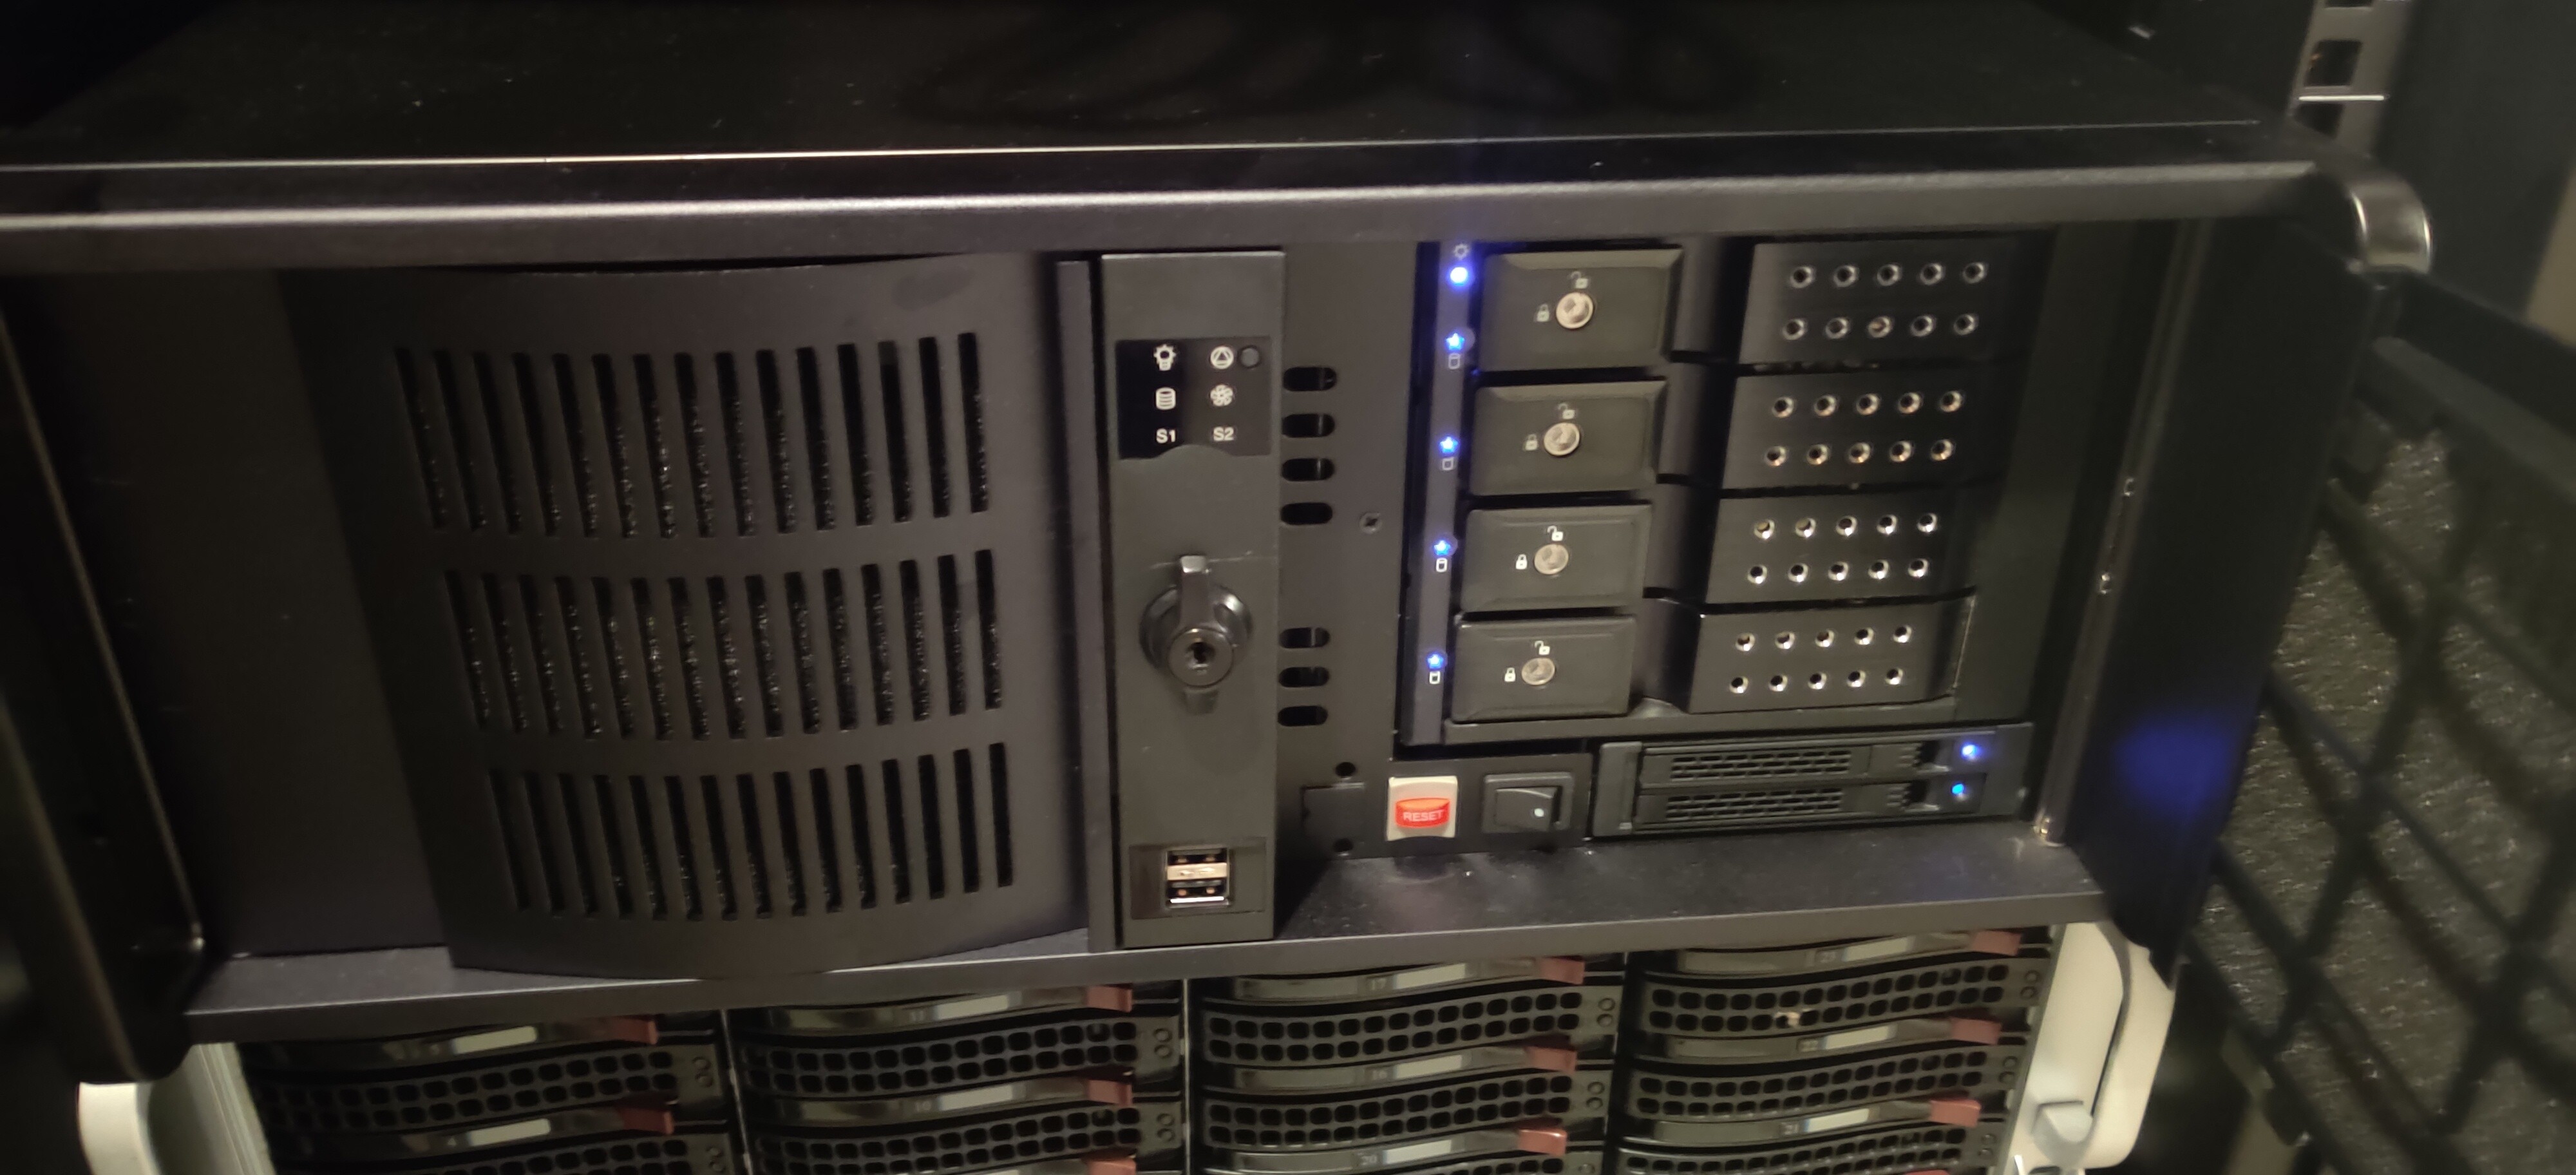
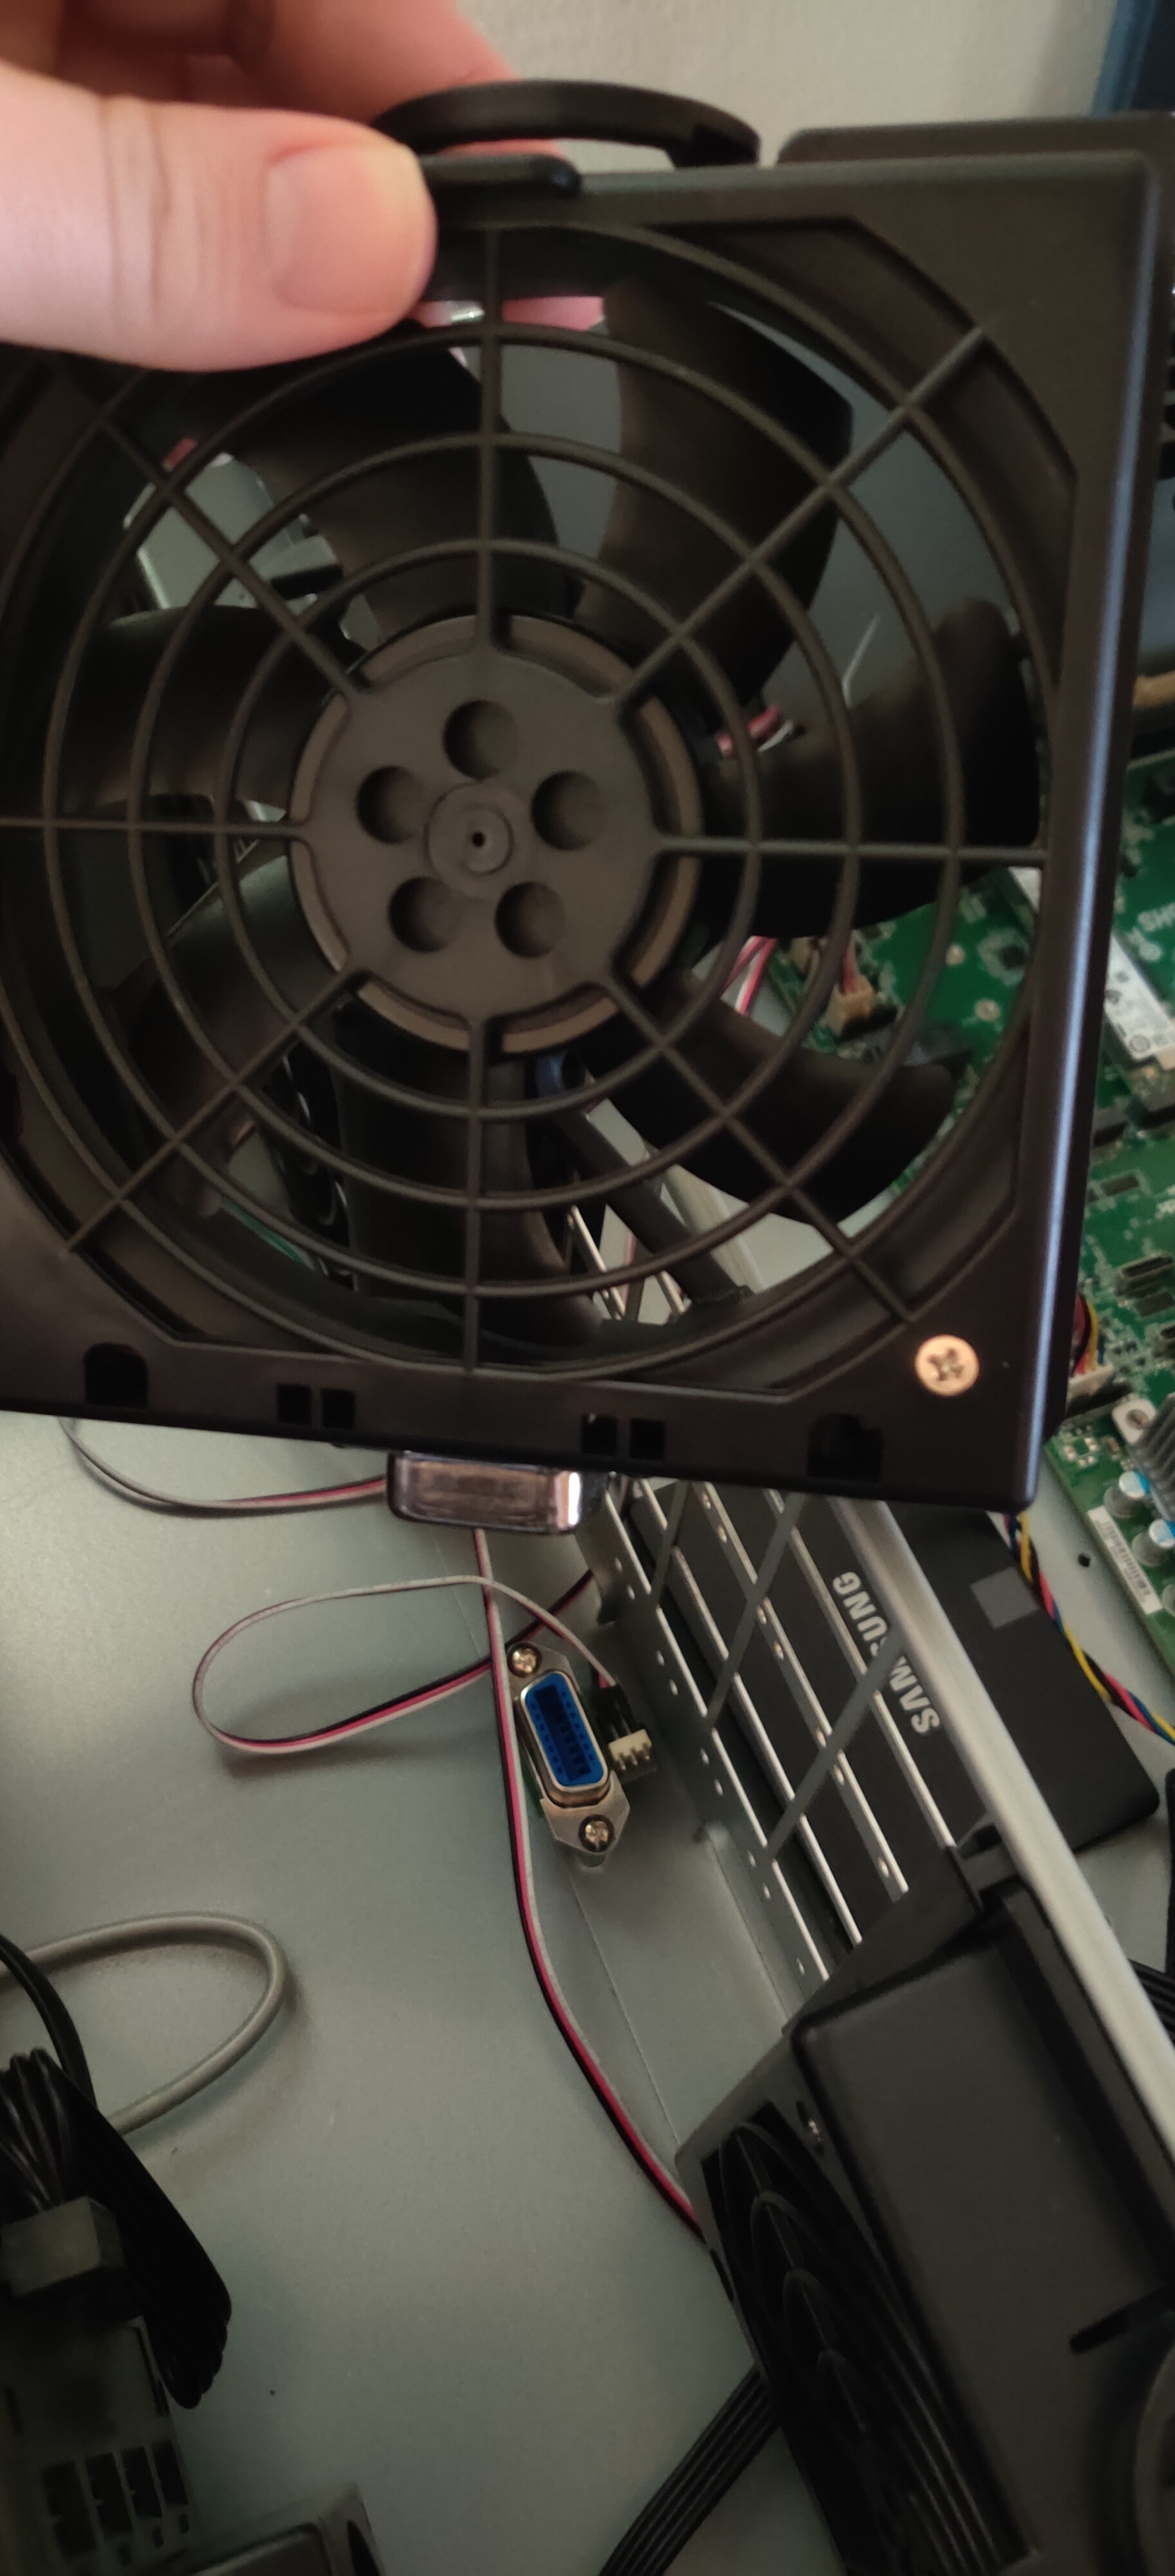
I started off with the case I knew I wanted. The IstarUSA D-400L-7. Industrial Chassis | iStarUSA Products | D-400L-7 - 4U High Performance Rackmount Chassis This roughly equates to the IstarUSA D Storm Model 400 (4U Chassis). It has 7 total 5.25 Inch bay slots upfront (Hence the 7 in it’s model number) and it’s the long version (L) which has a middle of the case fan wall. I figured this would be a good case for a number of reasons but perhaps most importantly it can grow and accommodate a fair amount of hardware and cooling. I did not expect to find Hot-swap fans in the fanwall
I decided, early on, that I wanted to go EPYC with this build because of the sheer number of options when it came to CPUs available. I began contemplating a first gen Epyc chip because of it’s lower cost (2nd Gen was already out) but I ultimately decided that I wanted PCIe 4.0 compatibility for future proofing, the IPC improvements and the power efficiency improvement as well. So the Epyc 7402p was an easy choice. It’s not the biggest baddest chip on the planet but it’ll be more than enough for running a ton of dockers and VMs. It was also a lower cost option because it was a “P” SKU meaning single socket only CPU.
The choice of Motherboard was easy. I’m a big fan of Asrock Rack stuff and they have a platform specifically for Epyc Rome, the ROMED8-2T. Now those who are in the know, know that there are a number of dual socket as well as smaller form factor single socket Asrock rack solutions for EPYC processors. ASRock Rack > Products . I knew that with all of the lanes that one chip provided and the amount of cores that I could get on a single CPU I didn’t need any double socket solutions like I would have needed with the Xeons of yesteryear. I also didn’t want too small a board that lacked PCI expansion slots, because I wanted the ability to expand, do some pass through and maybe even try bifurcating out some lanes from a single slot. You know… all of the fun stuff that home-labers want to try out.
Now there is also the EPYCD8 board from Asrock rack. While less expensive, the reasons I didn’t go with that one is it’s PCIe 3.0 only, does not have 7 16x PCI Slots, and very importantly it does not have dual Intel 10GBe Ethernet built it. Once I started the build, I did run into a weird issue with the front panel connectors off the ROMED8-2T MB and this case, but I’ll get to that a little later.
Memory choice was pretty easy too. The Kingston KSM32RD8/32MER are awesome 32GB Regsitered ECC DDR-4 Dimms at 3200MHZ and they’re compatible with the ROMED8-2T MB.
https://www.provantage.com/kingston-technology-ksm32rd8-32mer~7KIN93T4.htm
PSU is a Corsair HX1200 1200W 80Plus Platinum Power Supply. I went with a platinum PSU because this will be an always on system and efficiency is important to me. It is unfortunately also one of the PSUs from the Corsair Recall https://www.tomshardware.com/news/corsair-issues-hx1200-hx1200i-psu-recall I checked and this does fall into the serial number range of the recalled units. However, it is working and delivering power to the board without issue so I think I’ll leave it be unless it acts up.
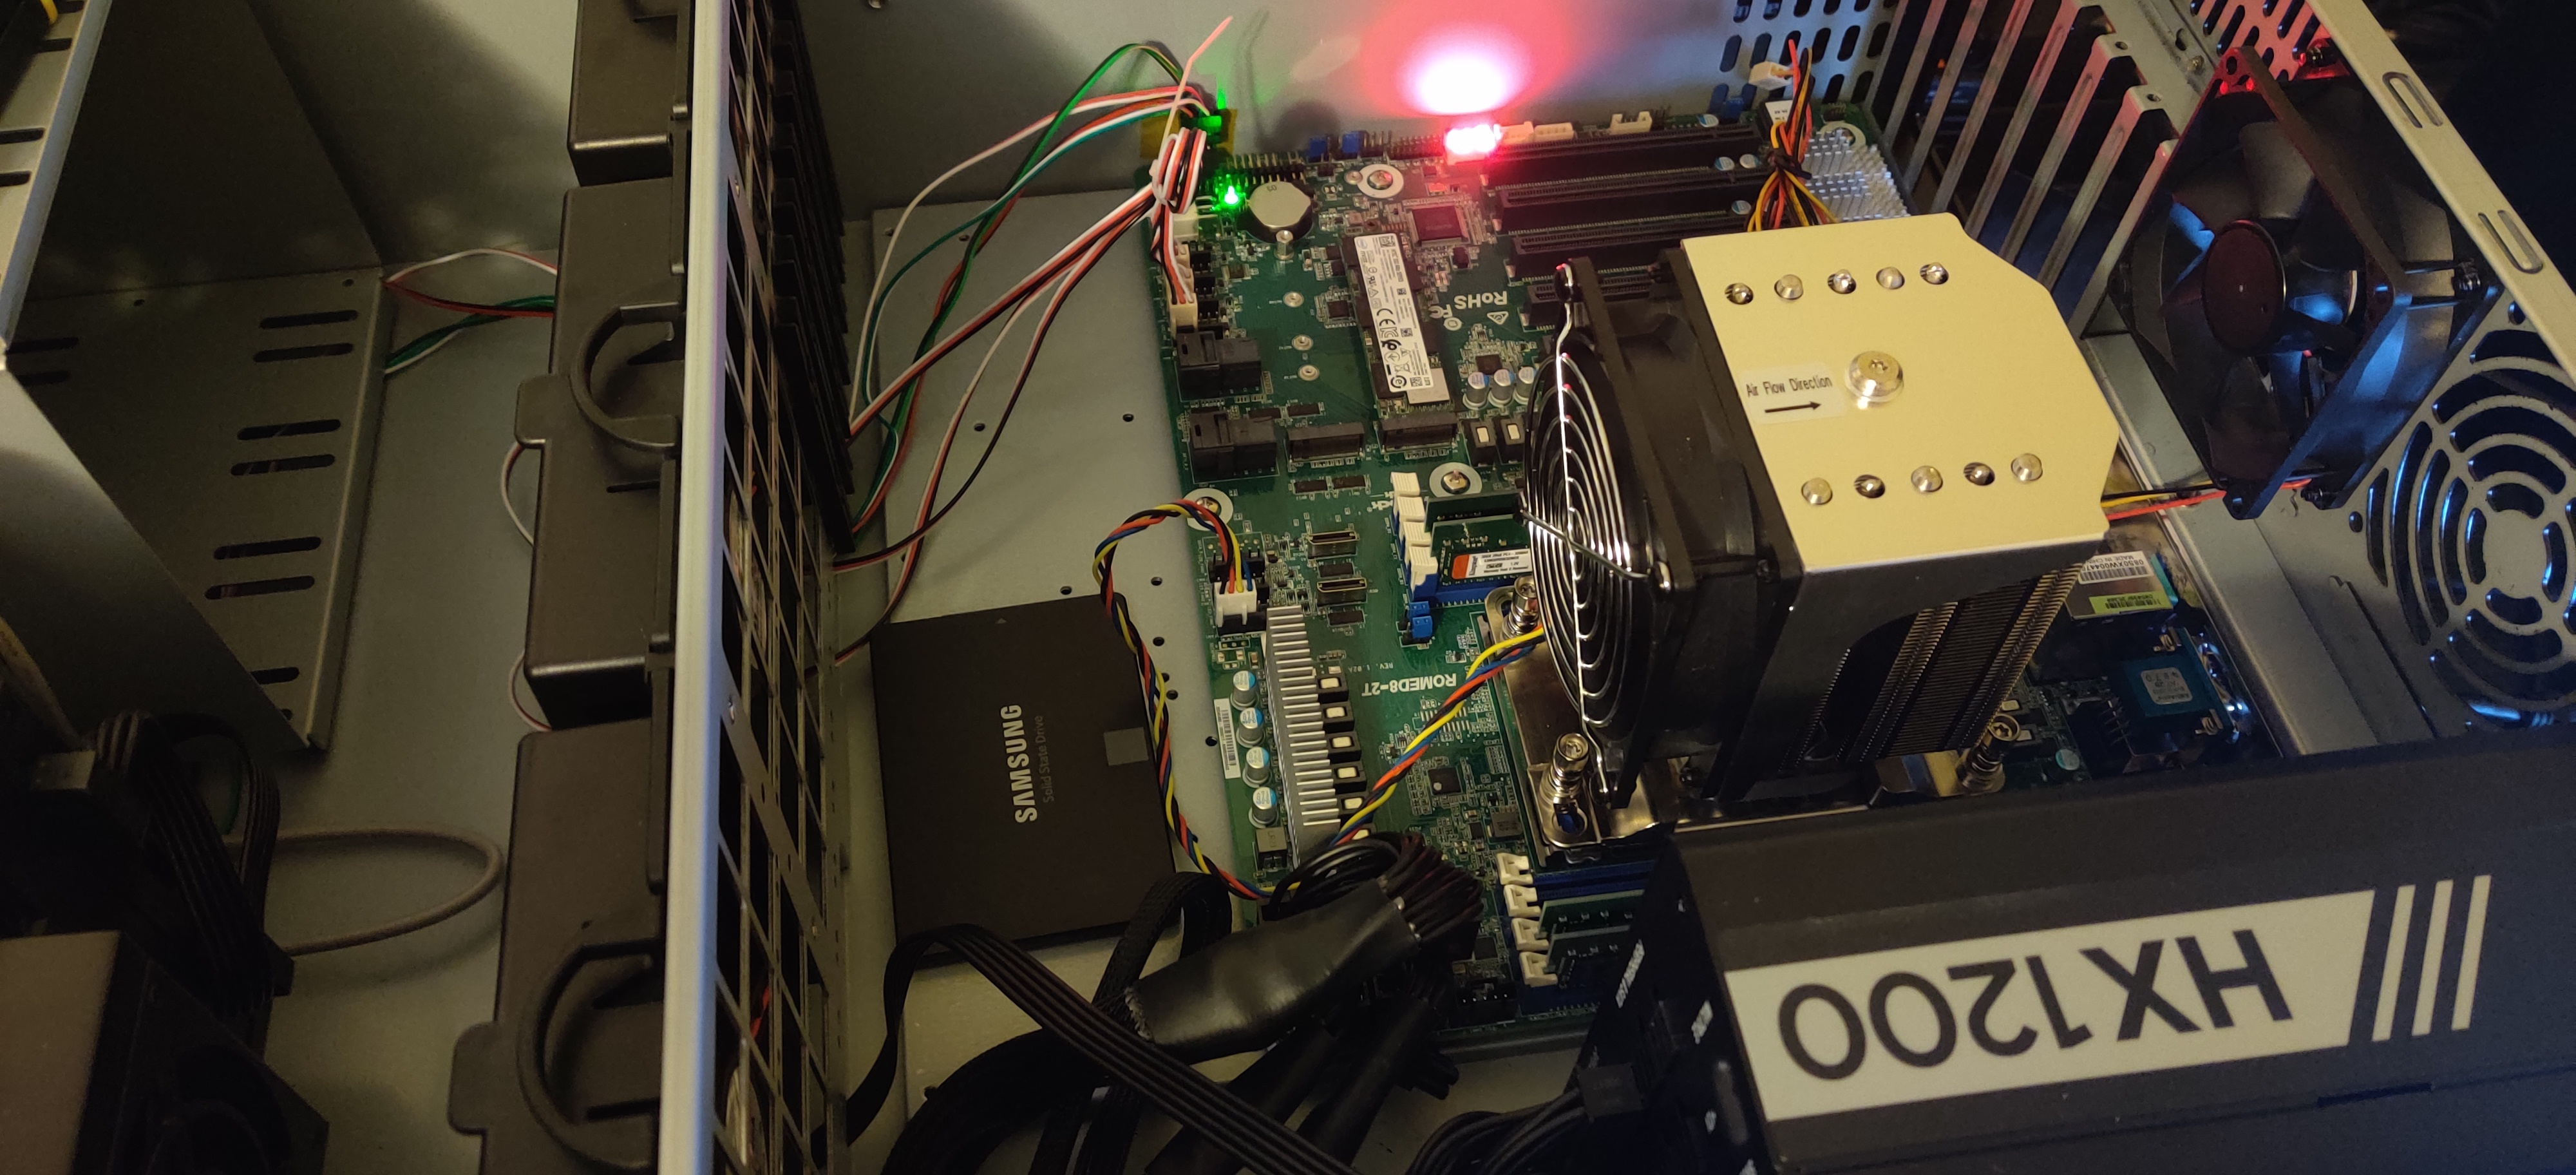
Cooler is the Supermicro SNK-P0064AP4-EPYC SP3 cooler https://www.amazon.com/Supermicro-SNK-P0064AP4-EPYC-Socket-Brown/dp/B078ZJSM65 Now, why this and not the Noctua NH-U9 TR4-SP3 you might ask. Simple… It’s air flow direction. The socket orientation on this board is such that the Nocuta cooler provides a weird side to side air-flow direction whereas the Supermicro cooler is designed to do airflow front to back in this orientation. Everything else in the server case is front to back so I figured that this would be the best way to go. It may not perform as well as the Noctua can, but I’m not running a 32 or 64 core CPU with an exorbitant TDP, so I think it’ll suffice.
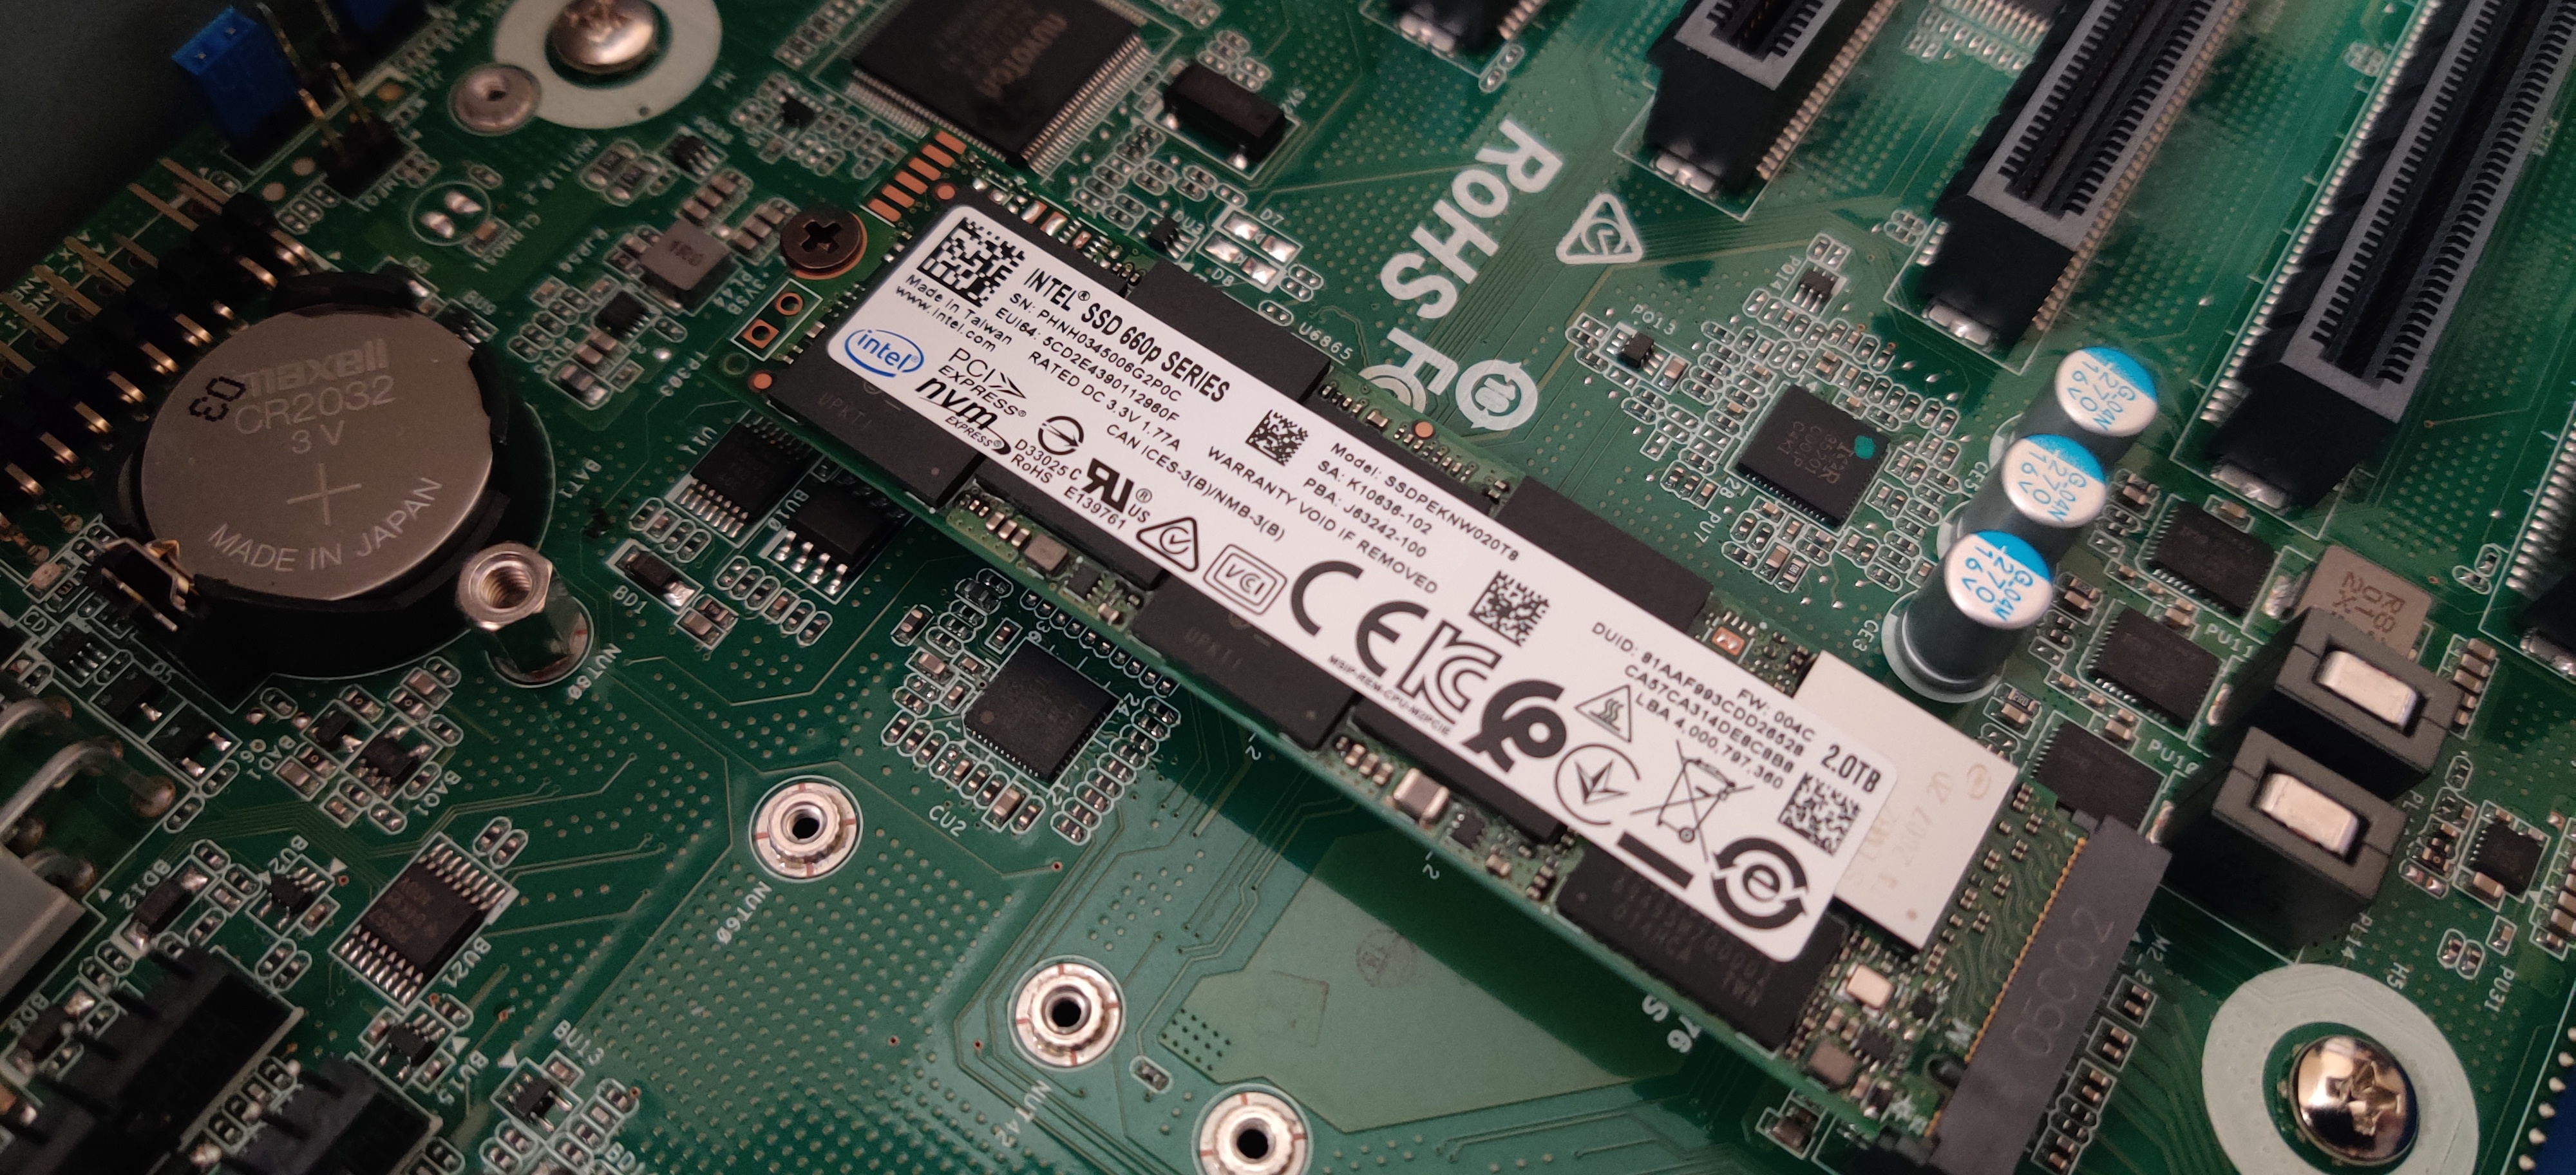
While I intend on adding storage to this server as time goes on, I thought I’d start off with a 2TB Intel 660P NVME m.2 as a main drive and a 2TB Samsung 860EVO as a secondary storage drive for VM storage tasks.
And that’s where I am thus far. Now to the Pictures. I didn’t take a whole lot of pictures but I know you guys want to see the hardware and for me to quit yapping.
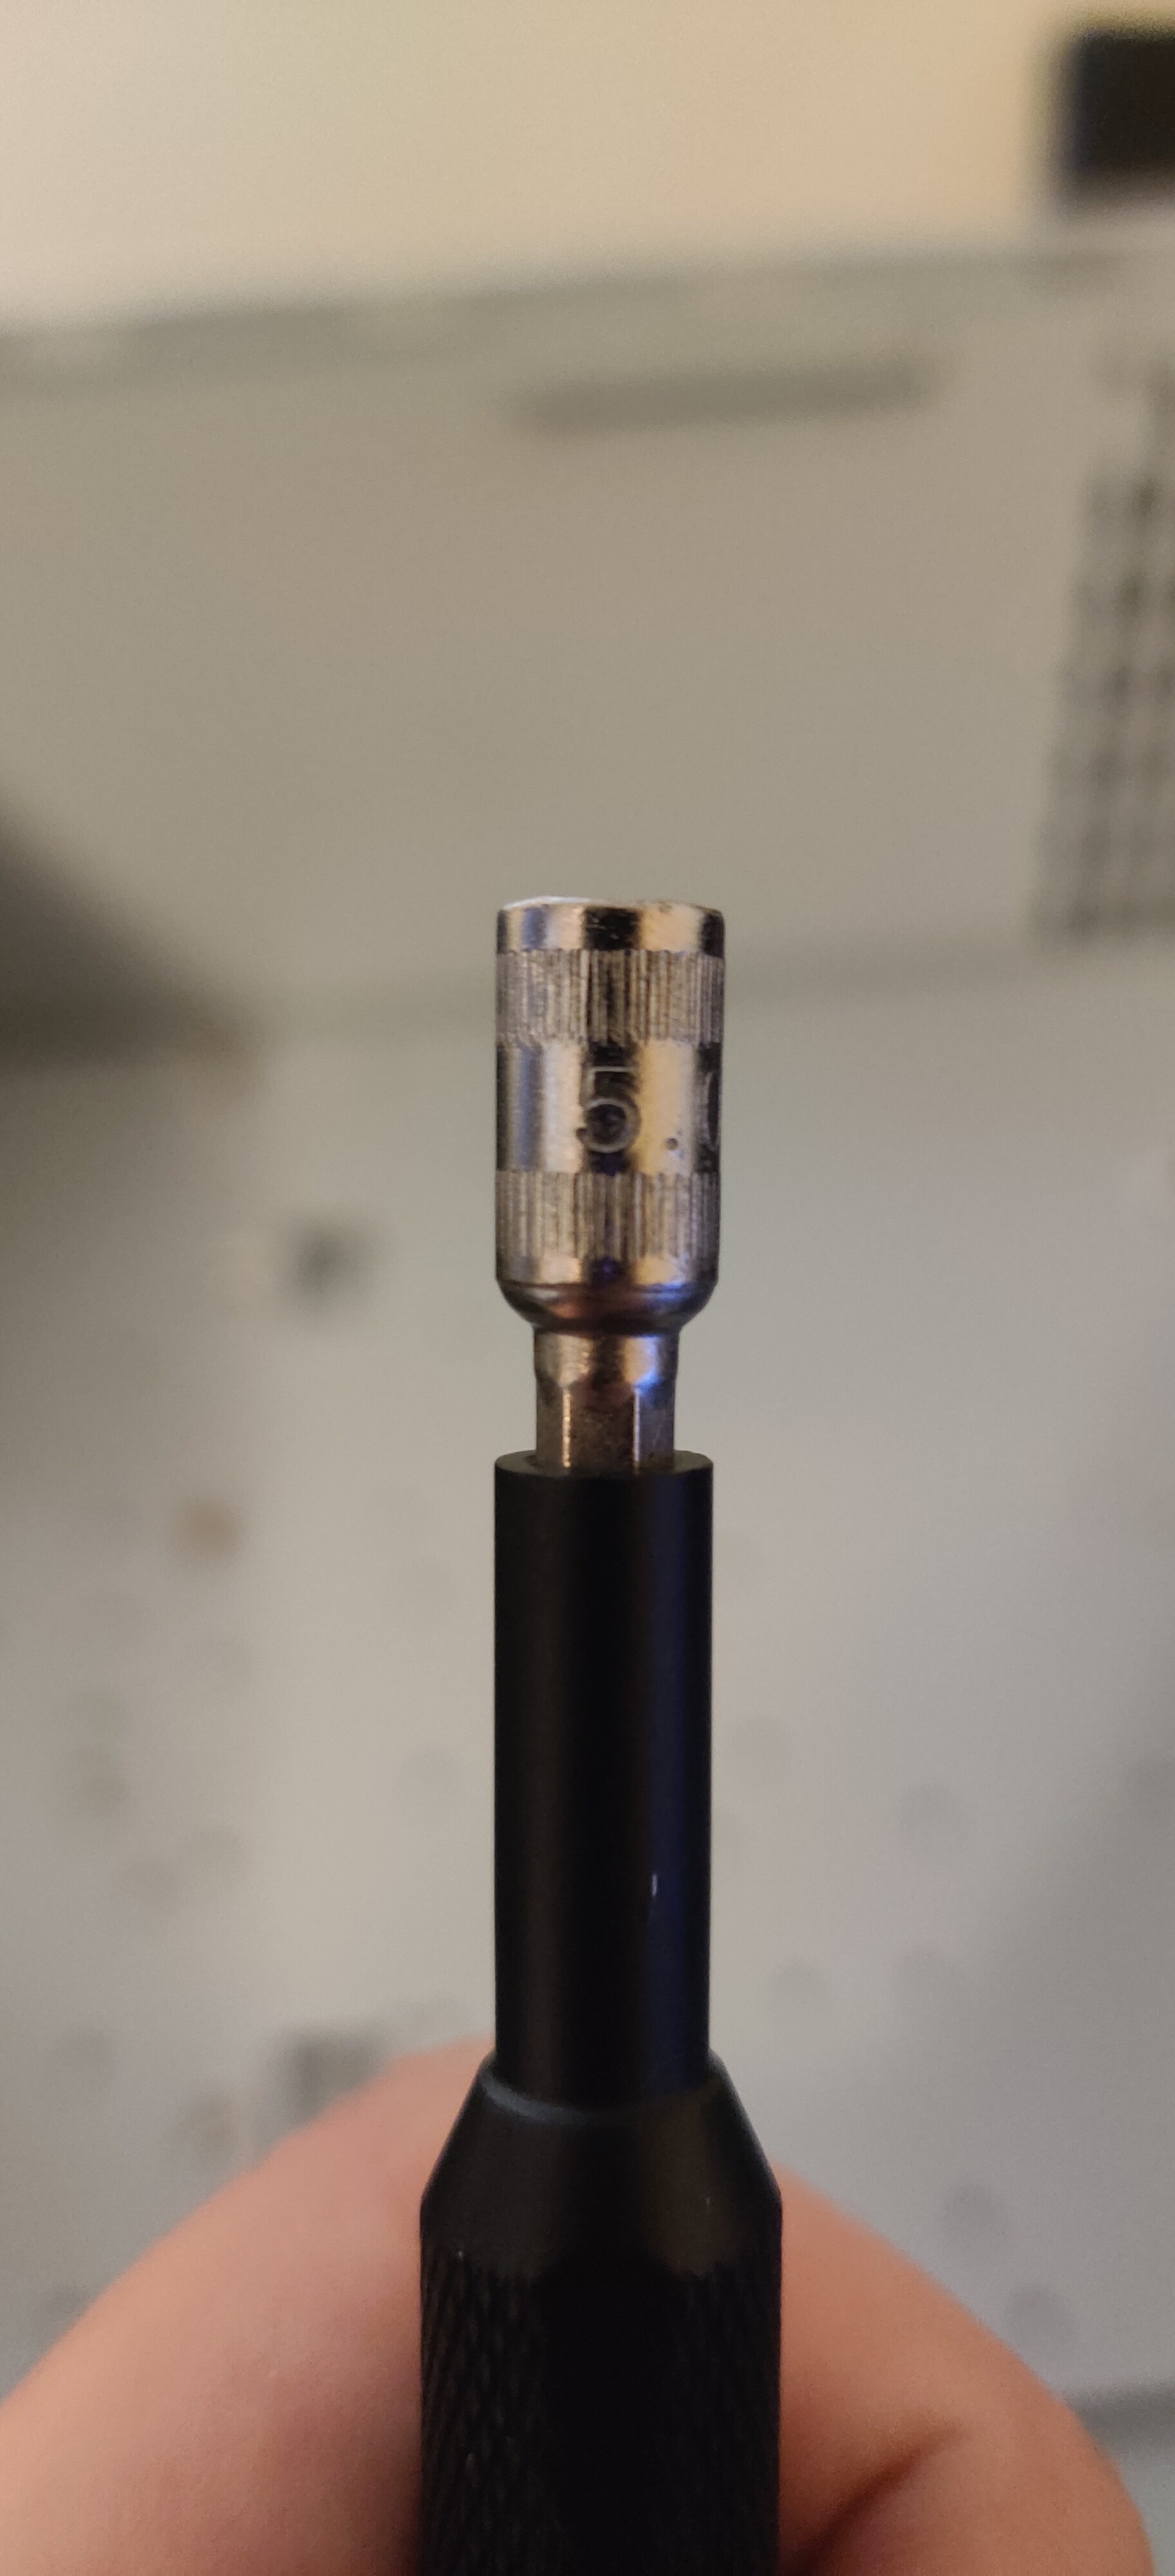
The standoffs going in:
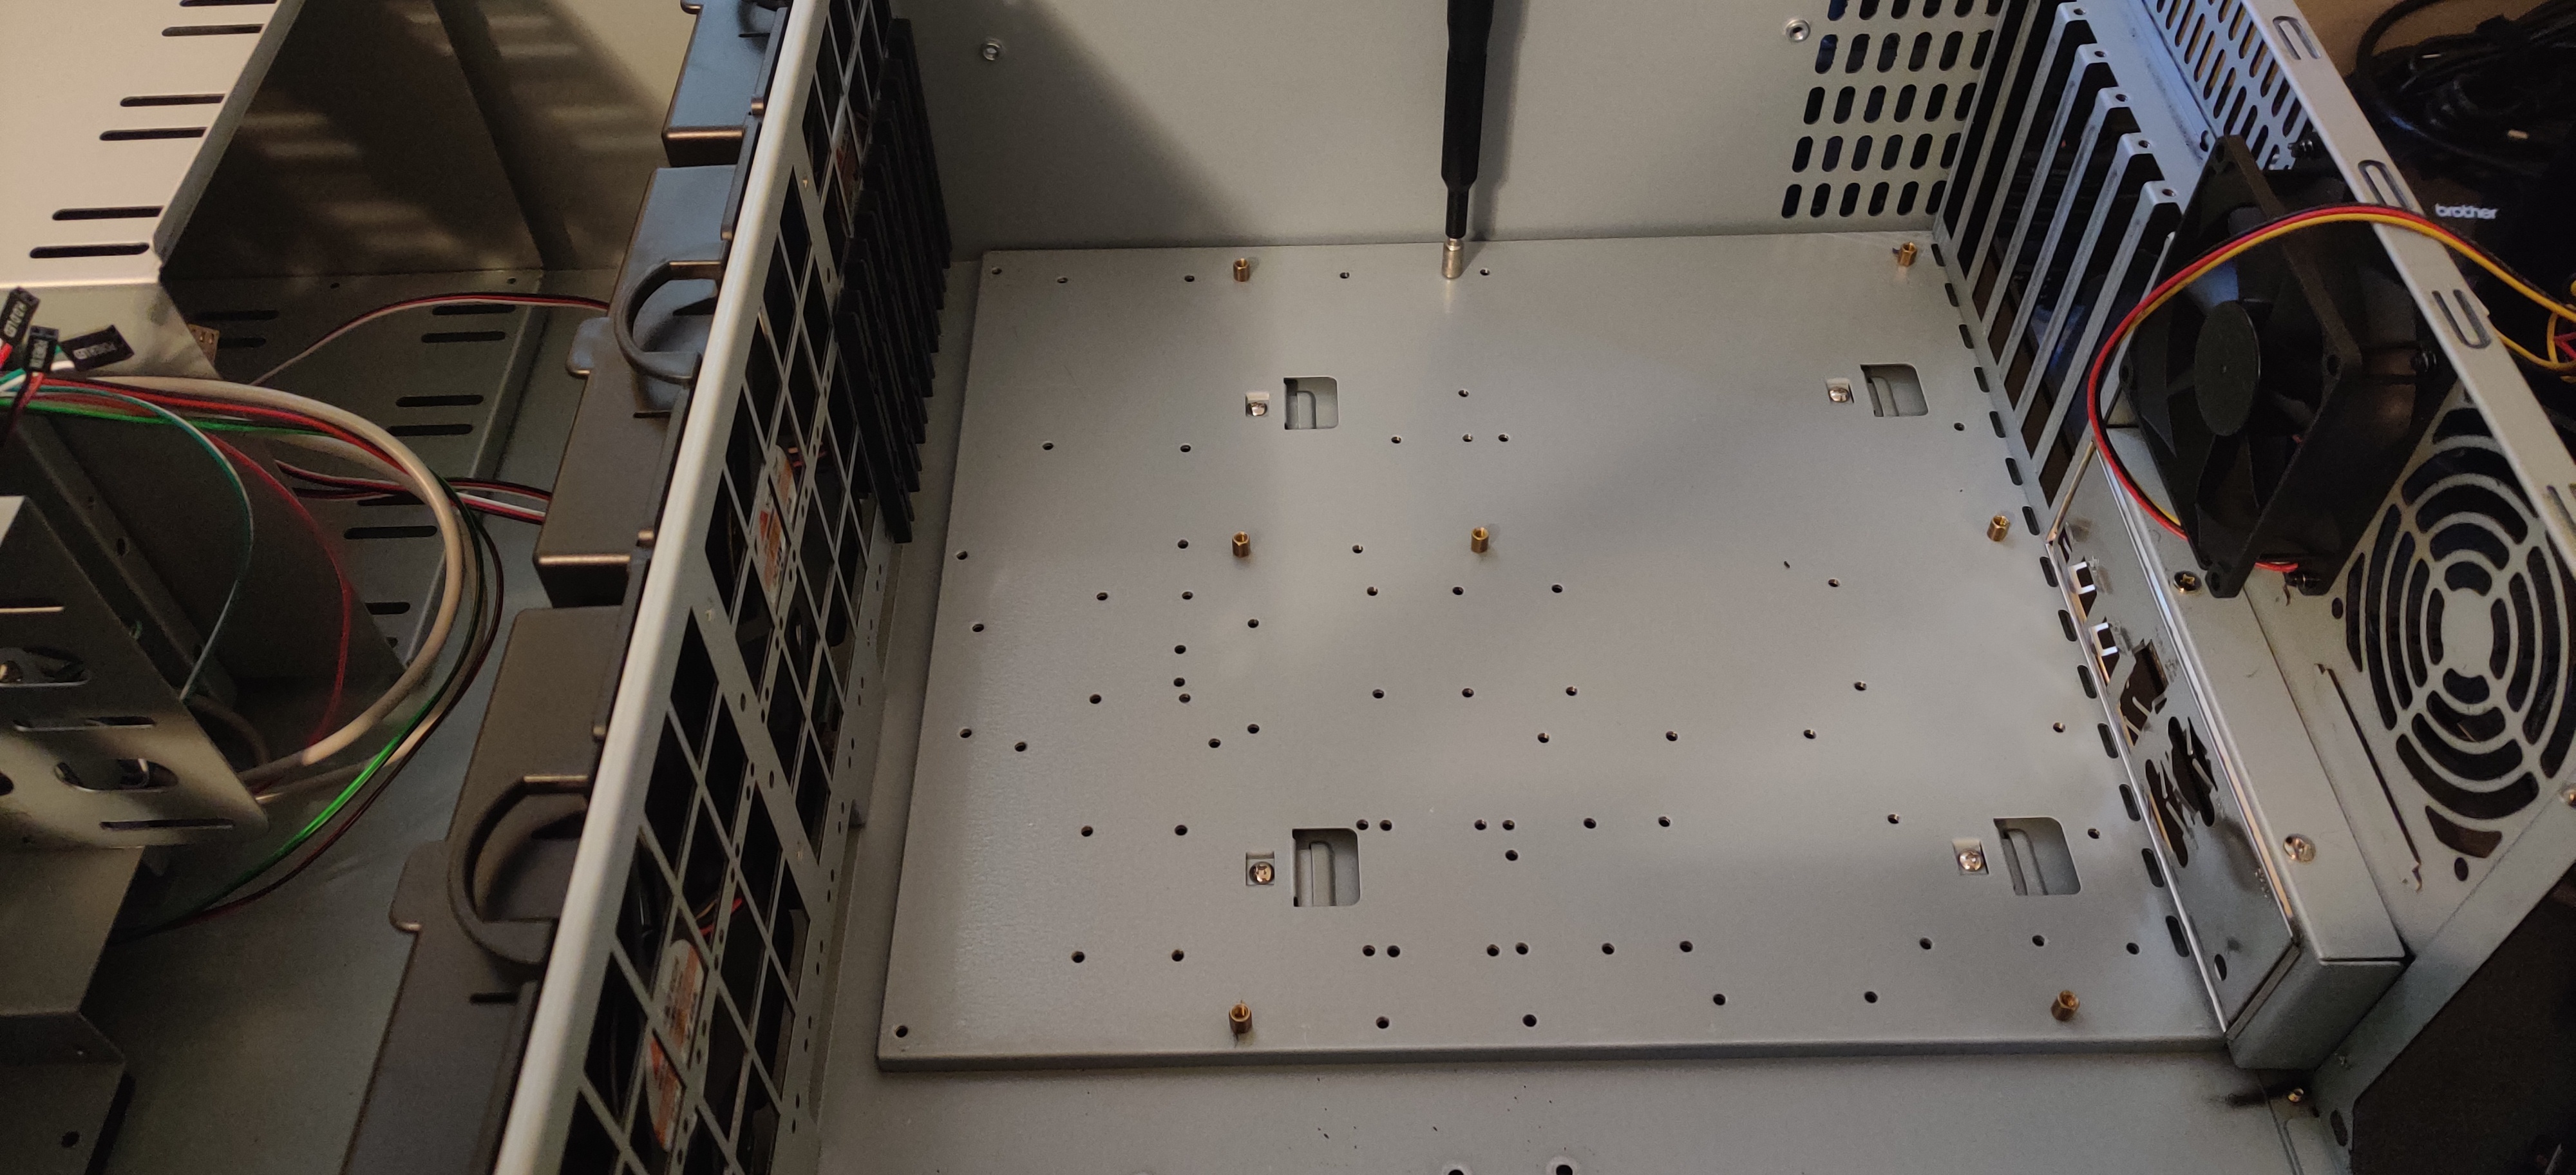
Hex Driver 5MM from the iFixit kit drives in standoffs real nice.

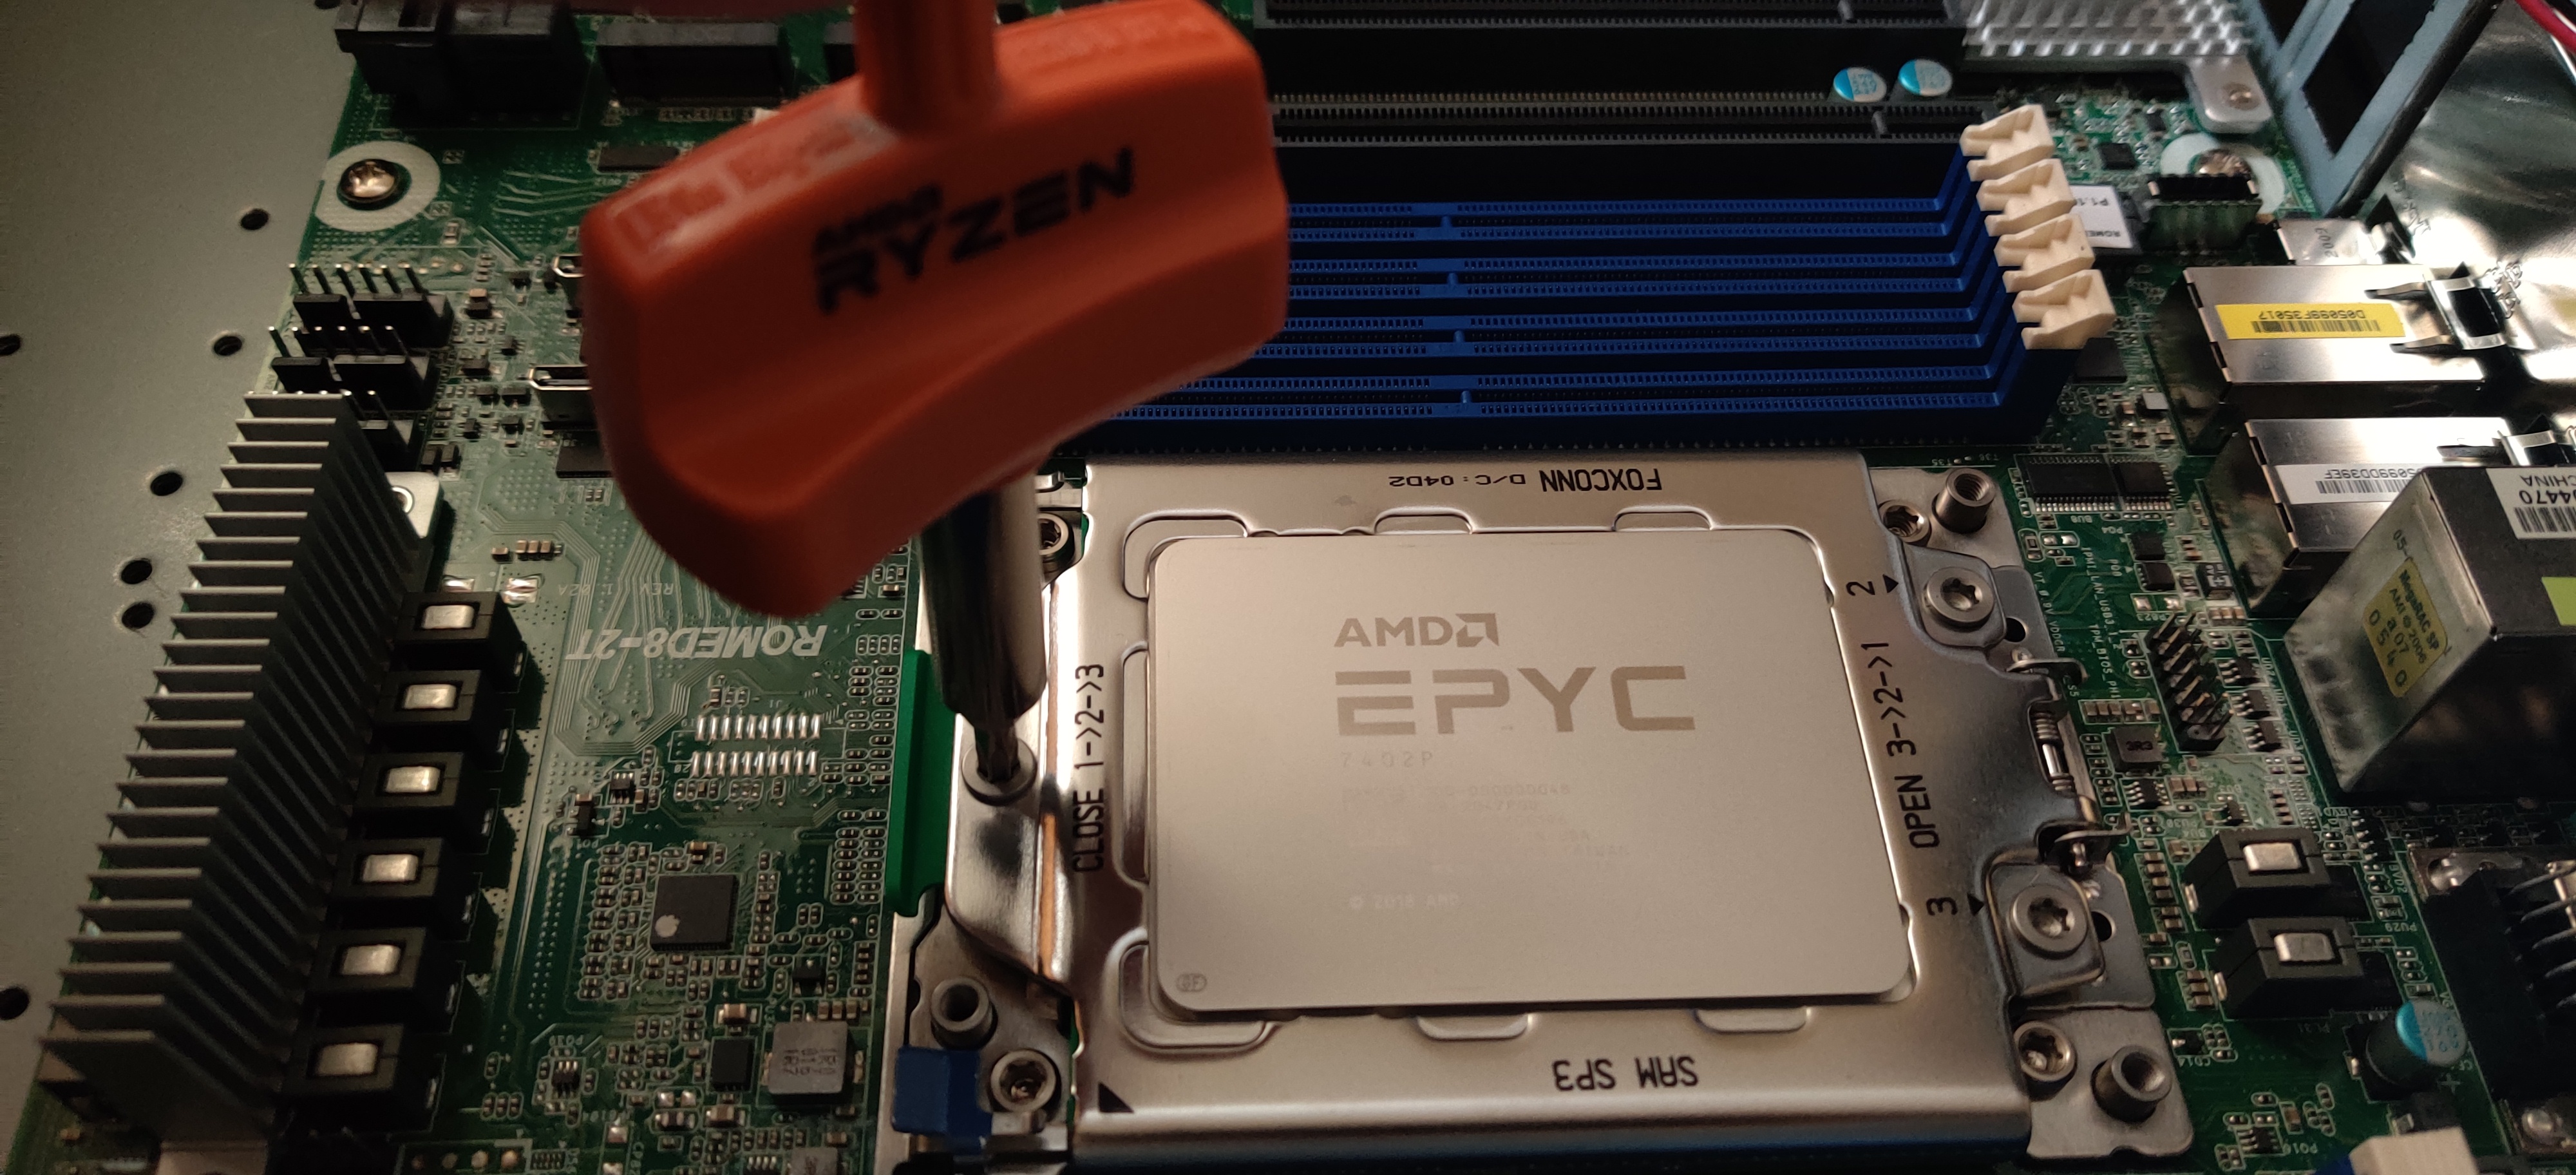
The CPU Install. Finally another reason to whip out that awesome orange Threadripper Torque Driver.


Storage time. Just the NVMe for now.
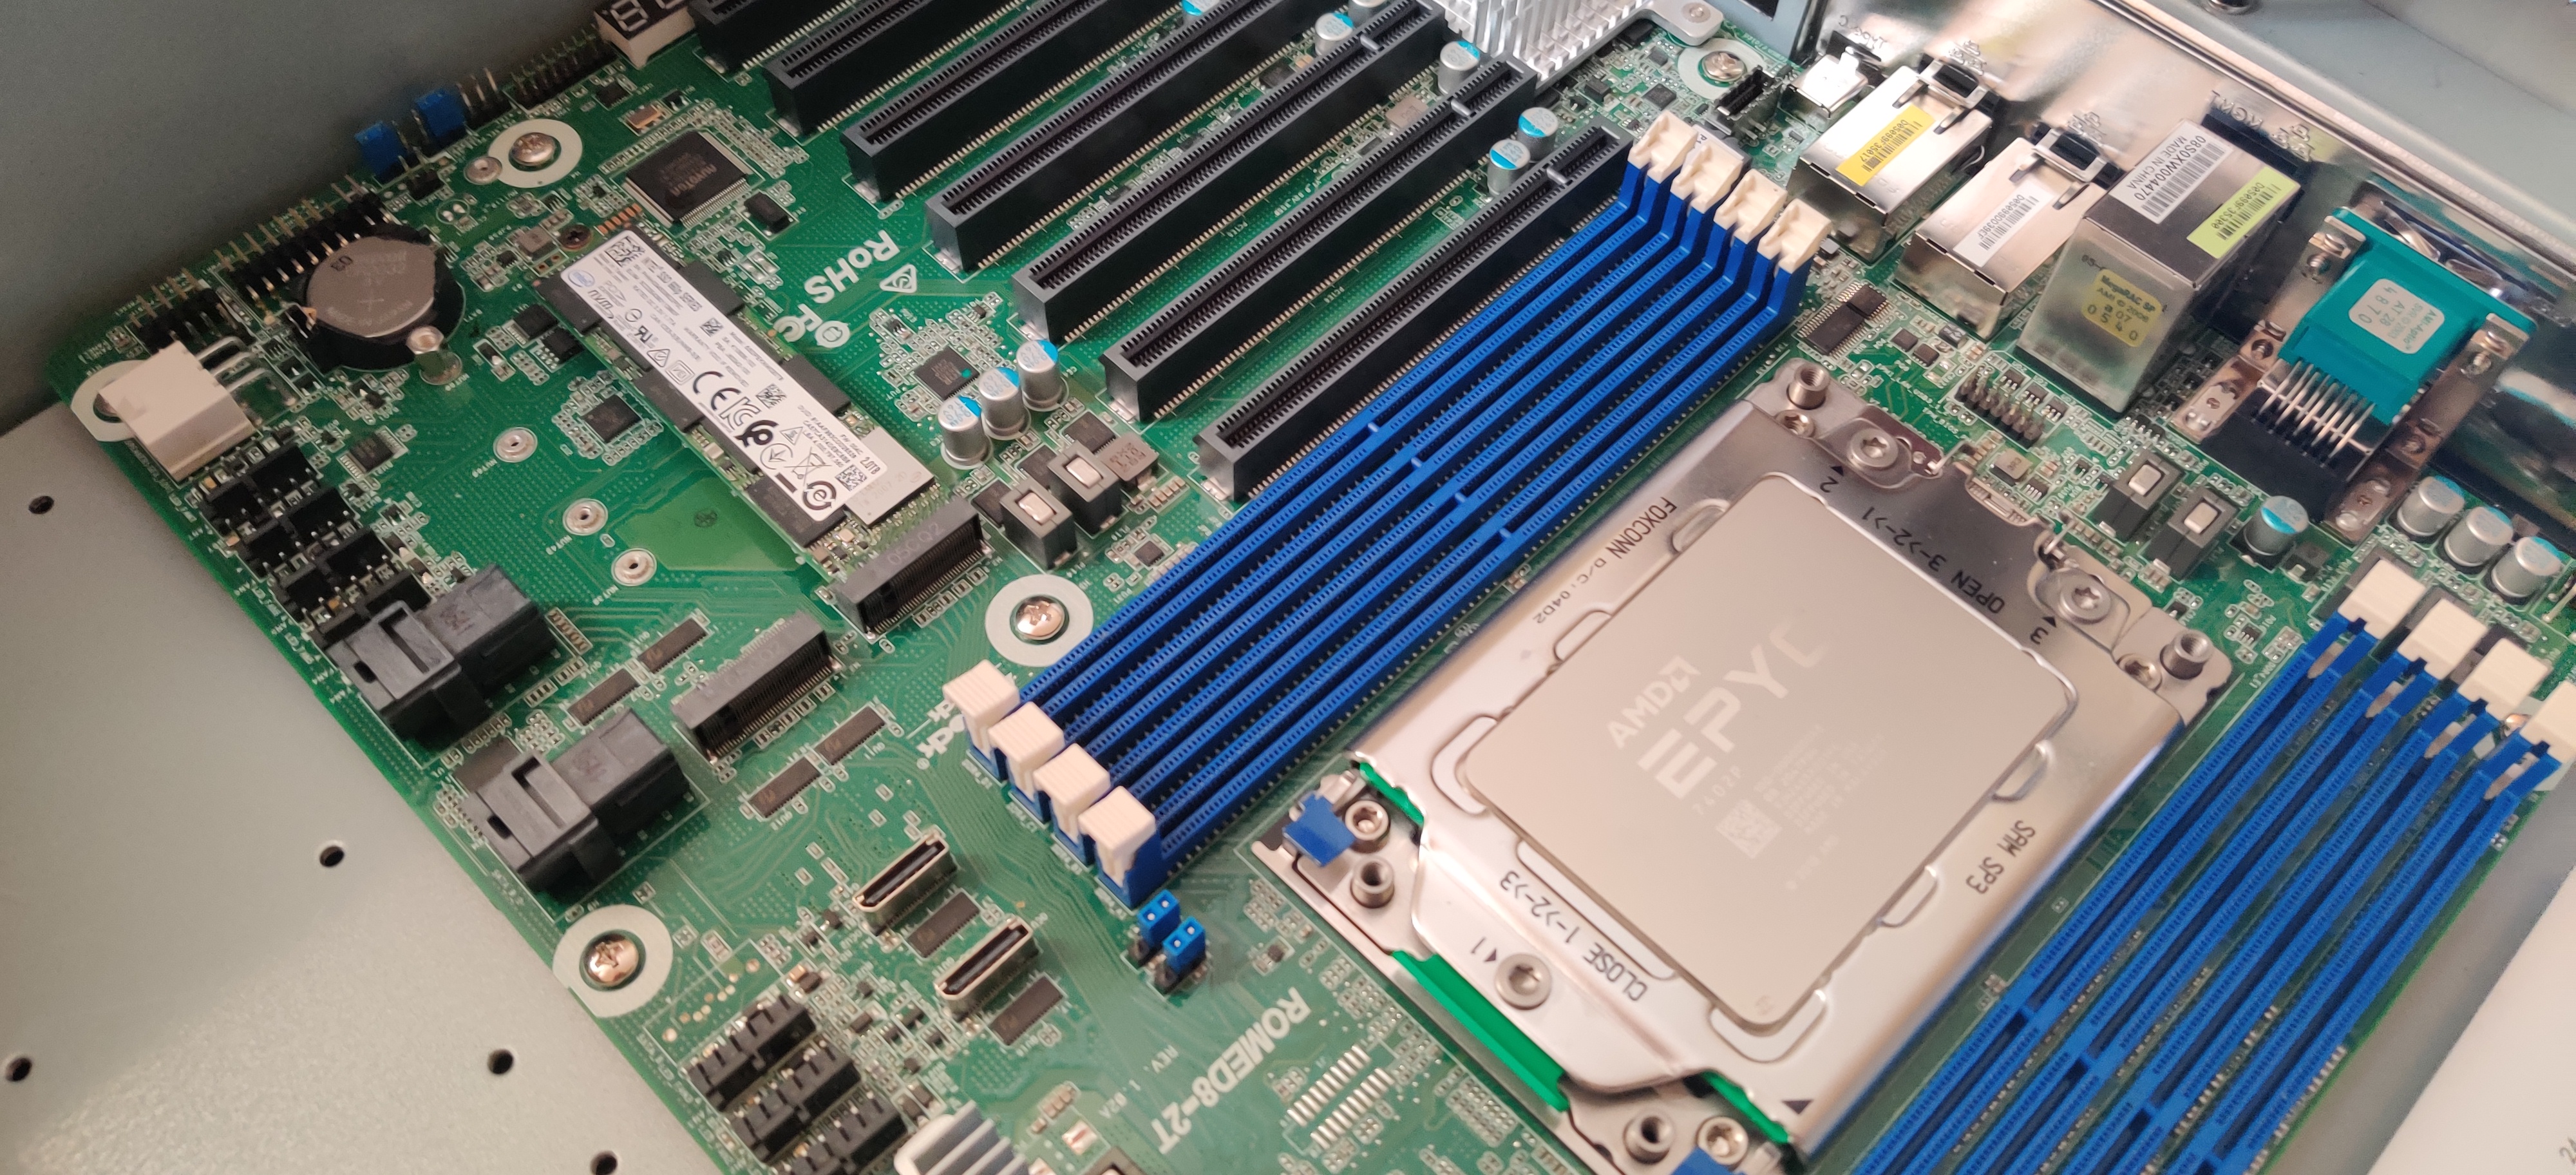
Got the ram in and the cooler in and gave it a test turn on. I didn’t snap a picture in time but it posted after like 1 minute after initial boot. PSA Don’t Panic and don’t let those long server boot times fool you… It is working. Just give it a little bit of time to index all 128GB of that ram you installed. Oh and the Samsung drive is just hanging out for the photo, it’s not attached to anything.
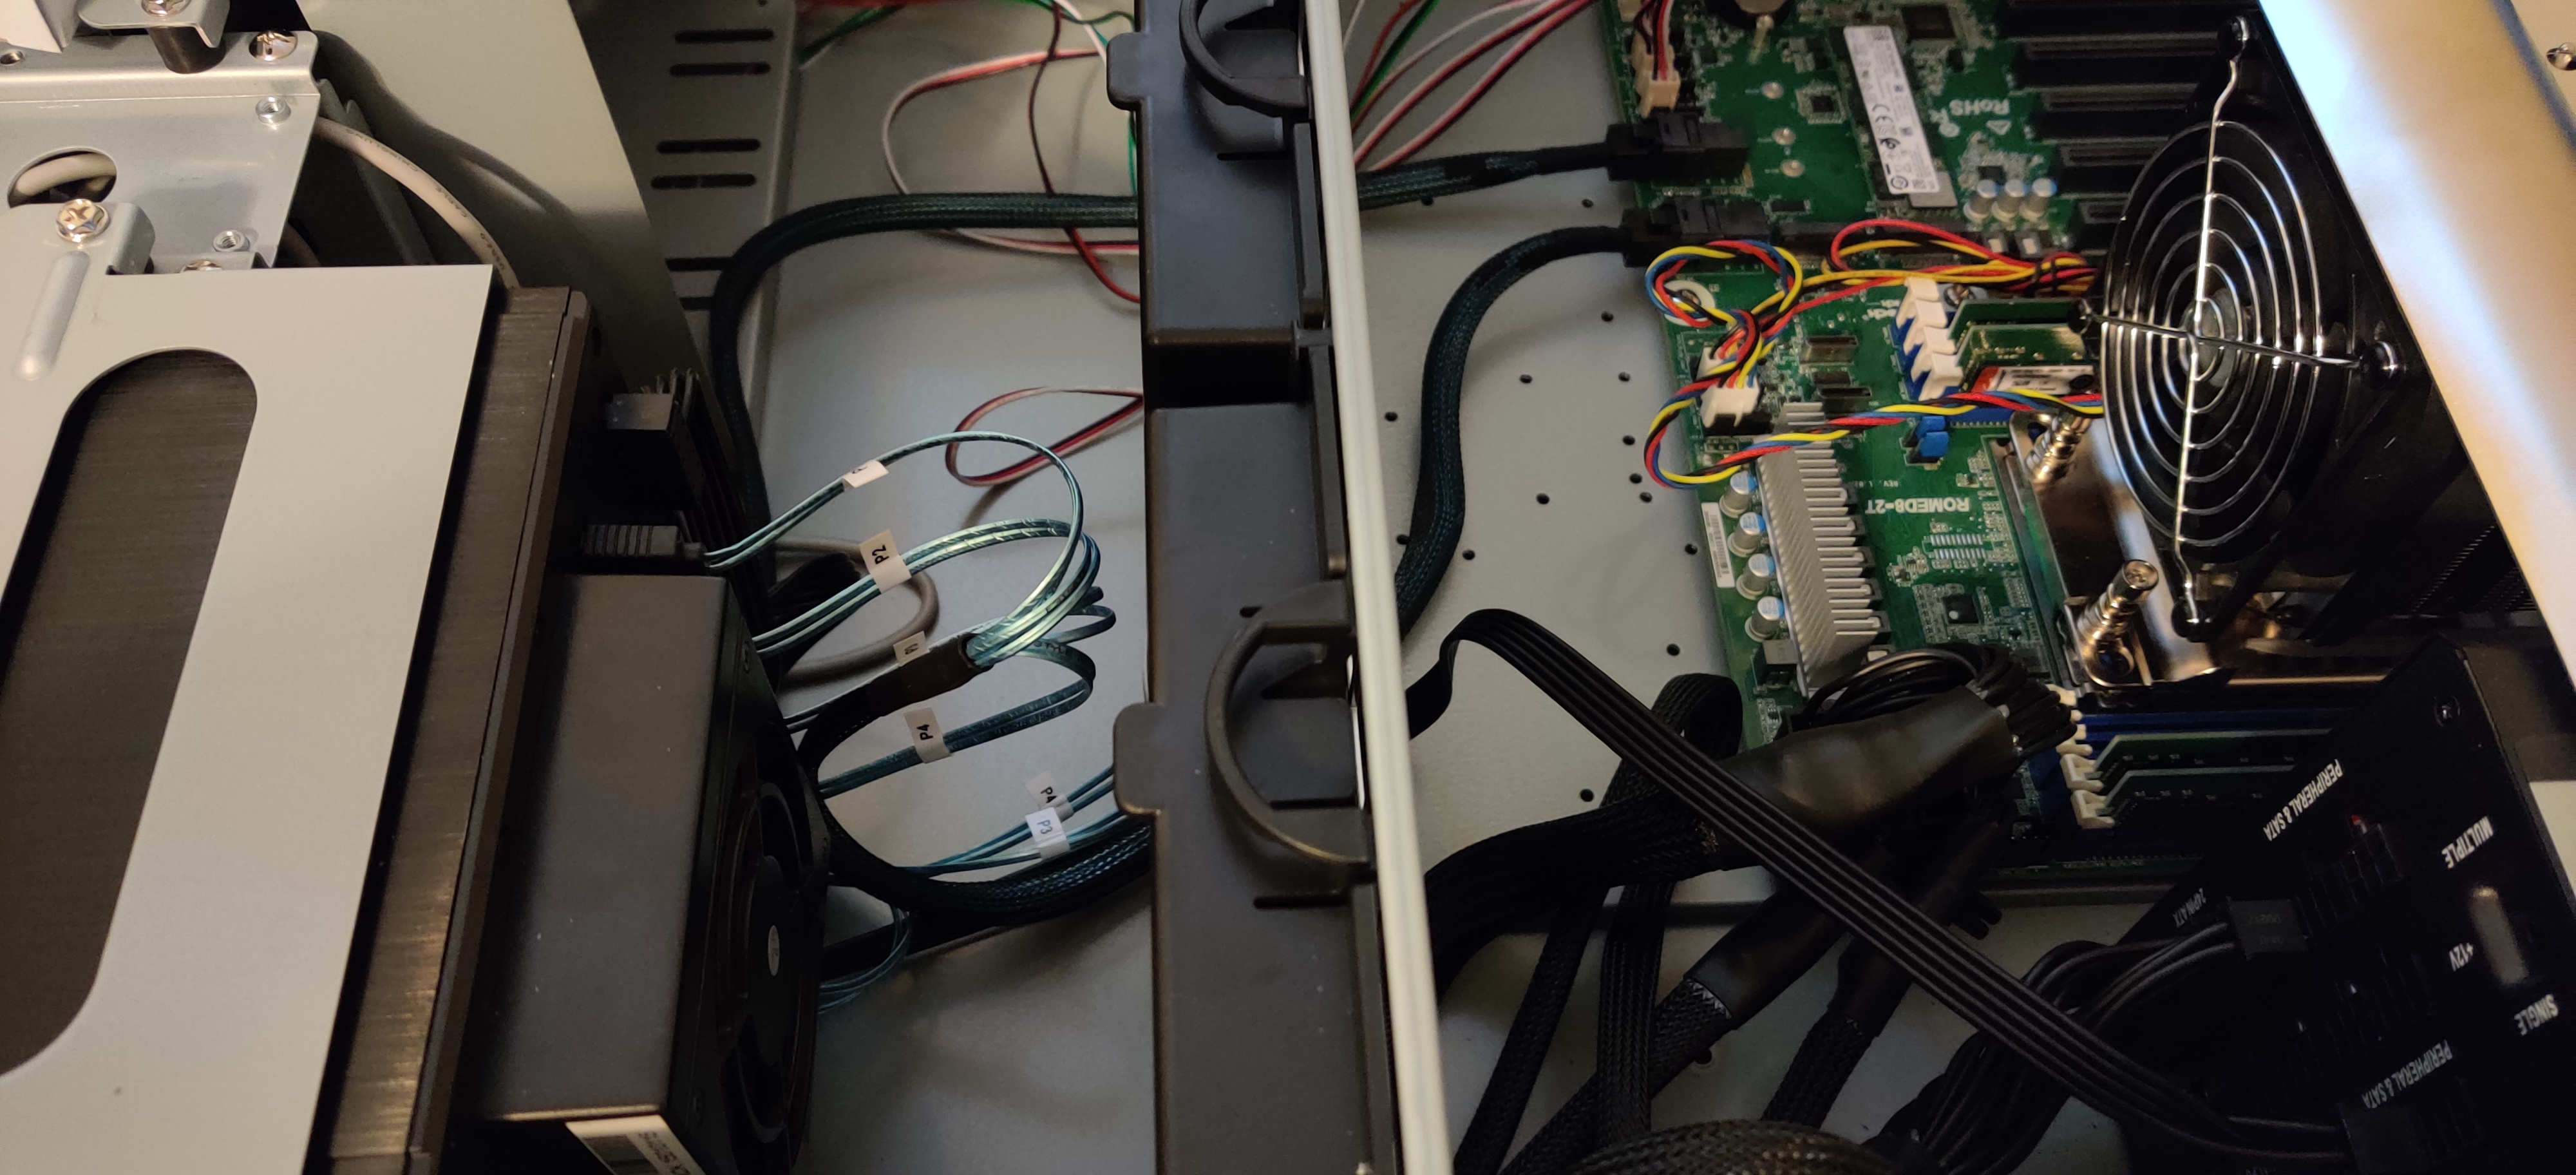
Those hot-swap fans in the fan wall I was talking about. They have some sort of re-purposed serial connection screwed into the base of the chassis acting as a proprietary fan interface connection. It doesn’t bother me, everything is removable so If I wanted to install some PWM fans in there I could do that in the future.
For future storage purposes. Probably a small ZFS array. I added an IstarUSA BPN-340SS Black 3 x 5.25 to 4 x 3.5 Drive Hot Swap bay to the front of the chassis. The open spot on the bottom is getting an IcyDock 3.5 to 2 x 2.5 Tool-less hot swap bay in it for the Samsung SSD Plus Another Future SSD if needed.
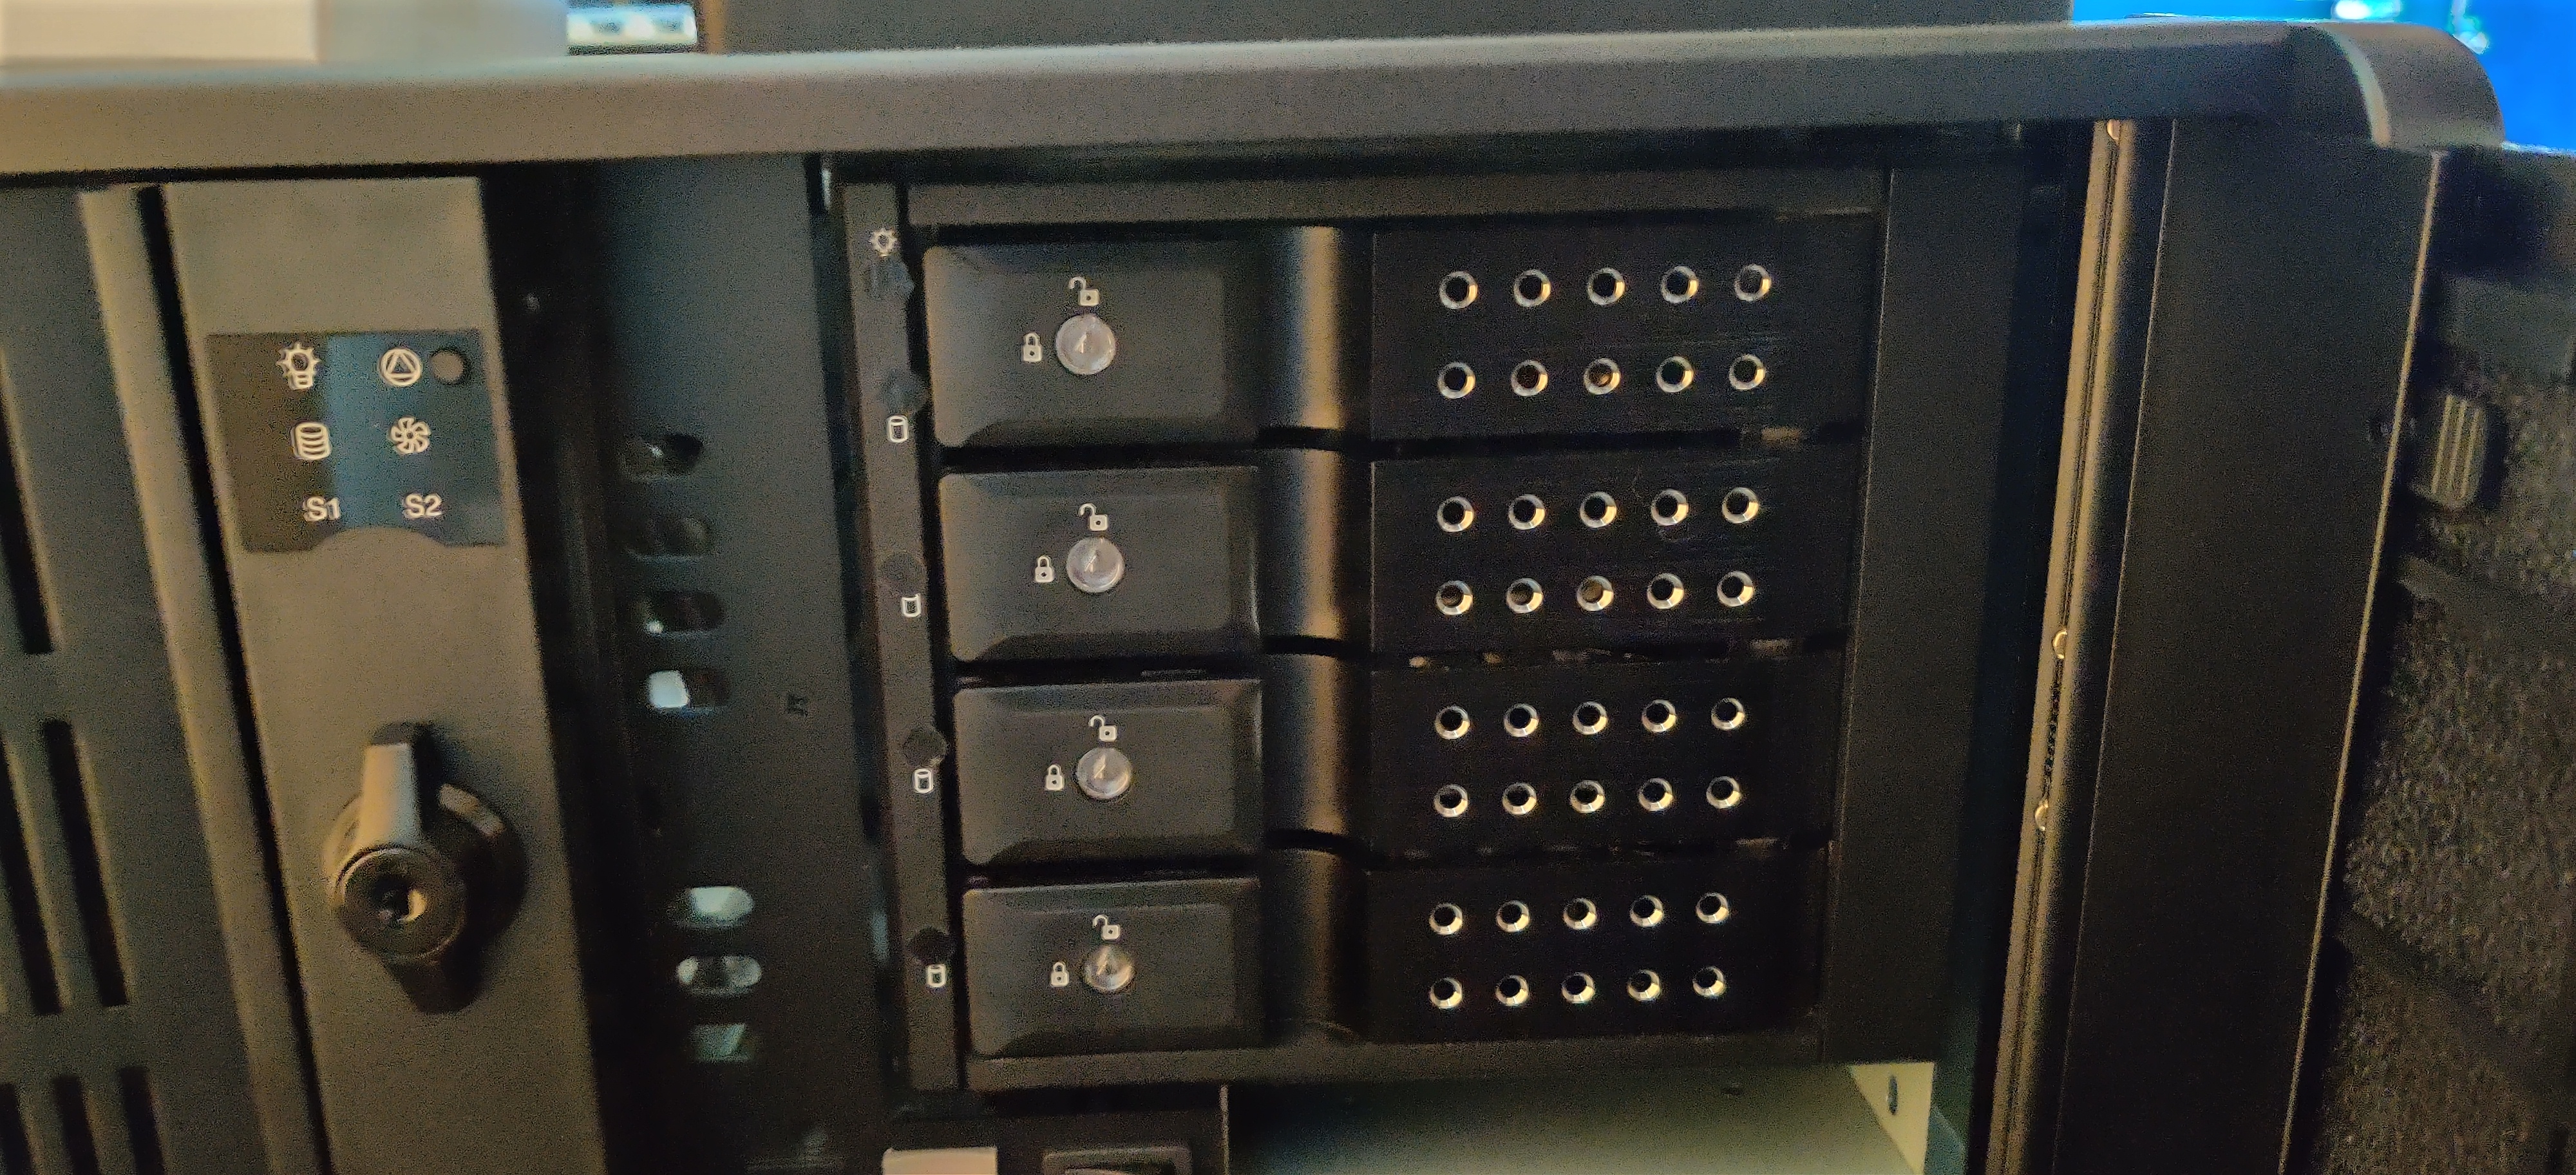
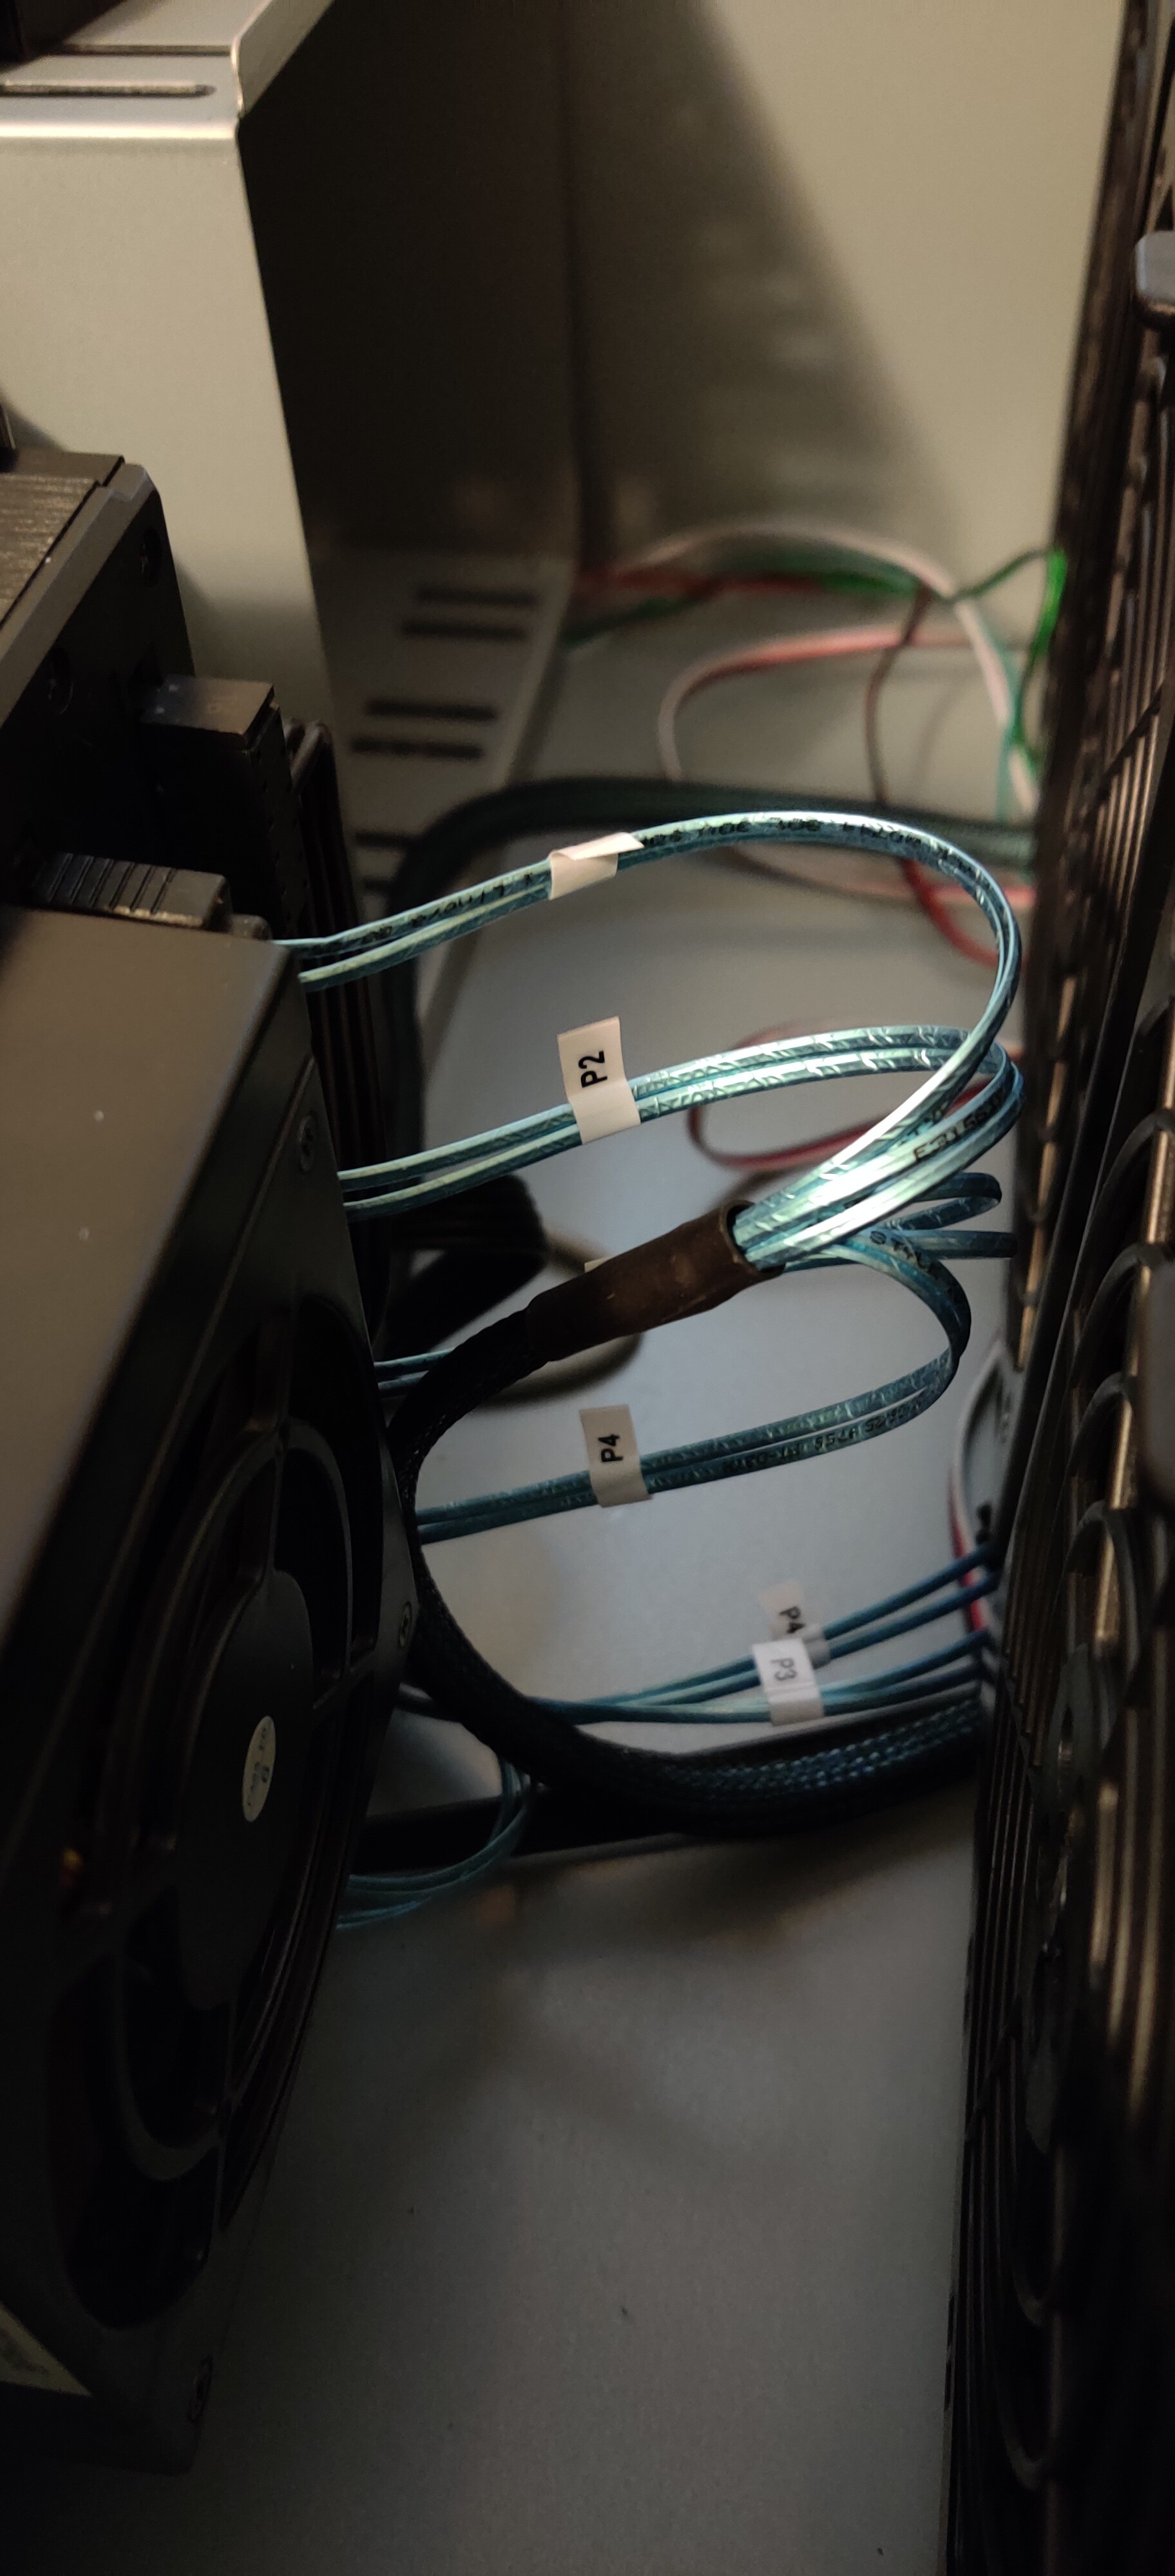
Added the IcyDock 3.5 to 2x 2.5 Toolless Hotswap Bay https://www.amazon.com/gp/product/B07F22926M/ and Samsung 860 Evo 2TB And Wired up the Sata Drives to the Mini SAS HD connectors on board. I love breakout cables, they really make cable management clean and easy.