
Linux is an amazing OS to play with and do stuff with. The Biggest question is which one should you use. This mega guide will tell you all about the some of the more well know Linux Distros, and some basic console commands for almost each distro. This guide will also cover installing linux and desktop environments. Think of this guide as a starting point. There are more distros then what is covered by this guide.
Table of Contents
What you need to install Linux
This is just going to explain how to install Linux using Windows.
Special note for install: If you install with USB you need to know how to have the machine boot to bios. Also you’ll likely need to disable secure boot in the bios. Disabling secure boot is necessary for installing proprietary codecs.
Etcher
Etcher is relative new but what it does is cool. I’m not sure how many of the linux distros can be used installing this but I’ve used it for Linux Mint and Ubuntu with no issues.
The steps:
- download the iso for your linux
- plug in the usb - Etcher automaticly will detect the usb
- open Etcher
- select iso
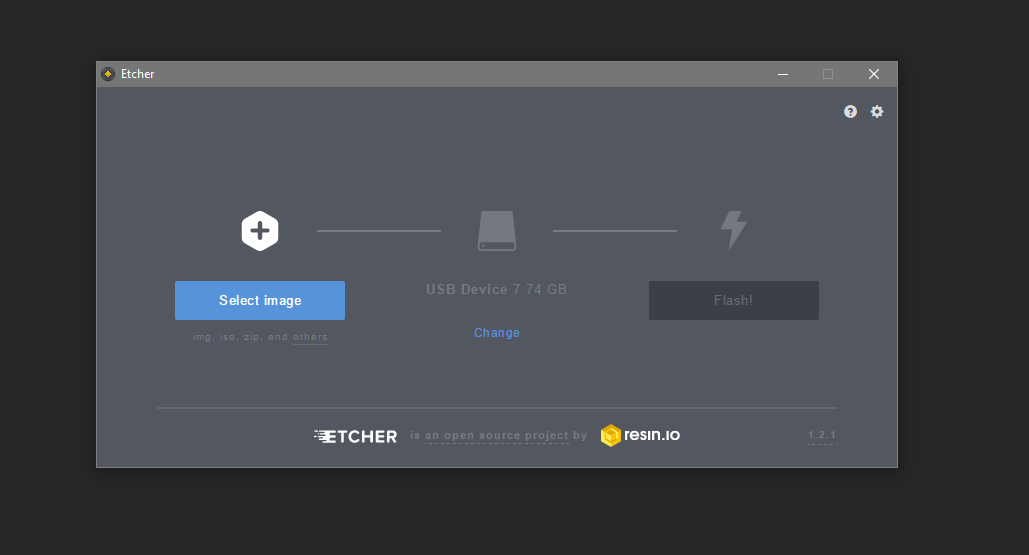
- click flash
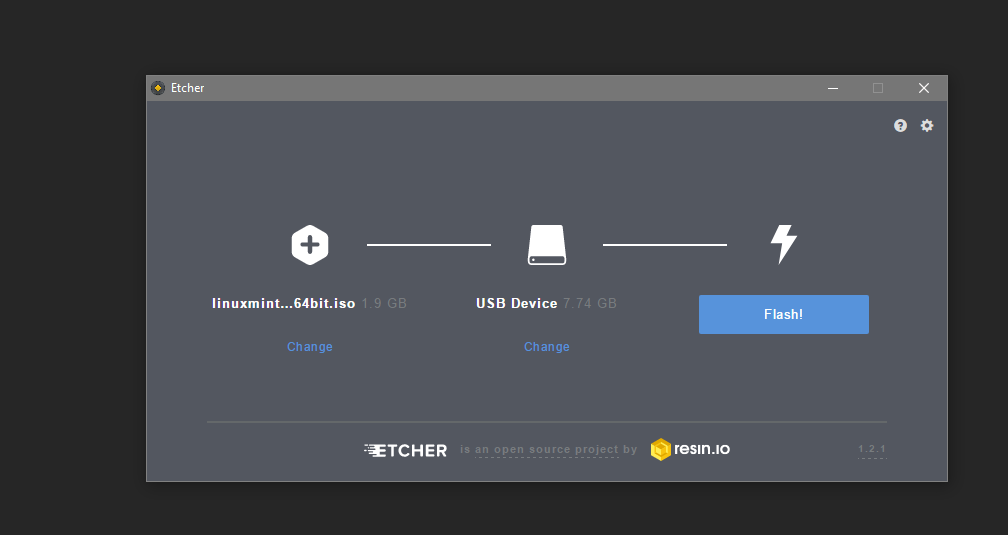
- done.
Universal USB Installer
This looks like a really simple program to use but what it does is pretty neat. You can create a persistent portable linux usb stick. Granted you’ll need more than 4 GB but it is a really cool feature. While you have the option to download the linux using UUSB, I recommend you download the iso from the website of the distro itself.
Steps:
- download the iso for your linux
- plug it the usb
- open UUSB
- select linux distro
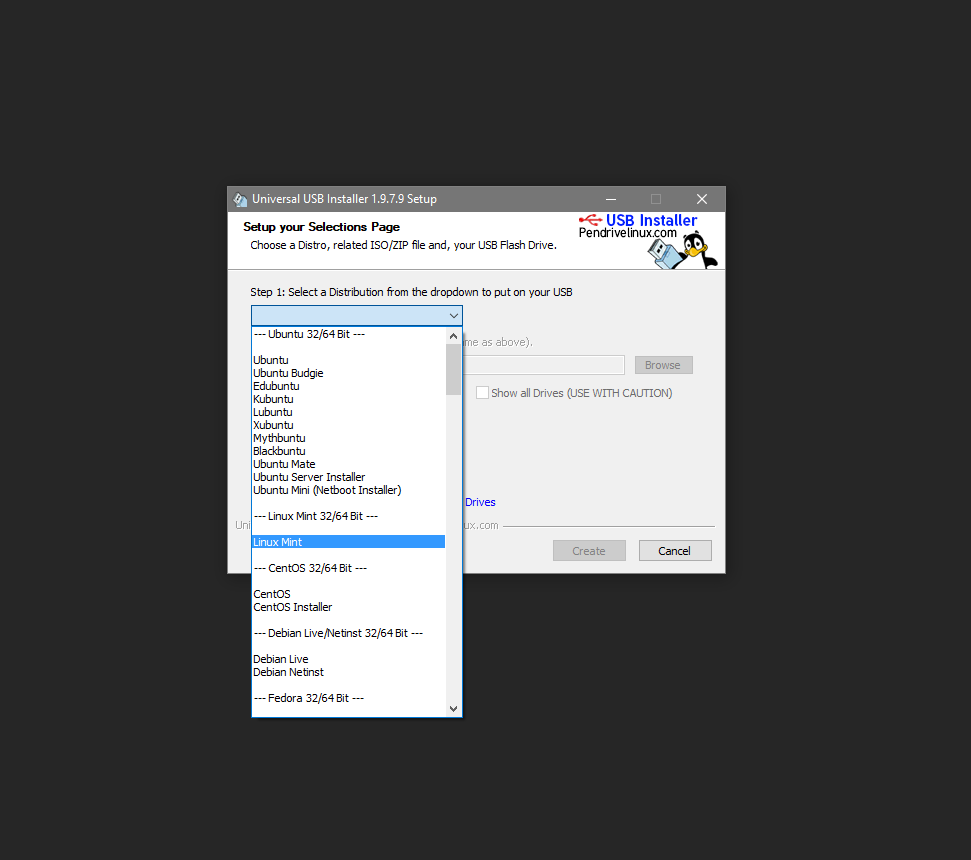
- click browse to find the iso you downloaded
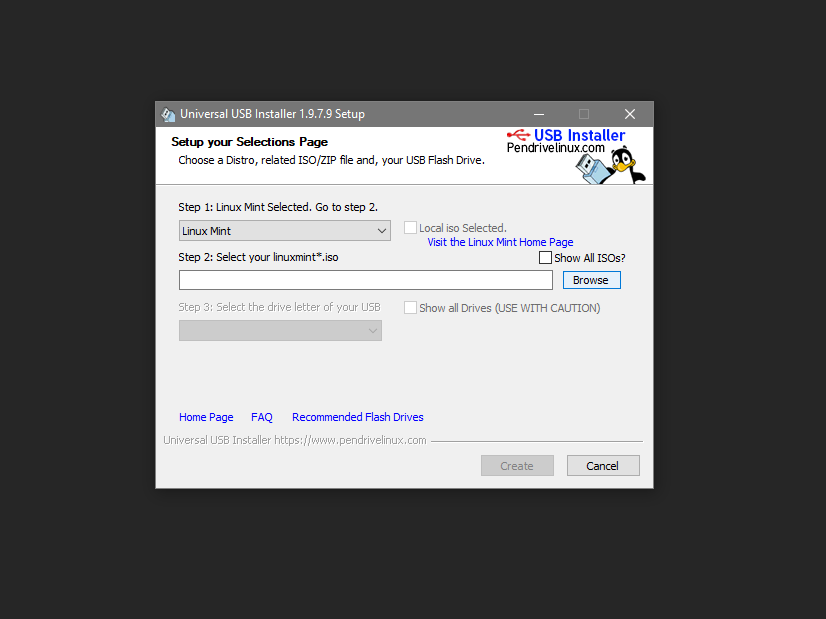
- select the usb
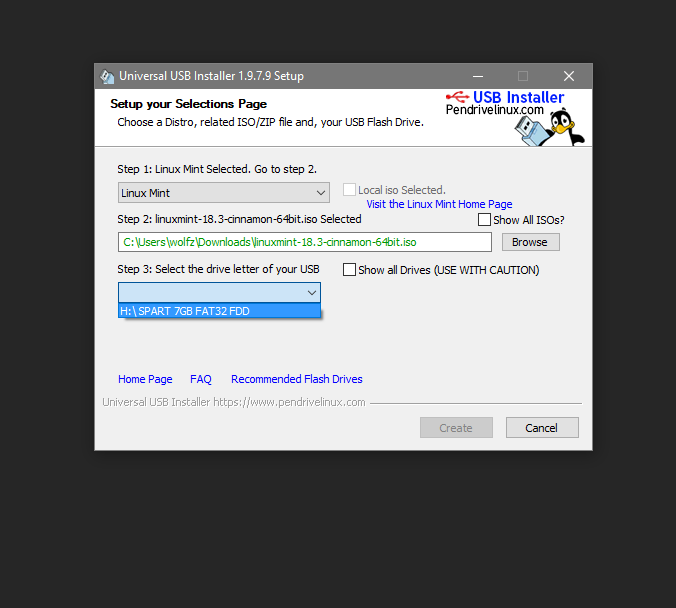
- select create
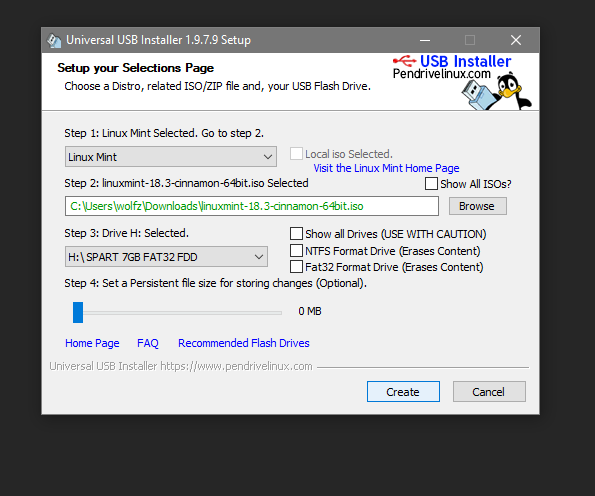
- done
Rufus
[ Instructions, Links, and Screenshots done by @Novasty ]
Another tool to create bootable USB drives
Steps:
- Download Rufus and the iso for your linux
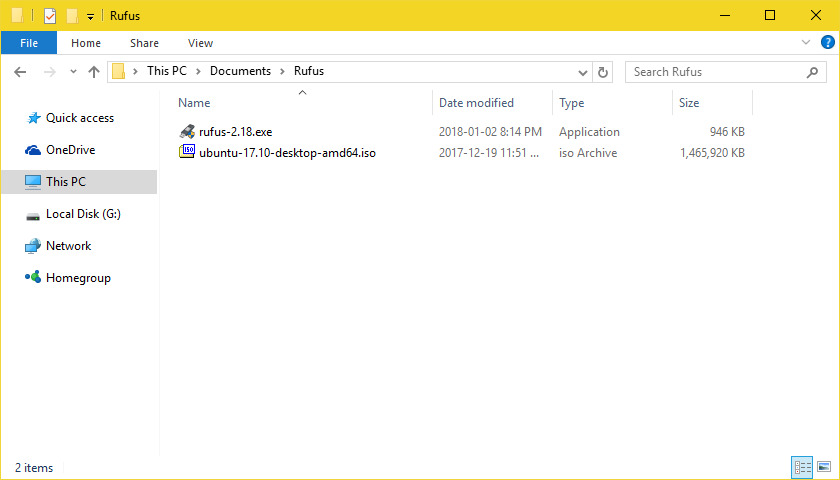
- Plug in the USB
- Open Rufus
- Select your USB
- Select your ISO
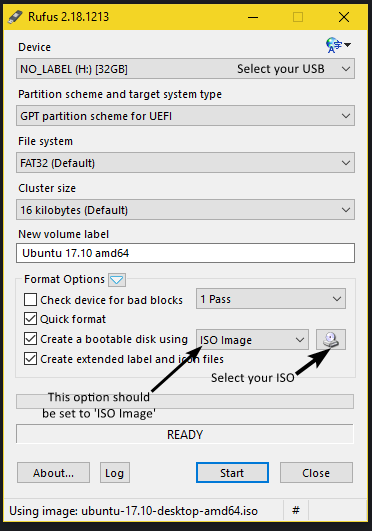
- Click “Start”
- Done
Partition the hard drive
During the Installing of Linux you’ll be given the option of just installing on part of the hard drive or all of it. Regardless of what you do that portion you select to install linux on will be partitioned. What does partitioning actually do? In linux it’s creating sectors on your hard drive.
Guide to Disk and Disk Partitions in Linux
If you want to take dive on partitioning you have two ways of doing it in linux:
Partitioning the Hard Drive Using gparted
Partitioning the Hard Drive Using fdisk
Desktop Environments
For Linux there is more there one Desktop Environment. There are more than what is listed here but these are the most well known ones. What Desktop Environment you use should come down to what do you need or want from it. Each Desktop Environment can be customized to a certain level.
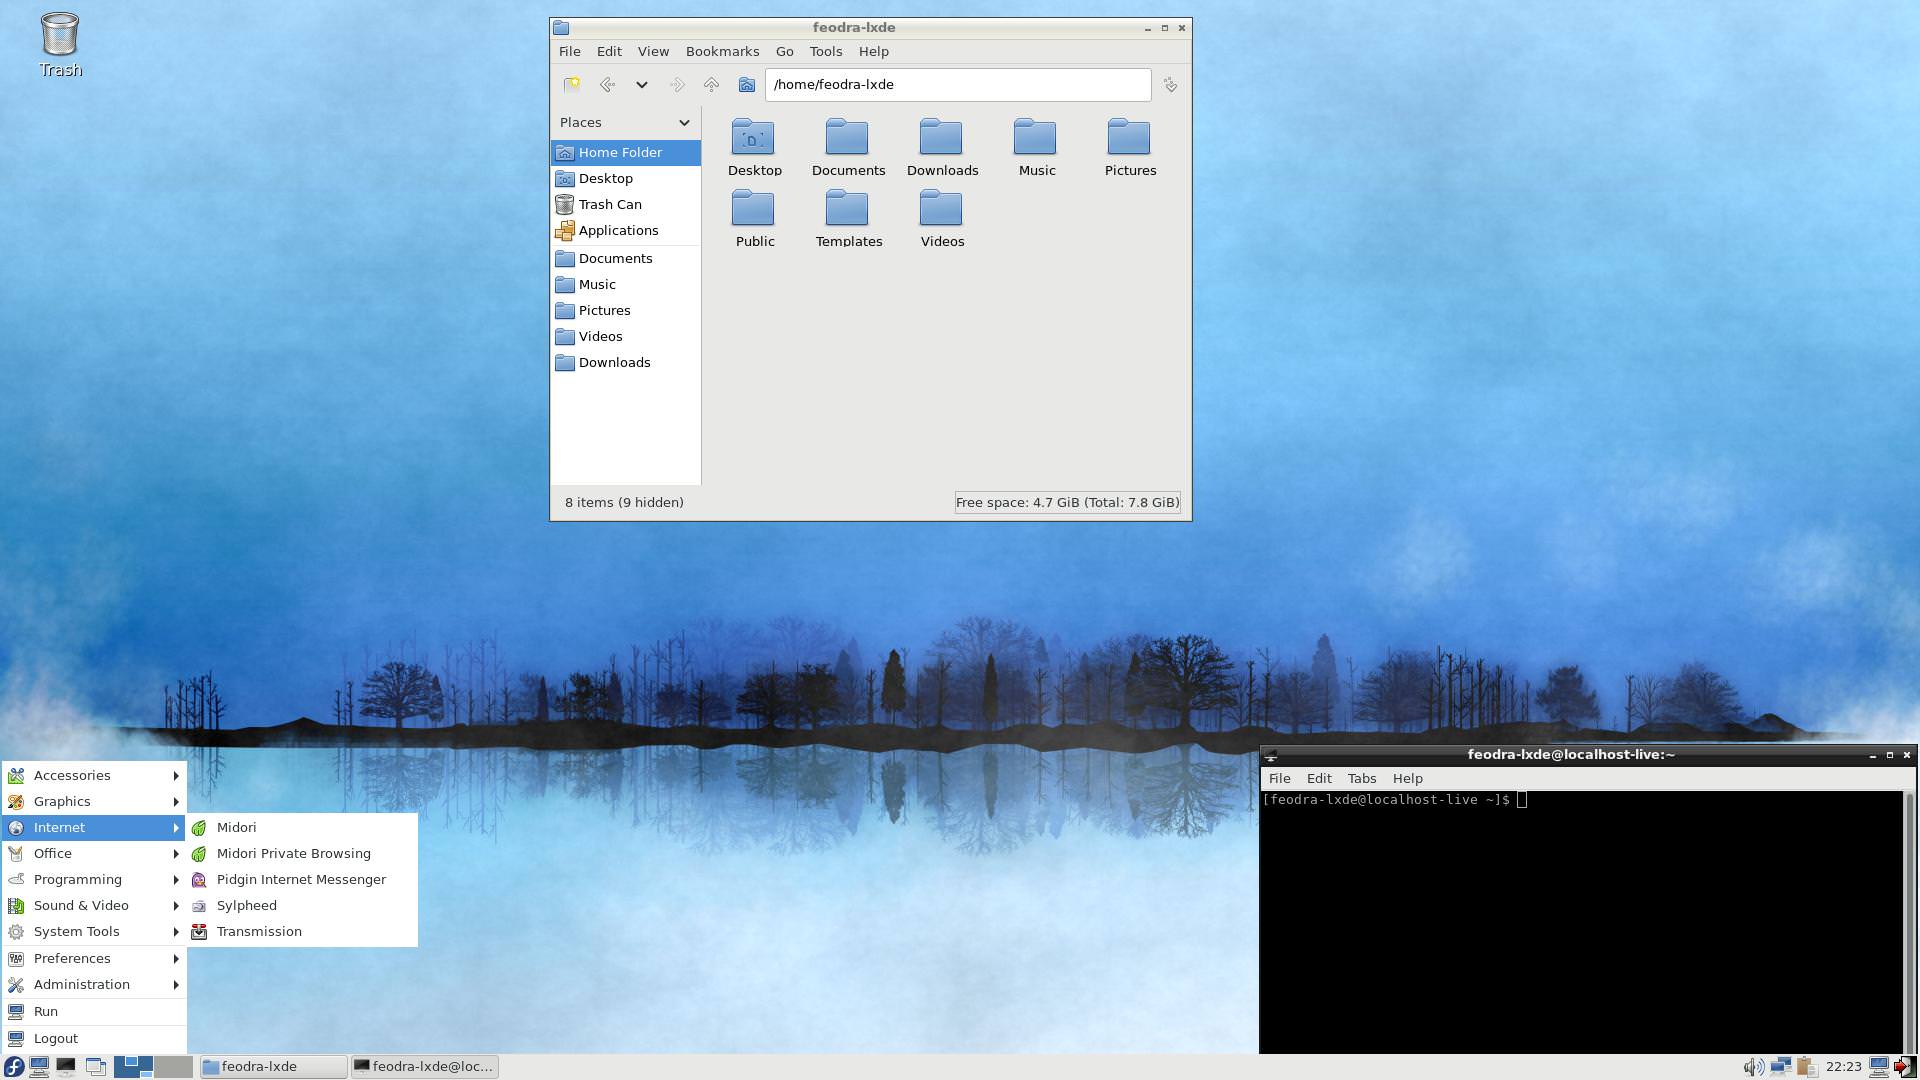
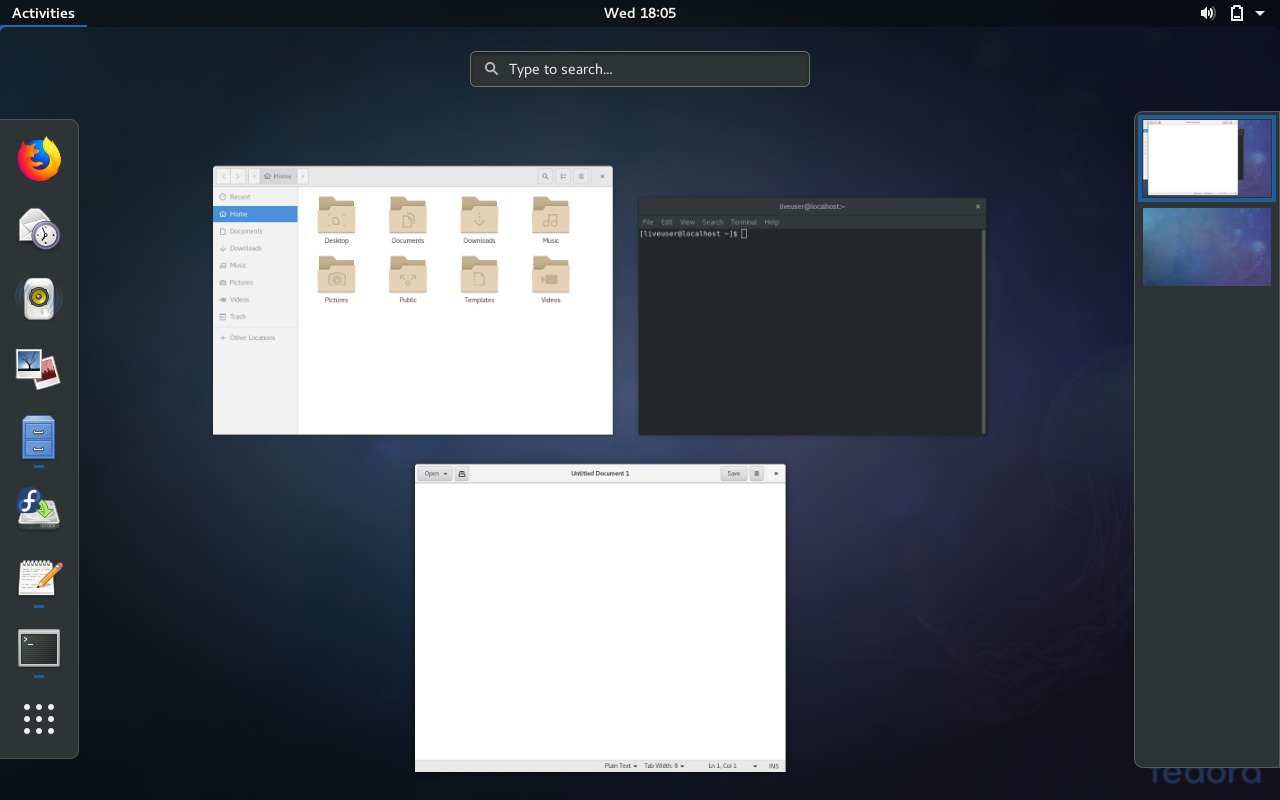
LXDE - Lightweight X11 Desktop Environment
LXDE is designed to be light on the resources it uses for the desktop. It uses little ram and cpu while still looking good.
Example of LXDE taken from Fedora LXDE desktop website:
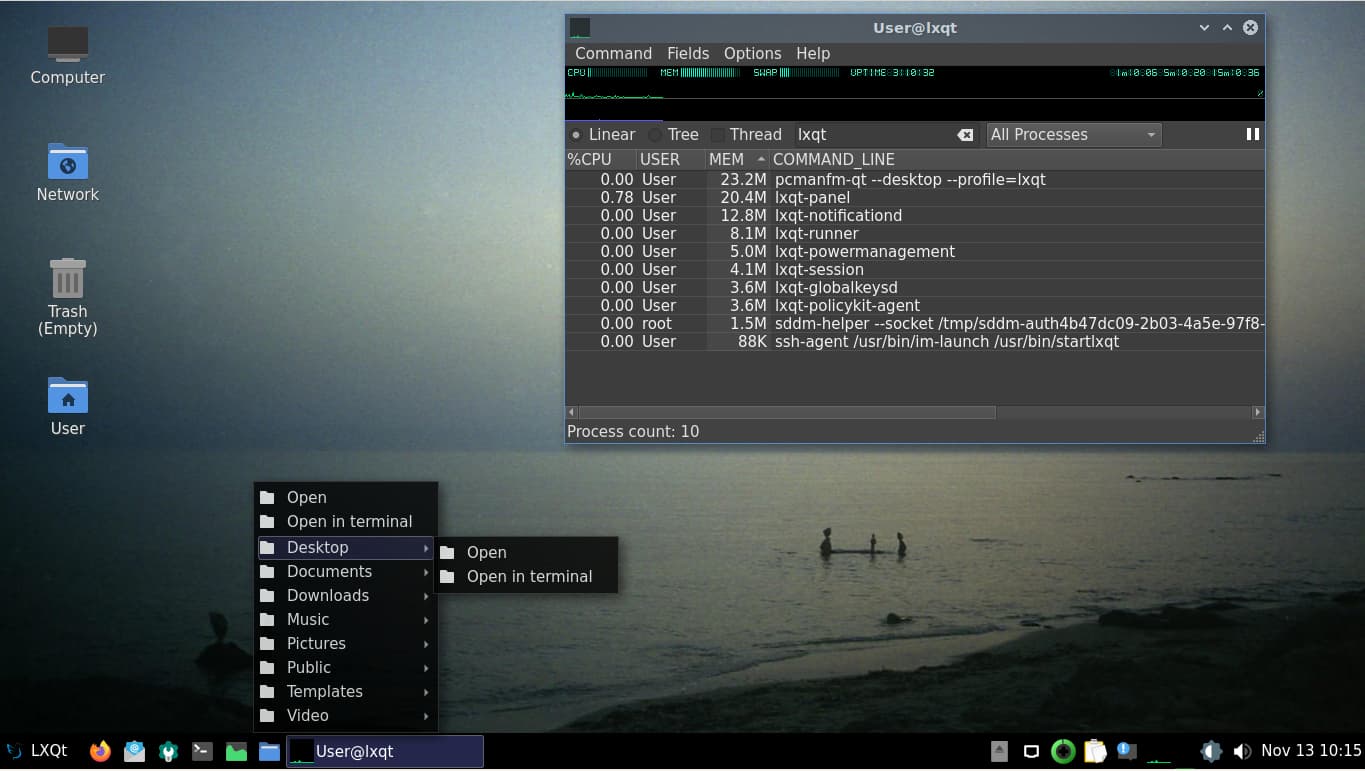
LXQt - The Lightweight Qt Desktop Environment
LXQt is also designed to be light on resources it uses for the desktop. It also uses little ram and cpu while still looking good. It was created by the same person who created LXDE.
Example of LXQt from LXQt’s desktop website:
XFCE
XCFE is also designed to be light on the resources it uses for the desktop.
Example XCFE on Linux Mint

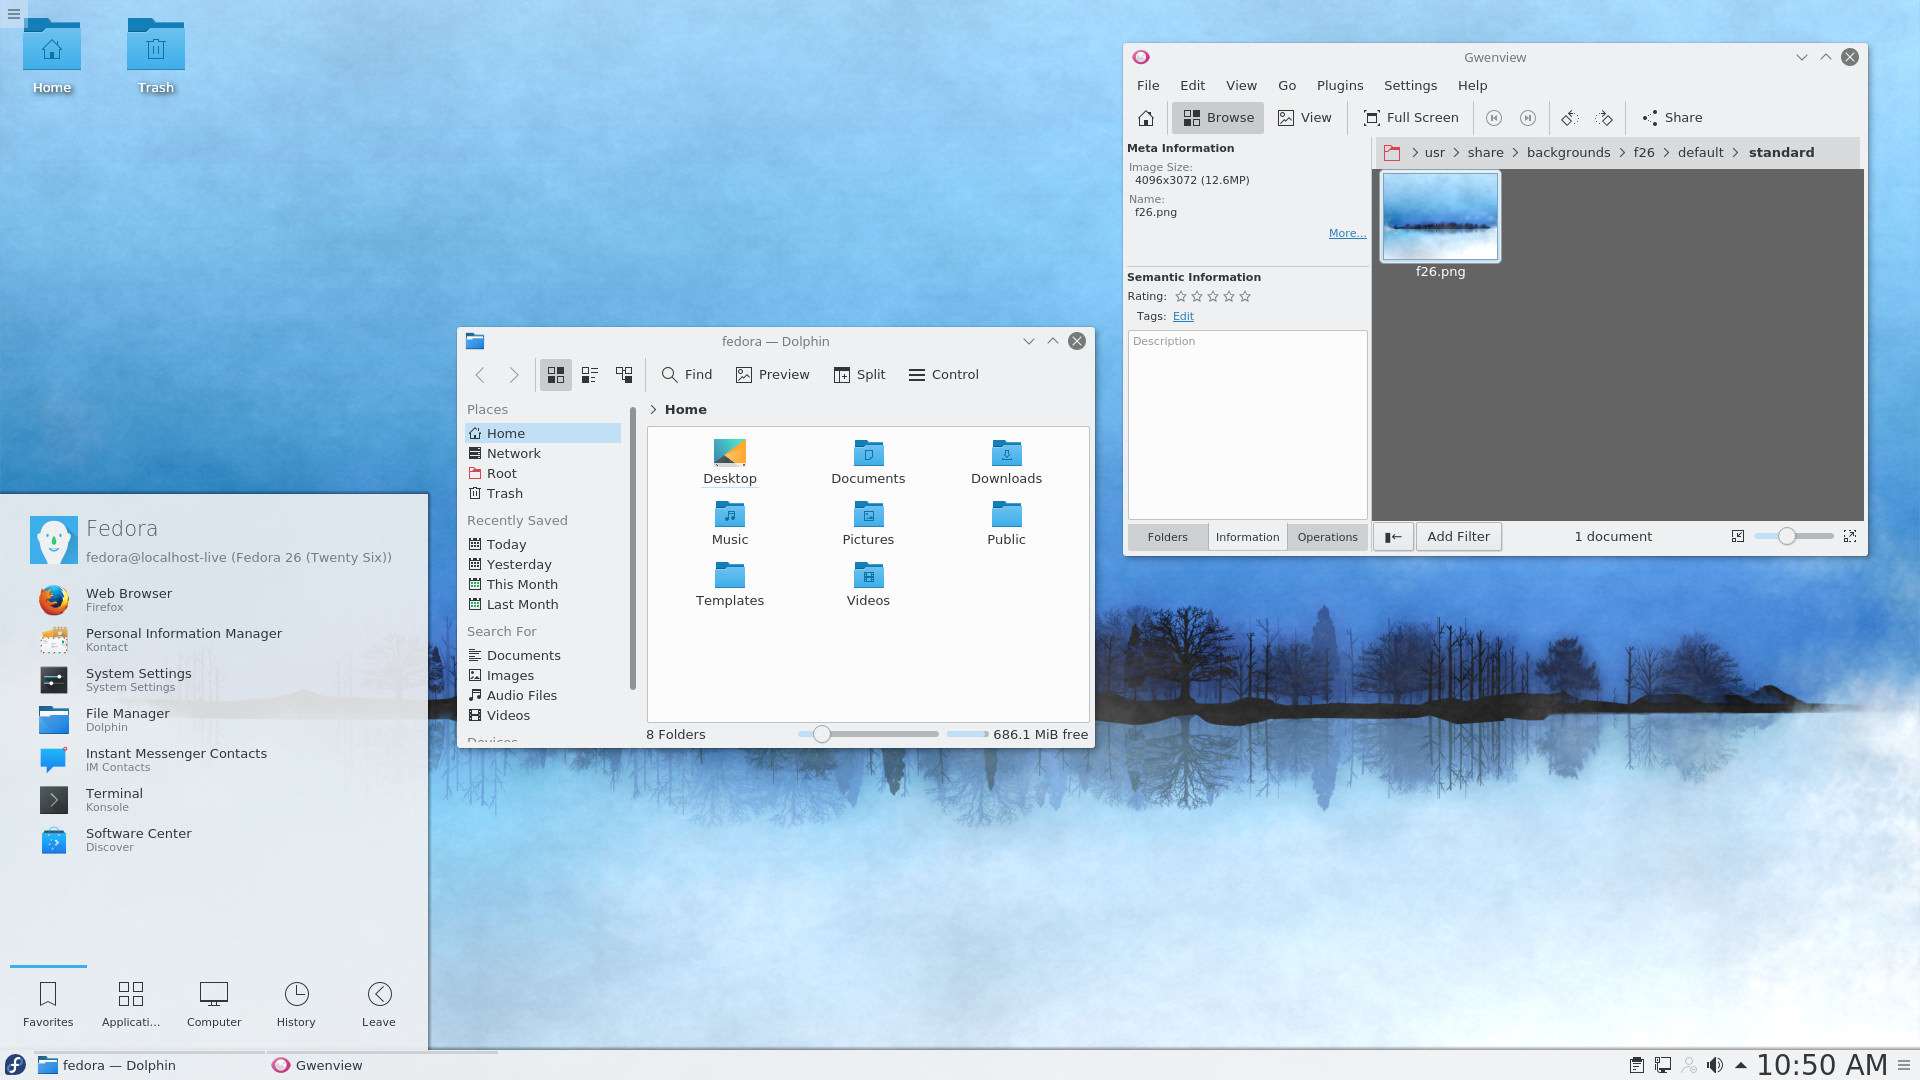
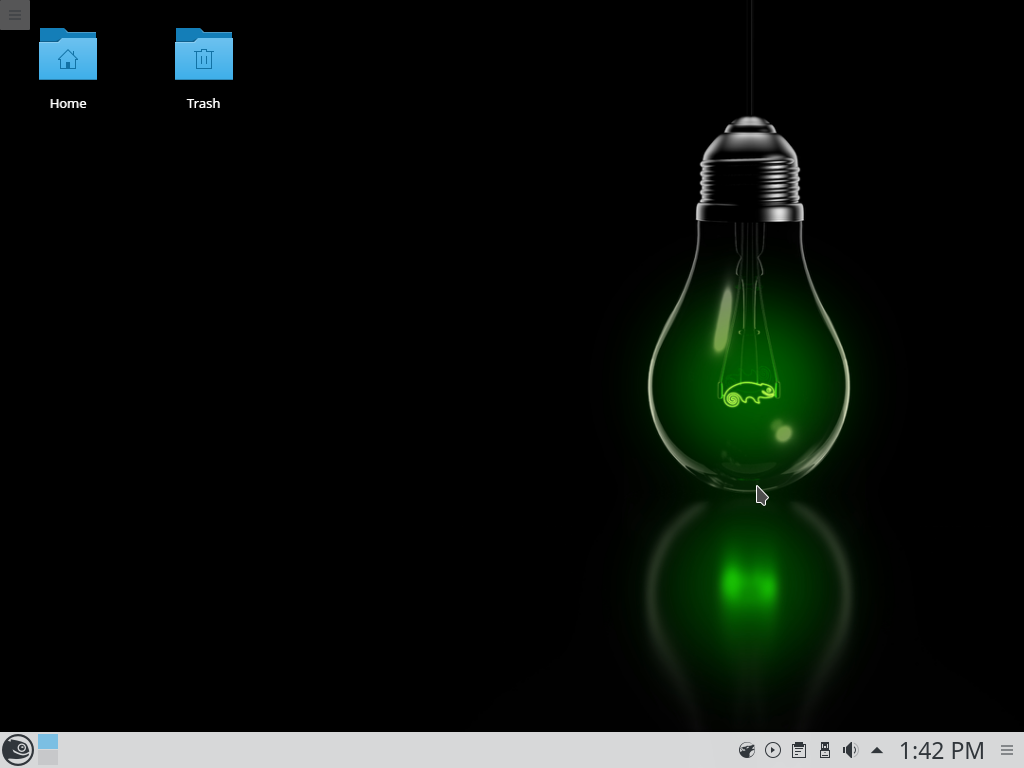
KDE
KDE designed with utility and looks. It is designed with tinker/power users in mind.
Example of KDE taken from KDE Plasma Desktop website:
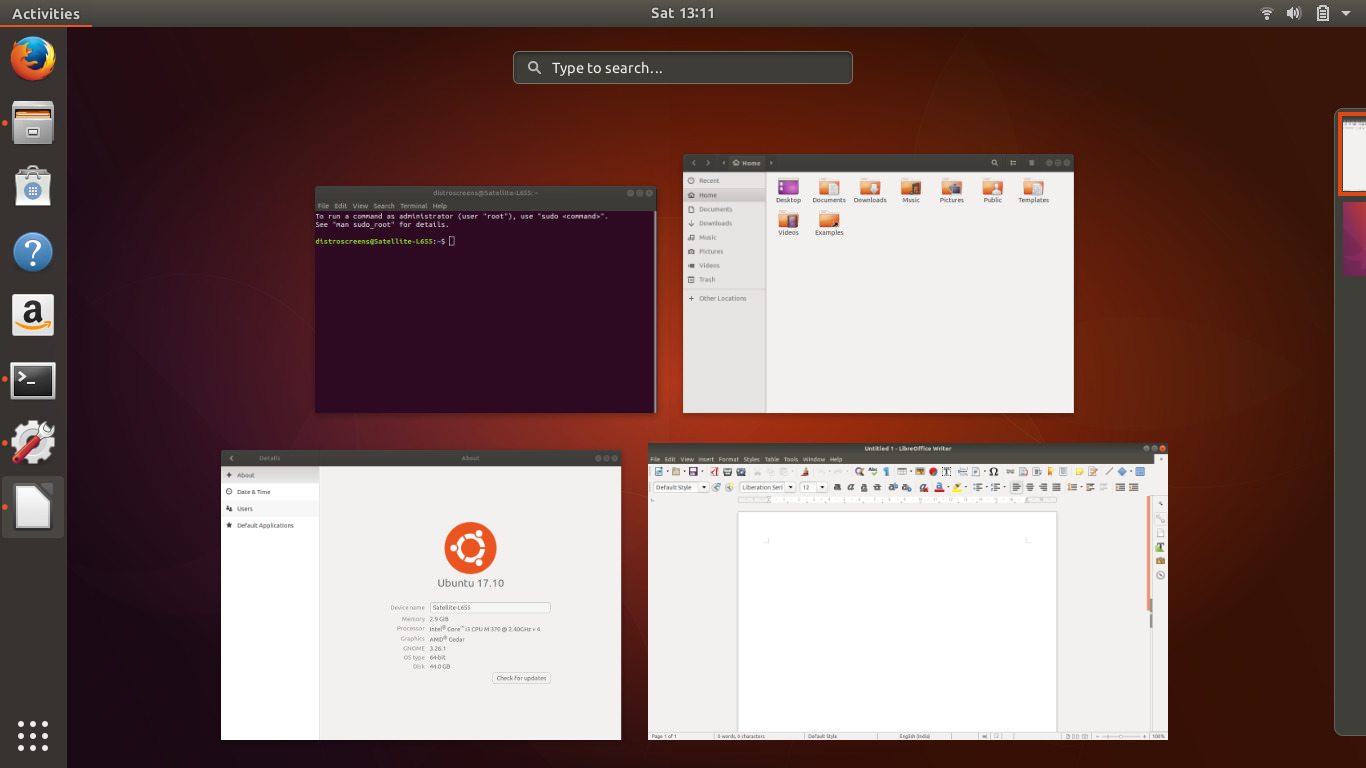
GNOME
GNOME is a well balanced desktop environment. The extension you can use for it take it from simple desktop environment and to a useful utility.
Example of GNOME taken from GNOME website:

MATE
MATE is a fork of GNOME 2 with active development. It follows an older layout and design philopshy but it is a well made and maintained desktop environment. It is one of Linux Mints default enivorments
Example of MATE taken from Linux Mate website:
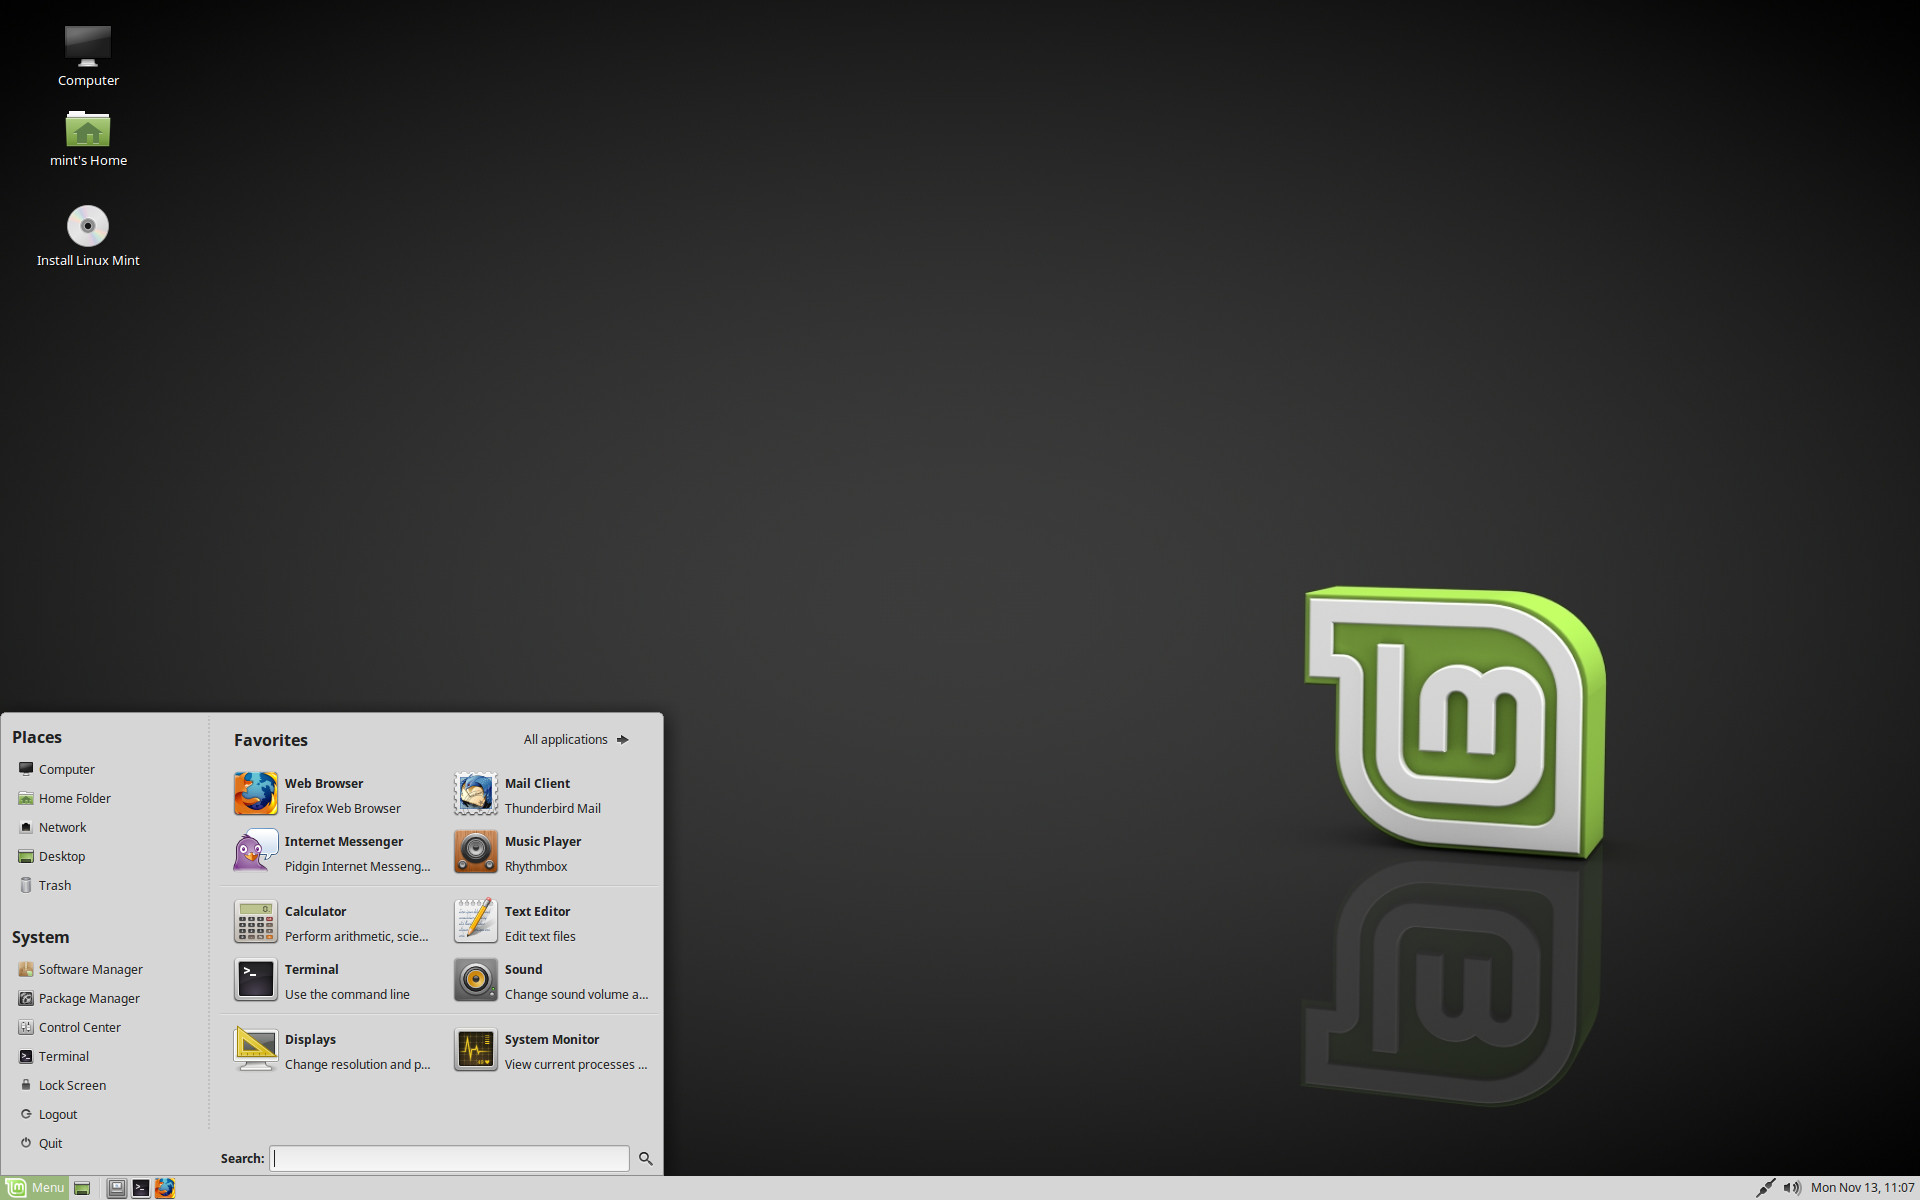
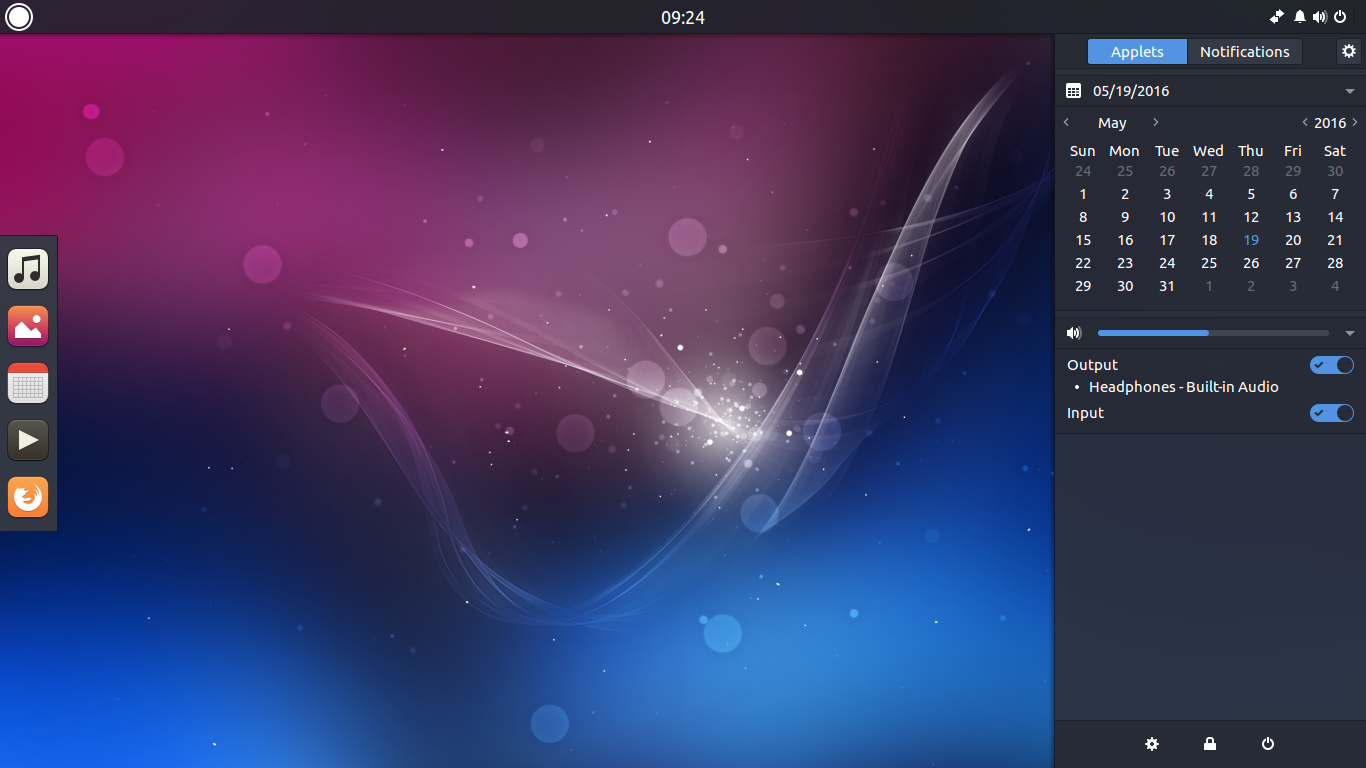
Cinnamon
Cinnamon is forked from GNOME shell. However it is designed to be more modern in look and how it operates. It is also one of Linux Mints default desktop environments.
Example of Cinnamon taken from the Linux Mint website:

Budgie
From Budgie’s own website:
Focused on simplicity and elegance. Designed with the modern user in mind.
Example taken from ubuntubudgie website:
Window Managers
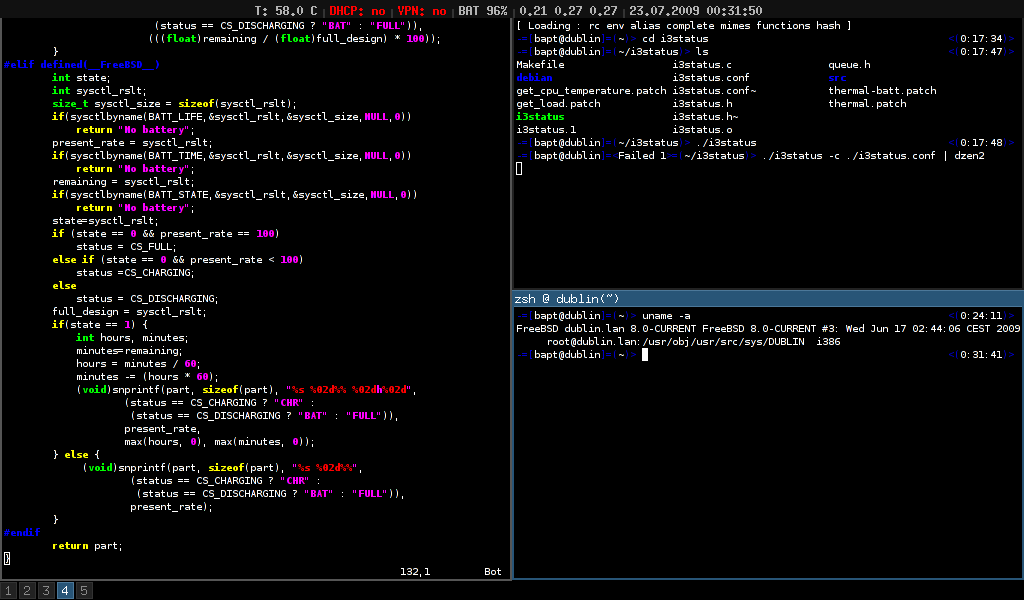
i3
i3 is an advanced level window manager. It operates on the basis of tiling. You navigate by keyboard.
example of i3 in action from i3 website:
awesome
It is also an advanced level windows manager. It also uses a tile based system and keyboard to navigate. It is designed to be lightweight.
Example of awesome in action from awesome github:

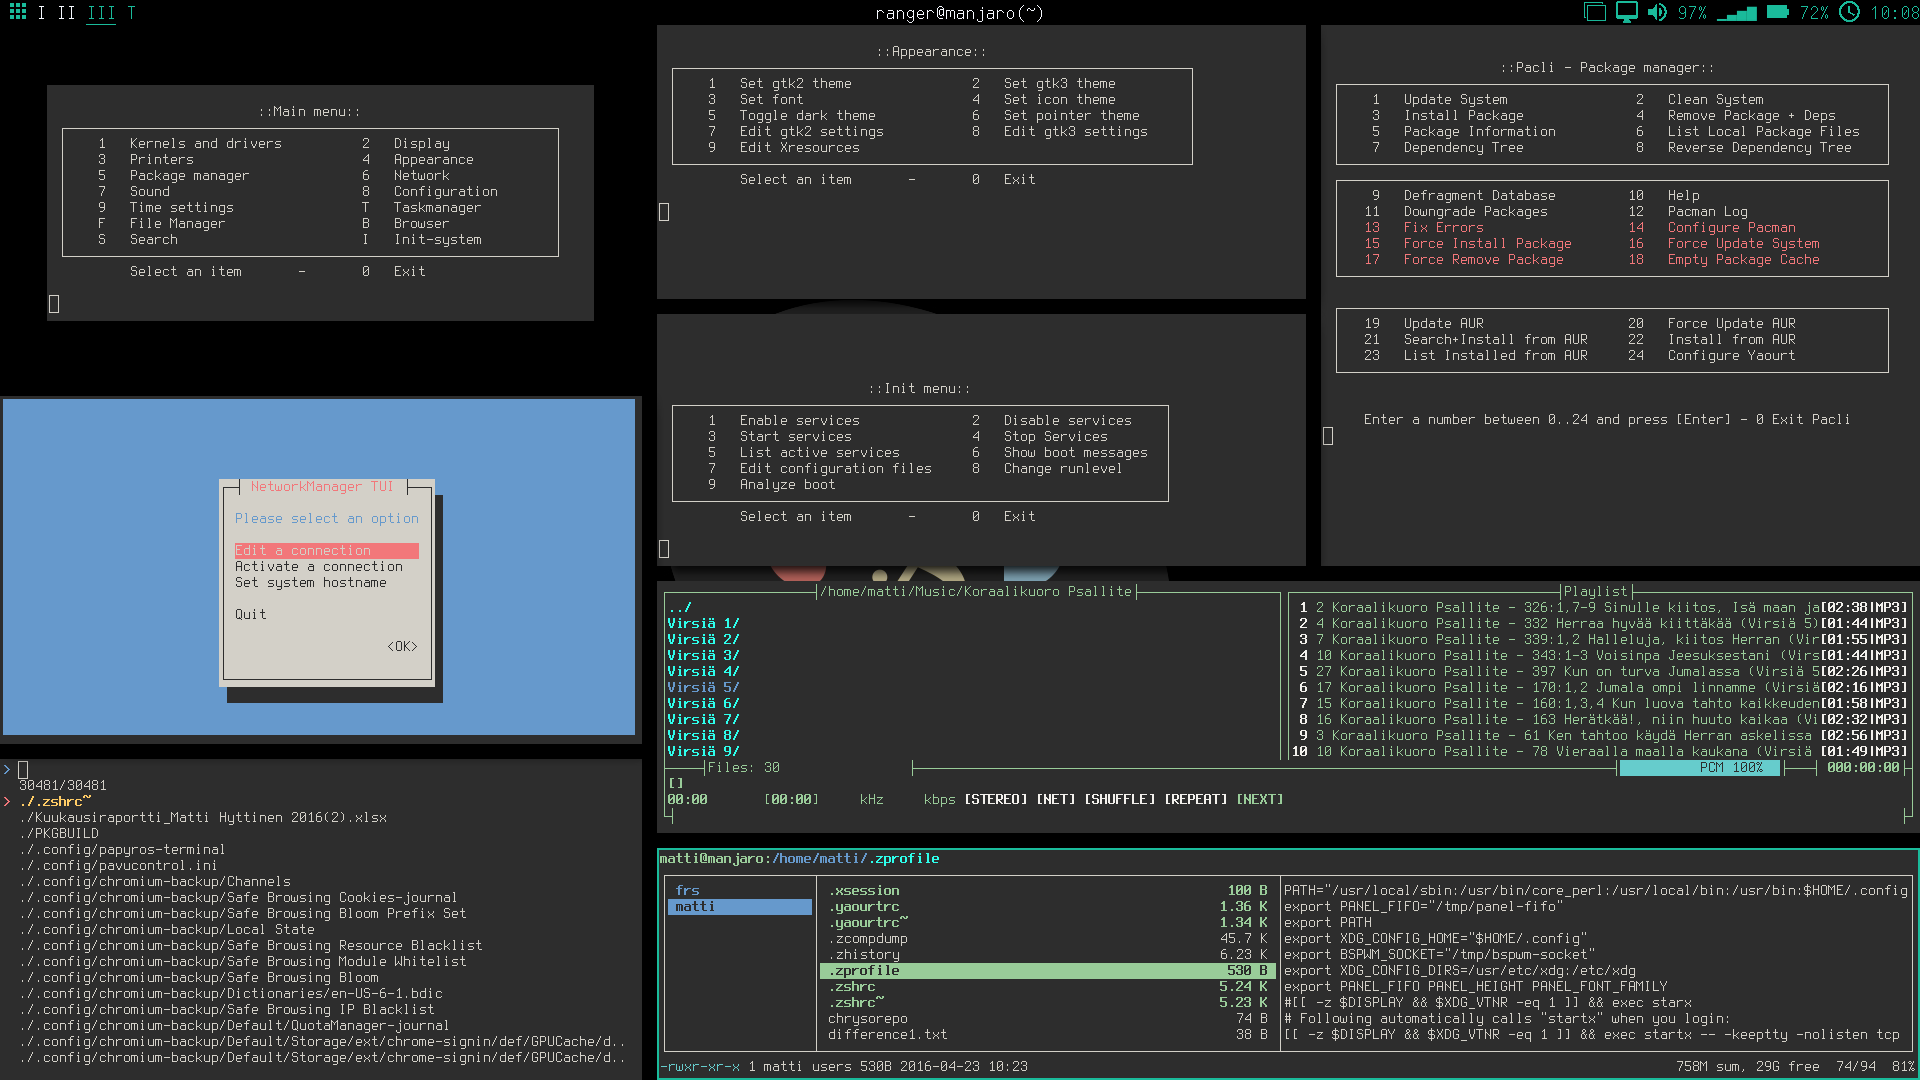
bspwm
bspwm is another advanced level windows manager. It is also a tile based system that you navigate with keyboard.
The github is where you’ll find all the documentation and how to use it.
example of bswm from Manjaro forum:
Distros
Note on graphics: AMD graphic drivers are built in the exception being vega but this will get patched for the distros.
Linux Mint
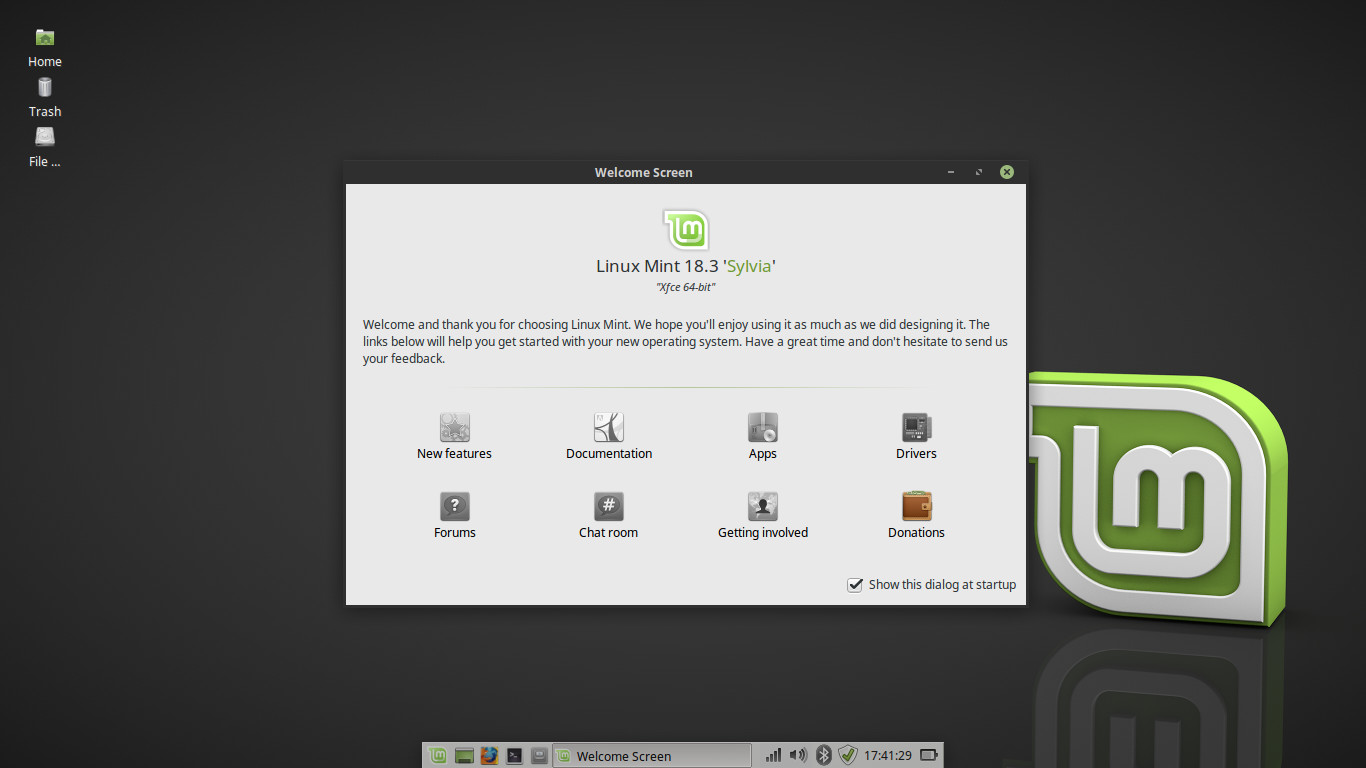
Linux Mint is designed to be simple, easy to use, and not worry about it. It is also one of the light resource using Linux distros. The require specs to use it are low enough you can install it in a low spec laptop. It doesn’t use a lot of resources.
Who is it for: People who want a simple stable user friendly linux. Also for people who want a lightwieght linux distro. It is a good beginneer level linux.
Basic Terminal Commands you may need to know
Backup Tool:
mintBackup - It backs up your files and currently installed programs.
Proprietary Codecs:
Linux Mint will install the Proprietary codecs for you during initial installation.
Installing Nvidia Drivers:
- Run the Driver Manager.
- Choose the NVIDIA drivers and wait for them to be installed.
- Reboot the computer.
Ubuntu
Ubuntu is one the most well know linux distros. It isn’t on the bleeding edge and is well maintained.
Who is it for?: Beginner or a power user. People that want a pretty well maintained distro.
Basic Ubuntu Terminal Command Line
Proprietary Codecs to get using console command:
sudo apt-get install ubuntu-restricted-extras
Uncomplicated Firewall is Ubuntu Firewall system. Gufw can be used the graphic user interface for Uncomplicated Firewall. You can also interact with in terminal.
Snaps
Snaps is Ubuntu’s package type. It is designed to be universal and work with any linux distro. Meaning you can run Ubuntu base programs on other Linux distros.
OpenSUSE Leap
There are two different flavors of OpenSUSE. One is for beginners. The other is for Intermediate Linux Users. Currently Leap is the one for beginners but still can be used for advance level stuff. OpenSUSE is well tested before it is released.
Who is it for: Beginners, People that want to do some server based stuff. People that want a well tested distro.
The Update Manager:
Recommended Third Party Repositories: Packman
How to install Proprietary Codecs
Installing Nvidia Drivers - Note this guide can be used for both Leap and Tumbleweed
About YaST
YaST is one of openSUSE’s unique features. It stands for Yet another Setup Tool. It is simple to use and allows you to customize and configure your system during & after you install openSUSE.
OpenSUSE Tumbleweed
[Additional Info from @Eden has been incorporated ]
OpenSUSE uses automated tested on Tumbleweed. While it is a rolling release it is has better testing than others.
Who is it for: Those that want to be on a stable bleeding edge for linux stuff.
Installing Codecs on Tumbleweed
Open Build Service
Open Build Service automatically builds package for various linux distros.
Fedora
[Additional Information about Fedora from @Eden has been incorporated ]
Fedora is designed to be leading on technology. Everything is tested before being implemented in the release. Updates every six months and each release is supported for 2 years. Fedora comes with a media writer application when you download it on windows.
Who is it for: Beginners and developers who might want to play with a linux that has docker support built in from the start. Its a good “get things done” distro.
Recommended 3rd Party Repositories to add:
- RPM Fusion - includes most software which may include non free components (vlc, media codecs, nvidia drivers etc.)
- negativo - has repos for media codecs and nvidia drivers, the nvidia driver repo in @Edens opinion is a little better.
Fedora Package Management on the Command Line (DNF)
Backing Up Fedora with Duplicty
Codecs to install by command line:
gstreamer1
gstreamer1-libav
gstreamer1-plugins-bad-free
gstreamer1-plugins-bad-free-gtk
gstreamer1-plugins-bad-freeworld
gstreamer1-plugins-bad-nonfree
gstreamer1-plugins-base
gstreamer1-plugins-good
gstreamer1-plugins-ugly
gstreamer1-plugins-ugly-free
gstreamer1-plugin-mpg123
Flatpak
What is flatpak? Flatpak is a fairly new way of distrusting software for linux. Fedora uses it.
Additional info: Fedora utilises fwupd for firmware updates
Arch
From deviantart:

Arch is designed as a rolling release. It is also designed as what you see is what you get. There is a bit more work involved in the installation process but if you follow the guide, then you should be okay.
Who is it for: Those that want a rolling release distro. Those that want to create a custom Linux experience with just what they want and need. Advanced/Expert level linux users.
The Installation Guide for Arch Linux
There is also a quick guide from long ago on this forum:
“Quick” and Dirty Guide to an Arch Linux installation
I was able to use this guide to get Arch Linux up and running.
Backing Up Arch Linux with rsync
Proprietary Codecs [Also applies to Manjaro]:
pacman -S gstreamer1.12.4-1-plugins
Installing Nvidia Drivers Note Also applies to Antergos.
Manjaro
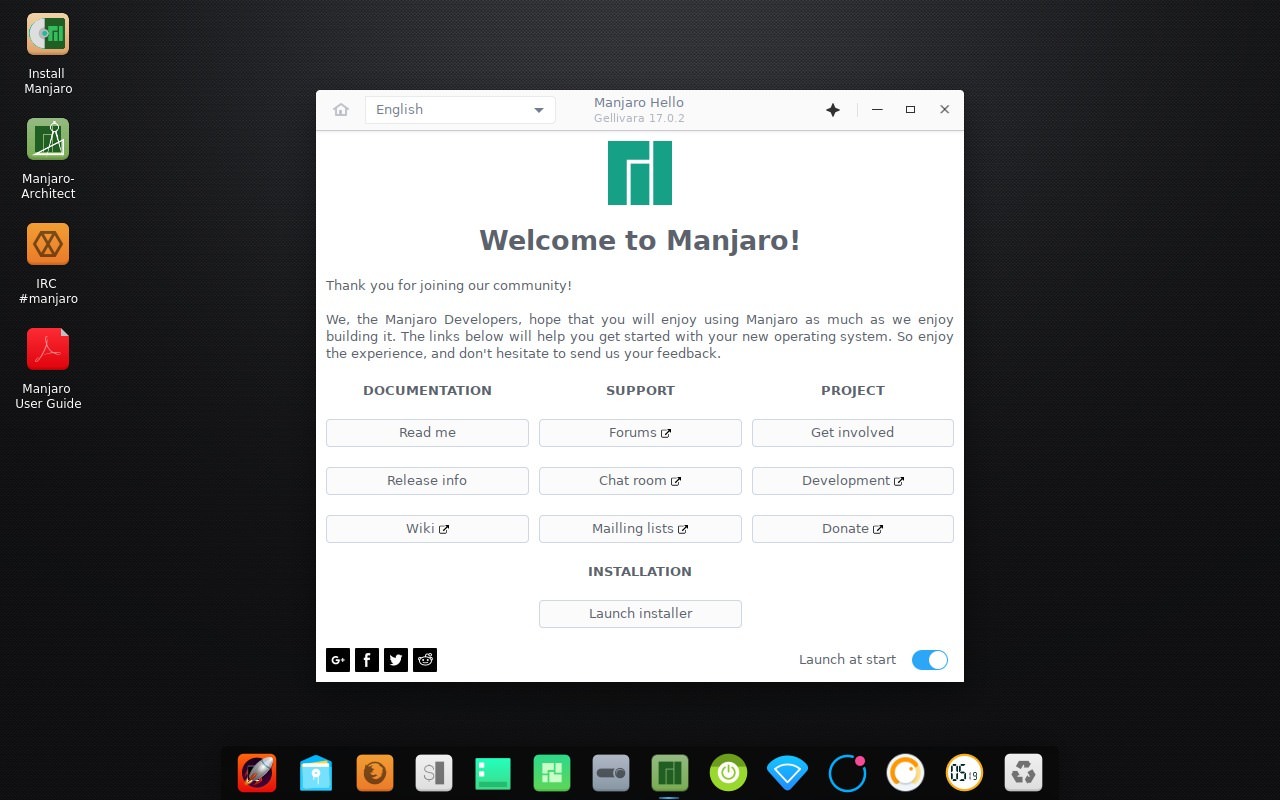
Manjaro is a distro forked off of Arch. Arch is the foundation, also being a rolling release. It is designed to be more user friendly
Who is it for: People that want a user friendly bleeding edge rolling release distro.
Installing Nvidia Drivers command line:
sudo mhwd -i pci video-nvidia
Antergos

Antergos is also a distro forked off of Arch. It is also designed to be more user friendly. There tagline is “Antergos for Everyone.”
Who is it for: People that want a user friendly bleeding edge rolling release distro.
Proprietary Codecs: Gives you the option to install during initial installation.
Debian
From deviantart:
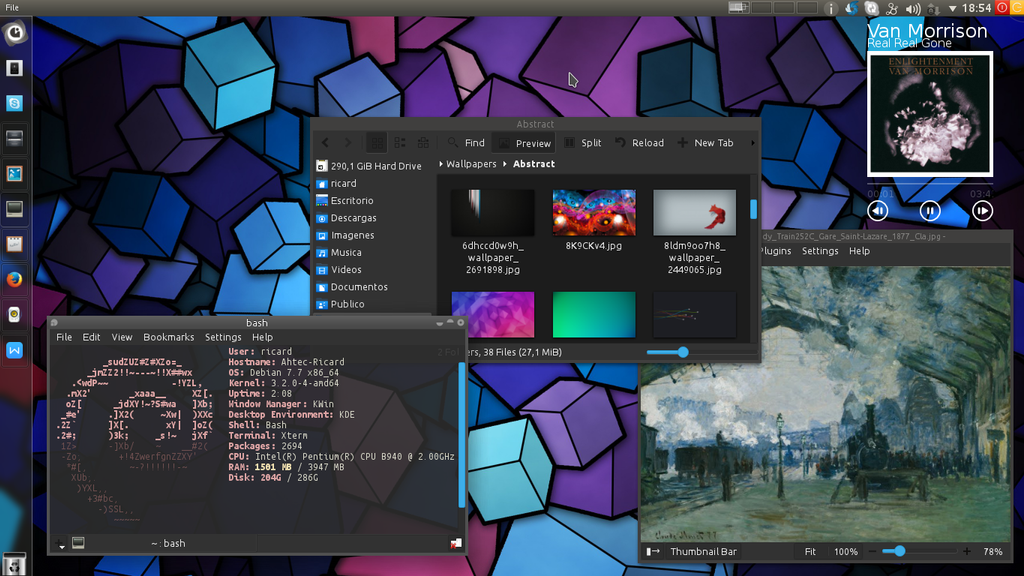
It is a lightweight Linux Distro. It is designed to run on almost everything. It is not a demanded OS. It is a community run distro and the community does a good job at maintain it. Each release is supported for 5 years.
Who is it for: People who want a lightweight distro that runs on almost everything and is well maintained and supported.
@Eden wrote a Review of Debian:
Proprietary Codecs installed by command line:
sudo apt-get install libav-tools libavcodec-extra-53 libavdevice-extra-53 libavfilter-extra-2 libavformat-extra-53 libavutil-extra-51 libpostproc-extra-52 libswscale-extra-2 flashplugin-nonfree ttf-mscorefonts-installer icedtea-plugin
Getting the Wi Fi Working in Debian
So Wi Fi does not work out of the box because none of the drivers are installed for wi fi. The reason is because they are proprietary drivers. You’ll need to add the repository for these drivers first.
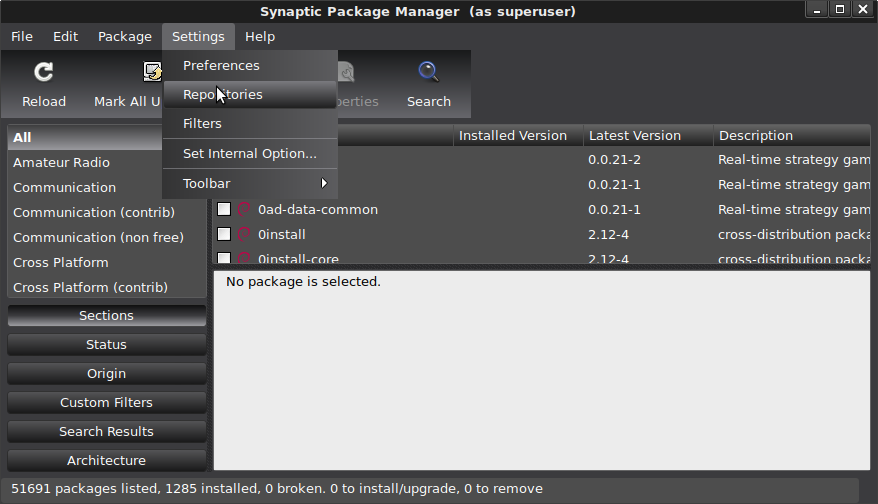
Open Synaptic Package Manager and select add repository:
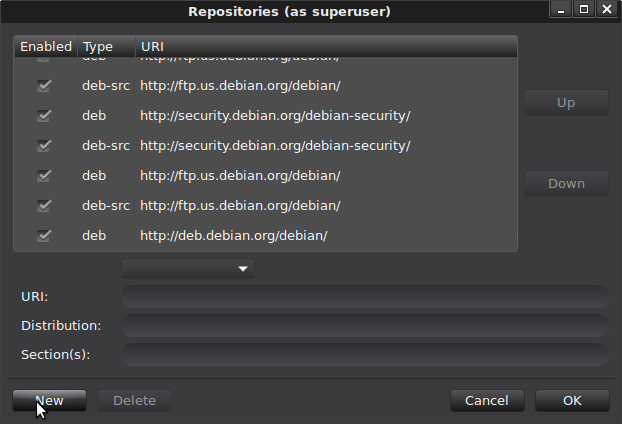
Click new:
In URI: Index of /debian
In Distribution: stretch
In Section(s): non-free contrib main
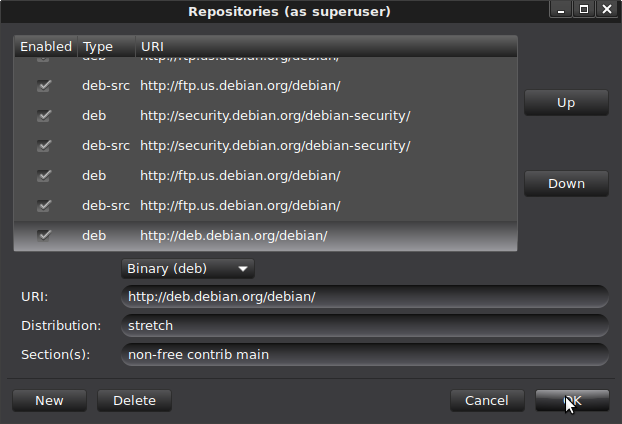
Then you’ll update/refresh.
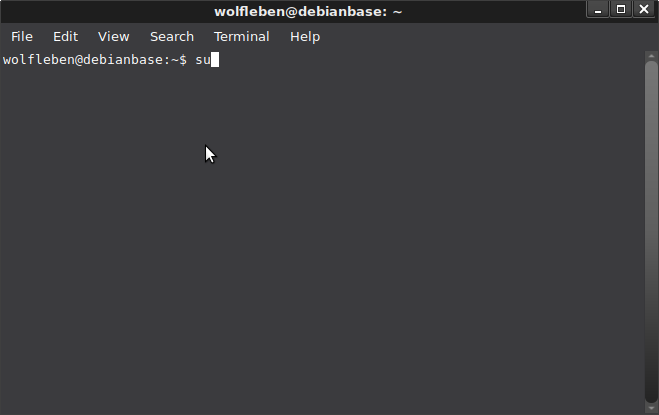
Next you need to figure out what driver you need for wi fi. For this you’ll need terminal and to log in as root.
To do that type su and enter. Then enter the password you set for root:
Next enter:
lspci -nn
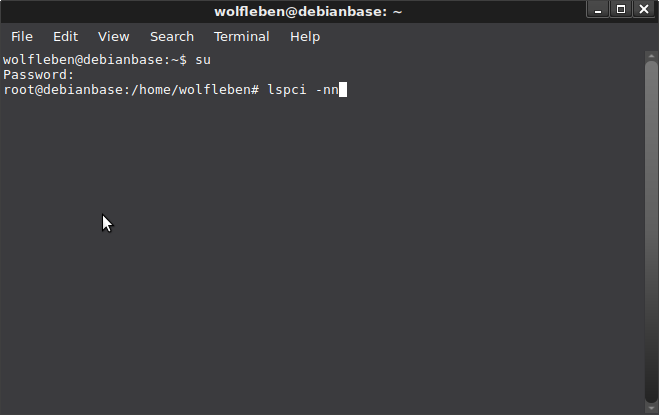
Press enter. You want to find Network Controller which will tell you what you wi fi device is. This is where you get the info you need to find your driver:
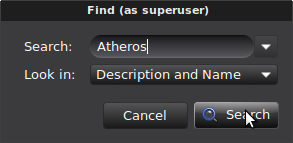
Next go back to synaptic manger and search for your driver:
Next select the mark for installation for your driver. Then click apply:
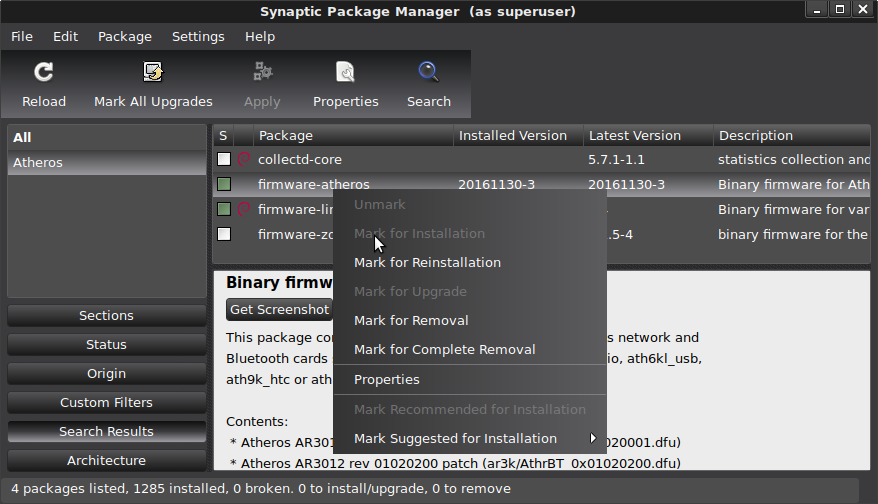
Next you’ll reboot. Wi Fi should work now:
![]()
For Those that want to play with Gentoo Redcore
Image from Distro Watch:
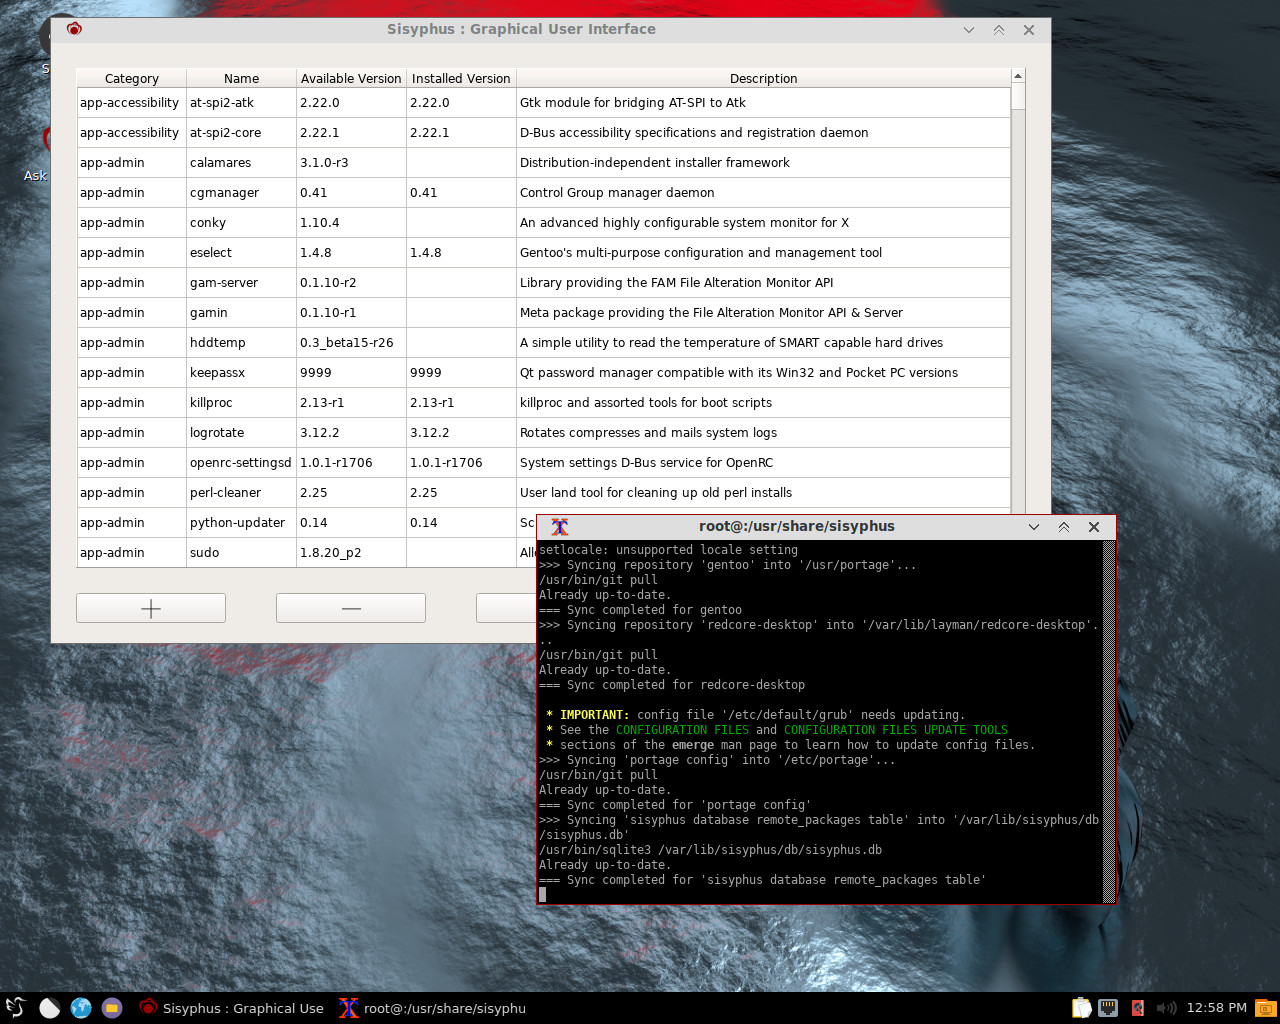
Redcore foundation is Gentoo. It is designed to be easy use ready to go version of Gentoo no compiling needed. It is a newer distro but has been maintained pretty well and has its own repository for maintaining and getting updates. Though with it be new there are likely to be issues.
Who is it for: People who want to play with an easy to use gentoo that works out the box. There may be some troubleshooting.
Utility Distro:
Kali
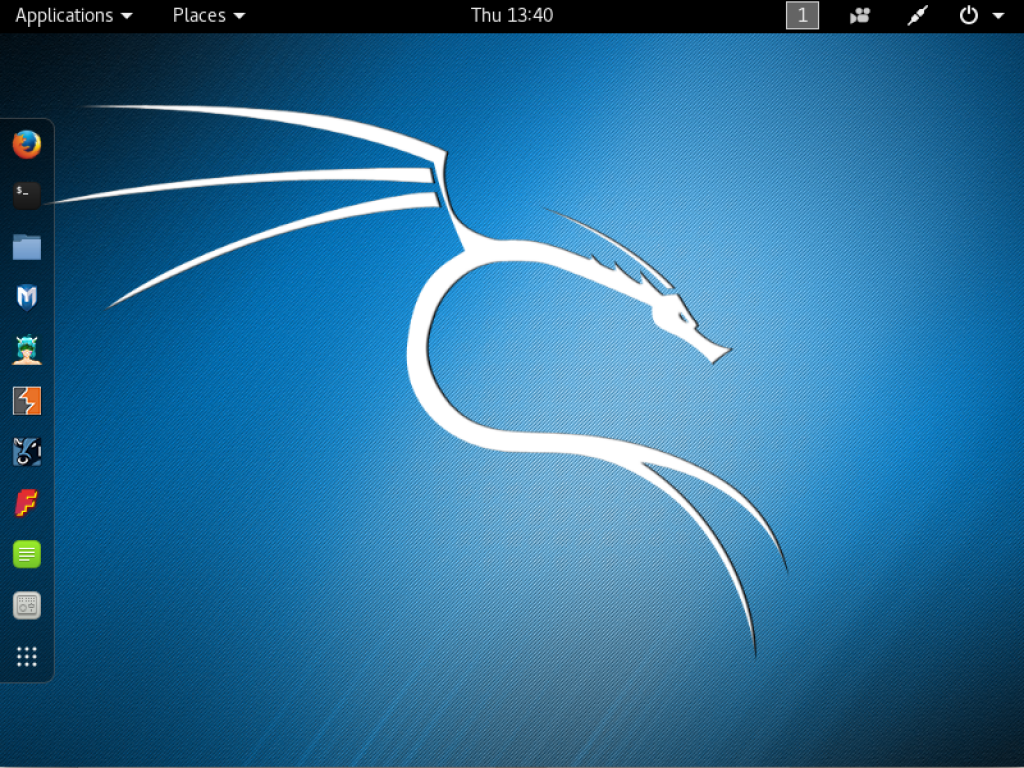
Kali OS is designed to be a tool. It has never been intended to be used as someones main operating system.
Who is it for: People who want to do Information Security. Not for beginners.
Getting Kali Installed and Running
Setting up a Firewall and Antivirus
This applies to all the distros in this guide except for redcore and kali.Uncomplicated Firewall
Even though Uncomplicated Firewall is designed for Ubuntu. It can be installed on the other distros is this guide. I recommend interacting with Uncomplicated Firewall using Gufw.
How to use Gufw - note this guide is for using it in ubuntu but most of it can be used for the other distros as well.
Firewalld [@Eden told me about it]
Use command line to launch a gui
firewall-config
clamav
For anti virus/malware you’re going to want to use clamav.
Playing Netflix, Hulu, and Amazon Video
To play Netflix, Hulu, and Amazon video you need a browser with built in DRM that is required to play the video. Just Install Chrome if you want to watch video on these services.
Rules for Contributing
If you decide to contribute to it, I only ask you to maintain the style/format.
If you make a whole new section please use the Headings format to link to it.
Any changes you do make sure you post the changes in the Wiki Meta to Discuss A Linux Distro Guide linked below.
Wiki Meta to Discuss A Linux Distro Guide
Go there if you want to discuss this guide, see what has been changed, and give suggestions on how to make it better.