1.4 DP L1KVM switch DIY remote

I’m using tinyusb as distributed with the PicoSDK.

Give me a bit to clean up the code and I’ll publish a repo.

The problem with the keyboard libraries, which I also ran into, is that you need to make sure its in bios compatibility mode, and that’s a bit tricky on some libs.

I did some research on arduino pro micro, it works as a keyboard, but some more magic is needed to make it work on a HID port, it seems like kvm switches first sees arduino as serial device and stops checking for HID :frowning: i’ll switch to teensy board, but my remotes 3d model file is empty :frowning: so i’ll have to use my master fusion 360 skills again :DD

one more problem i’ve encountered is usb-c to DisplayPort cables are not loved by kvm switches, switching from pc to mac which uses such cables often end up in black screen (more like most of the time). Maybe its the cable, but i think i’m using a good one from club 3d :frowning: already ordered caldigit usb-c pro dock, it has 2 display ports and connects through thunderbolt or usb-c. I have a belkin dock but displaylink software and two 4k monitors makes it impossible to use because of HUDGE lag, but at least it worked all the time while switching form pc to mac.

further more i noticed, that sometimes my logitech mx keys mini get confused if i’m on mac os or windows, as it has one key for cmd on mac and same key acts as alt on windows, and options key on mac and start key on windows. After switching for example form windows to mac’os, logitech keyboard still thinks that it has start key when it should be option, but i’ll do more testing later.

Edit: Also Logitech Unifying receiver works like a charm on hid usb port, but logitech bolt receiver works only on usb3 port.

So I did it!

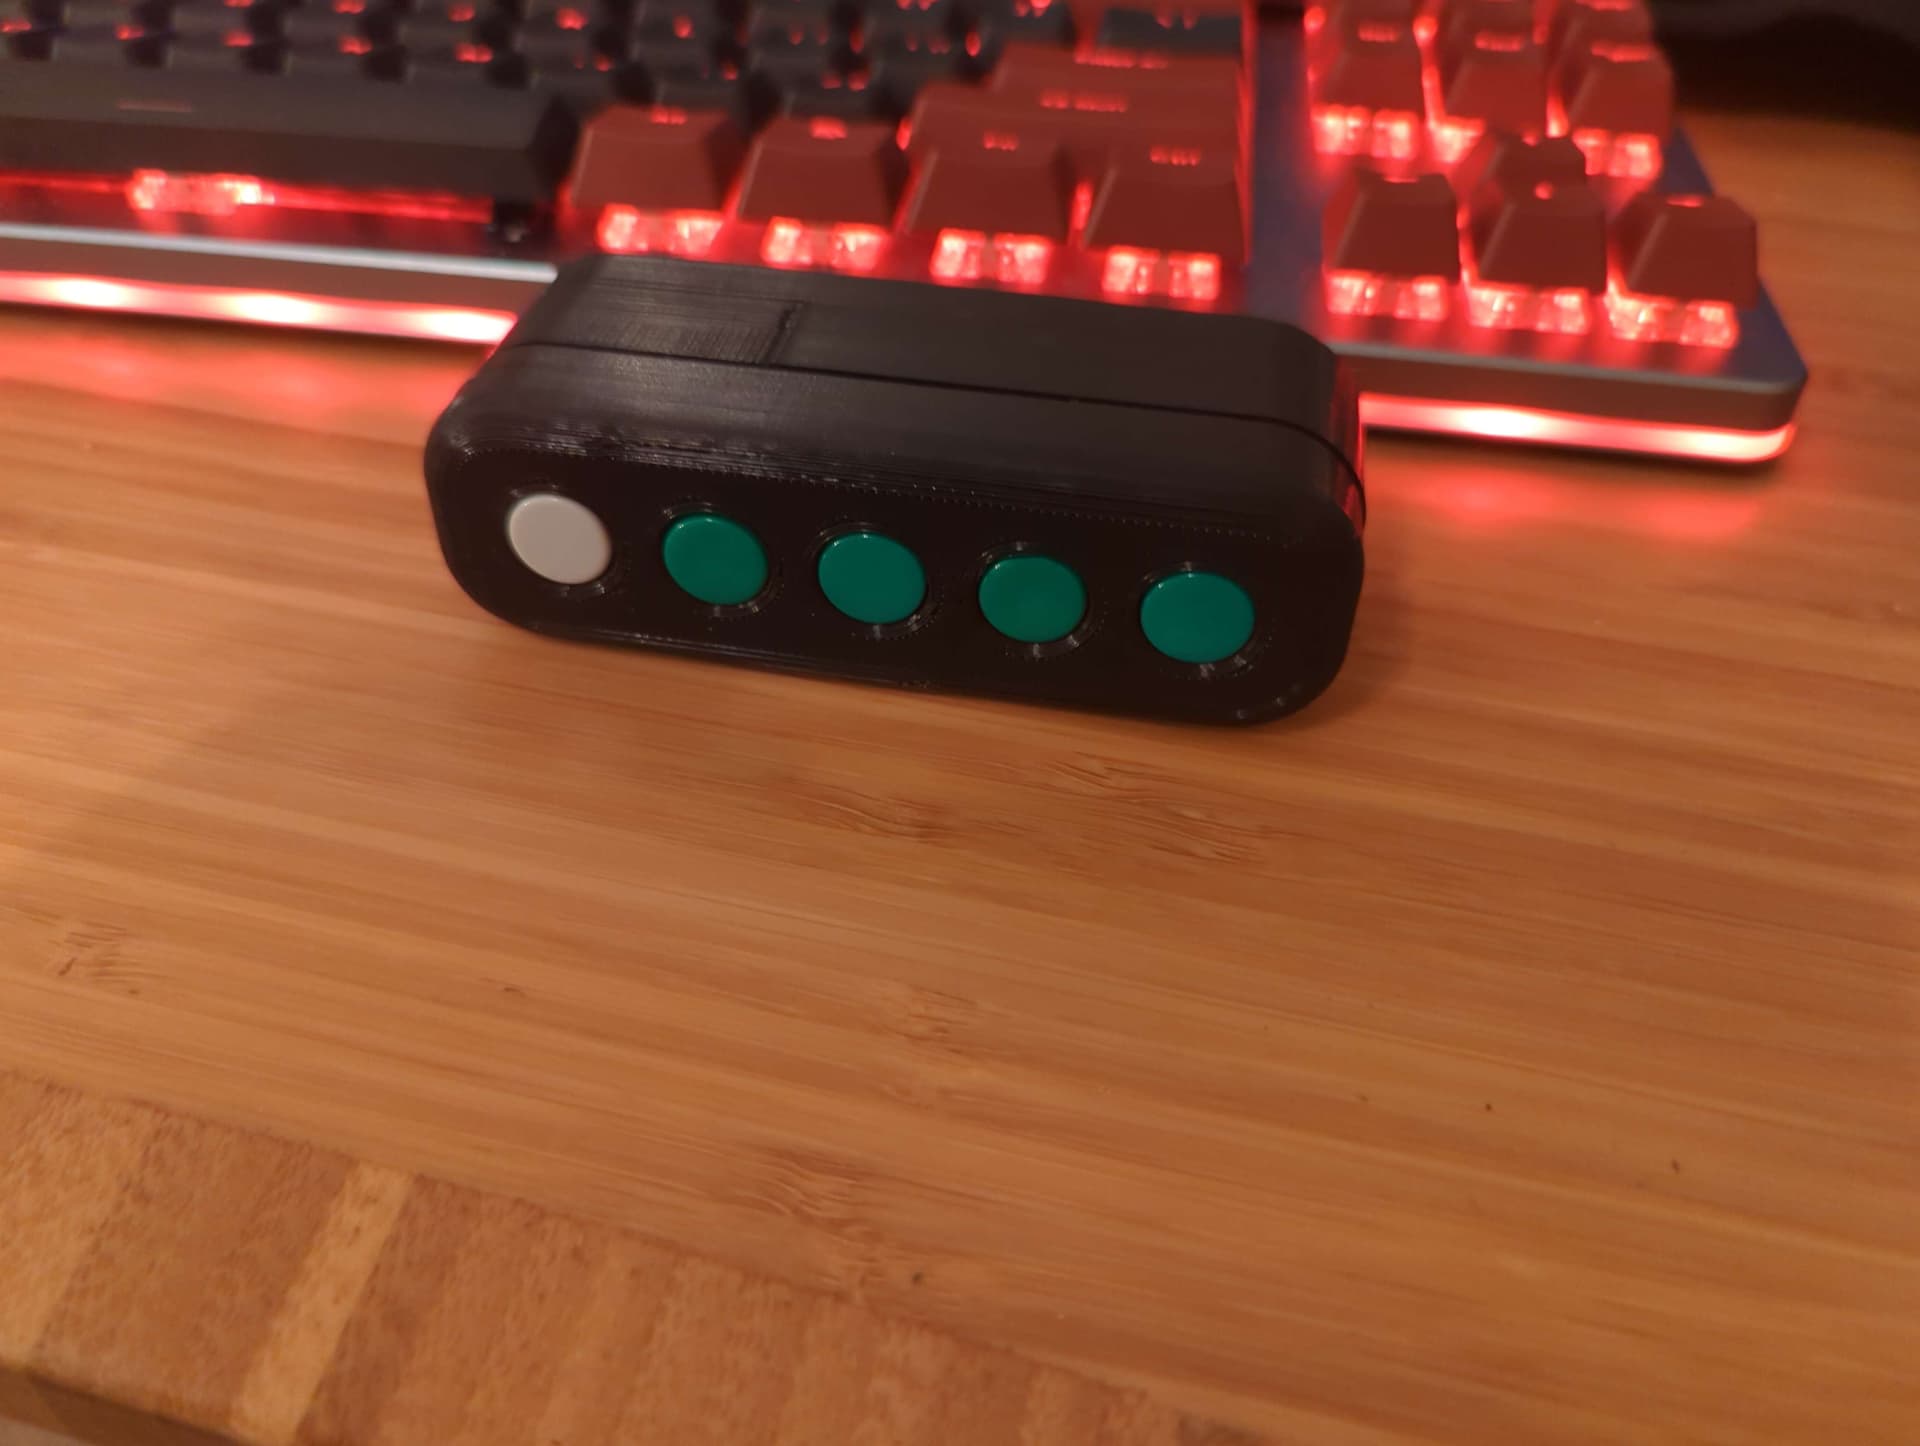
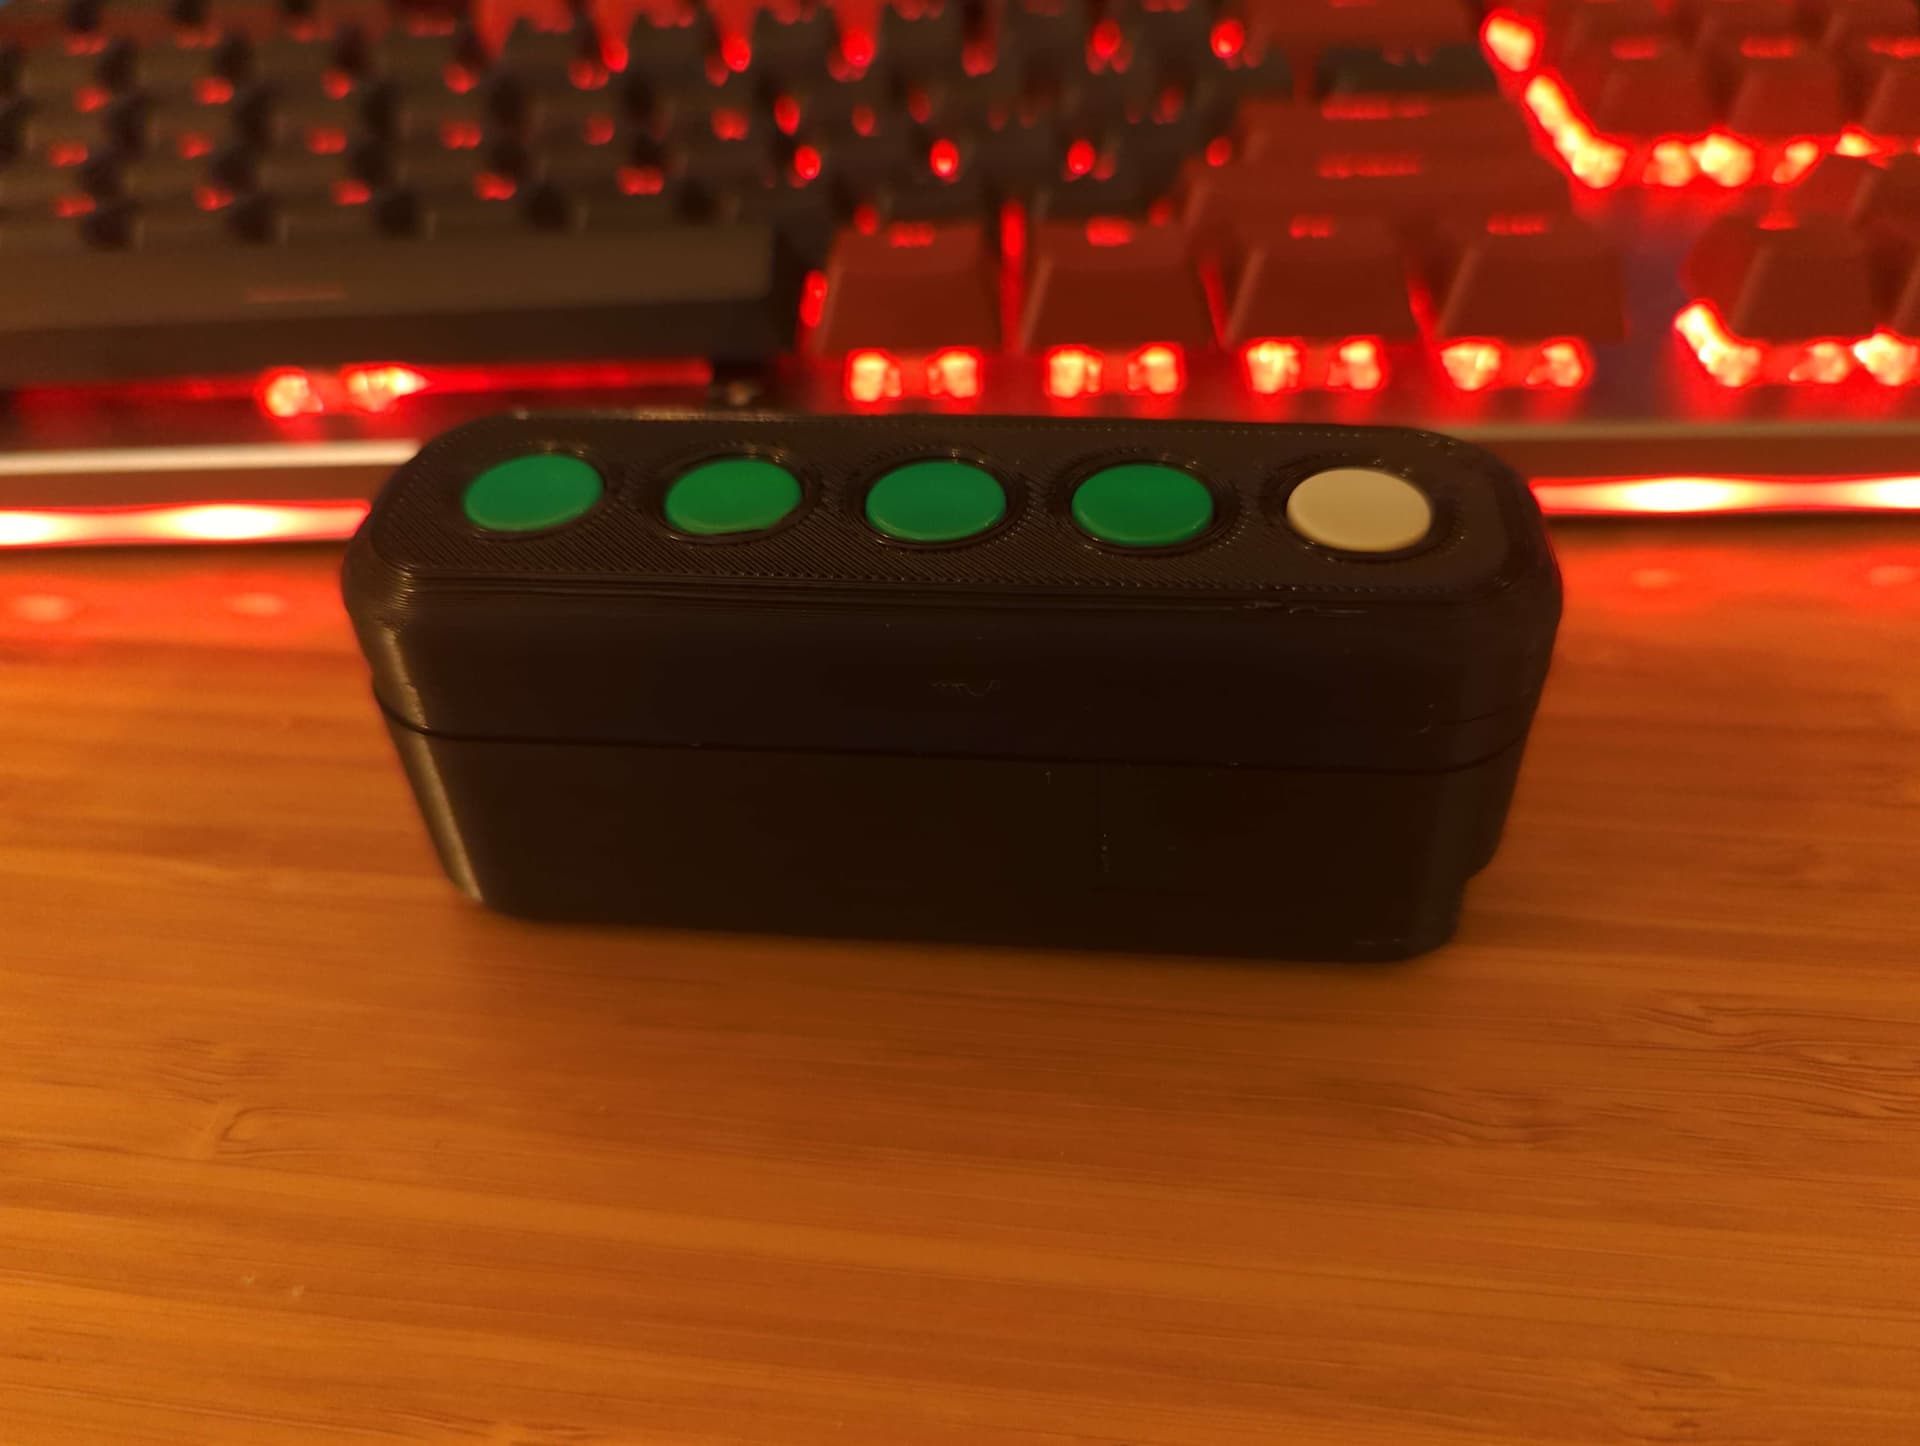
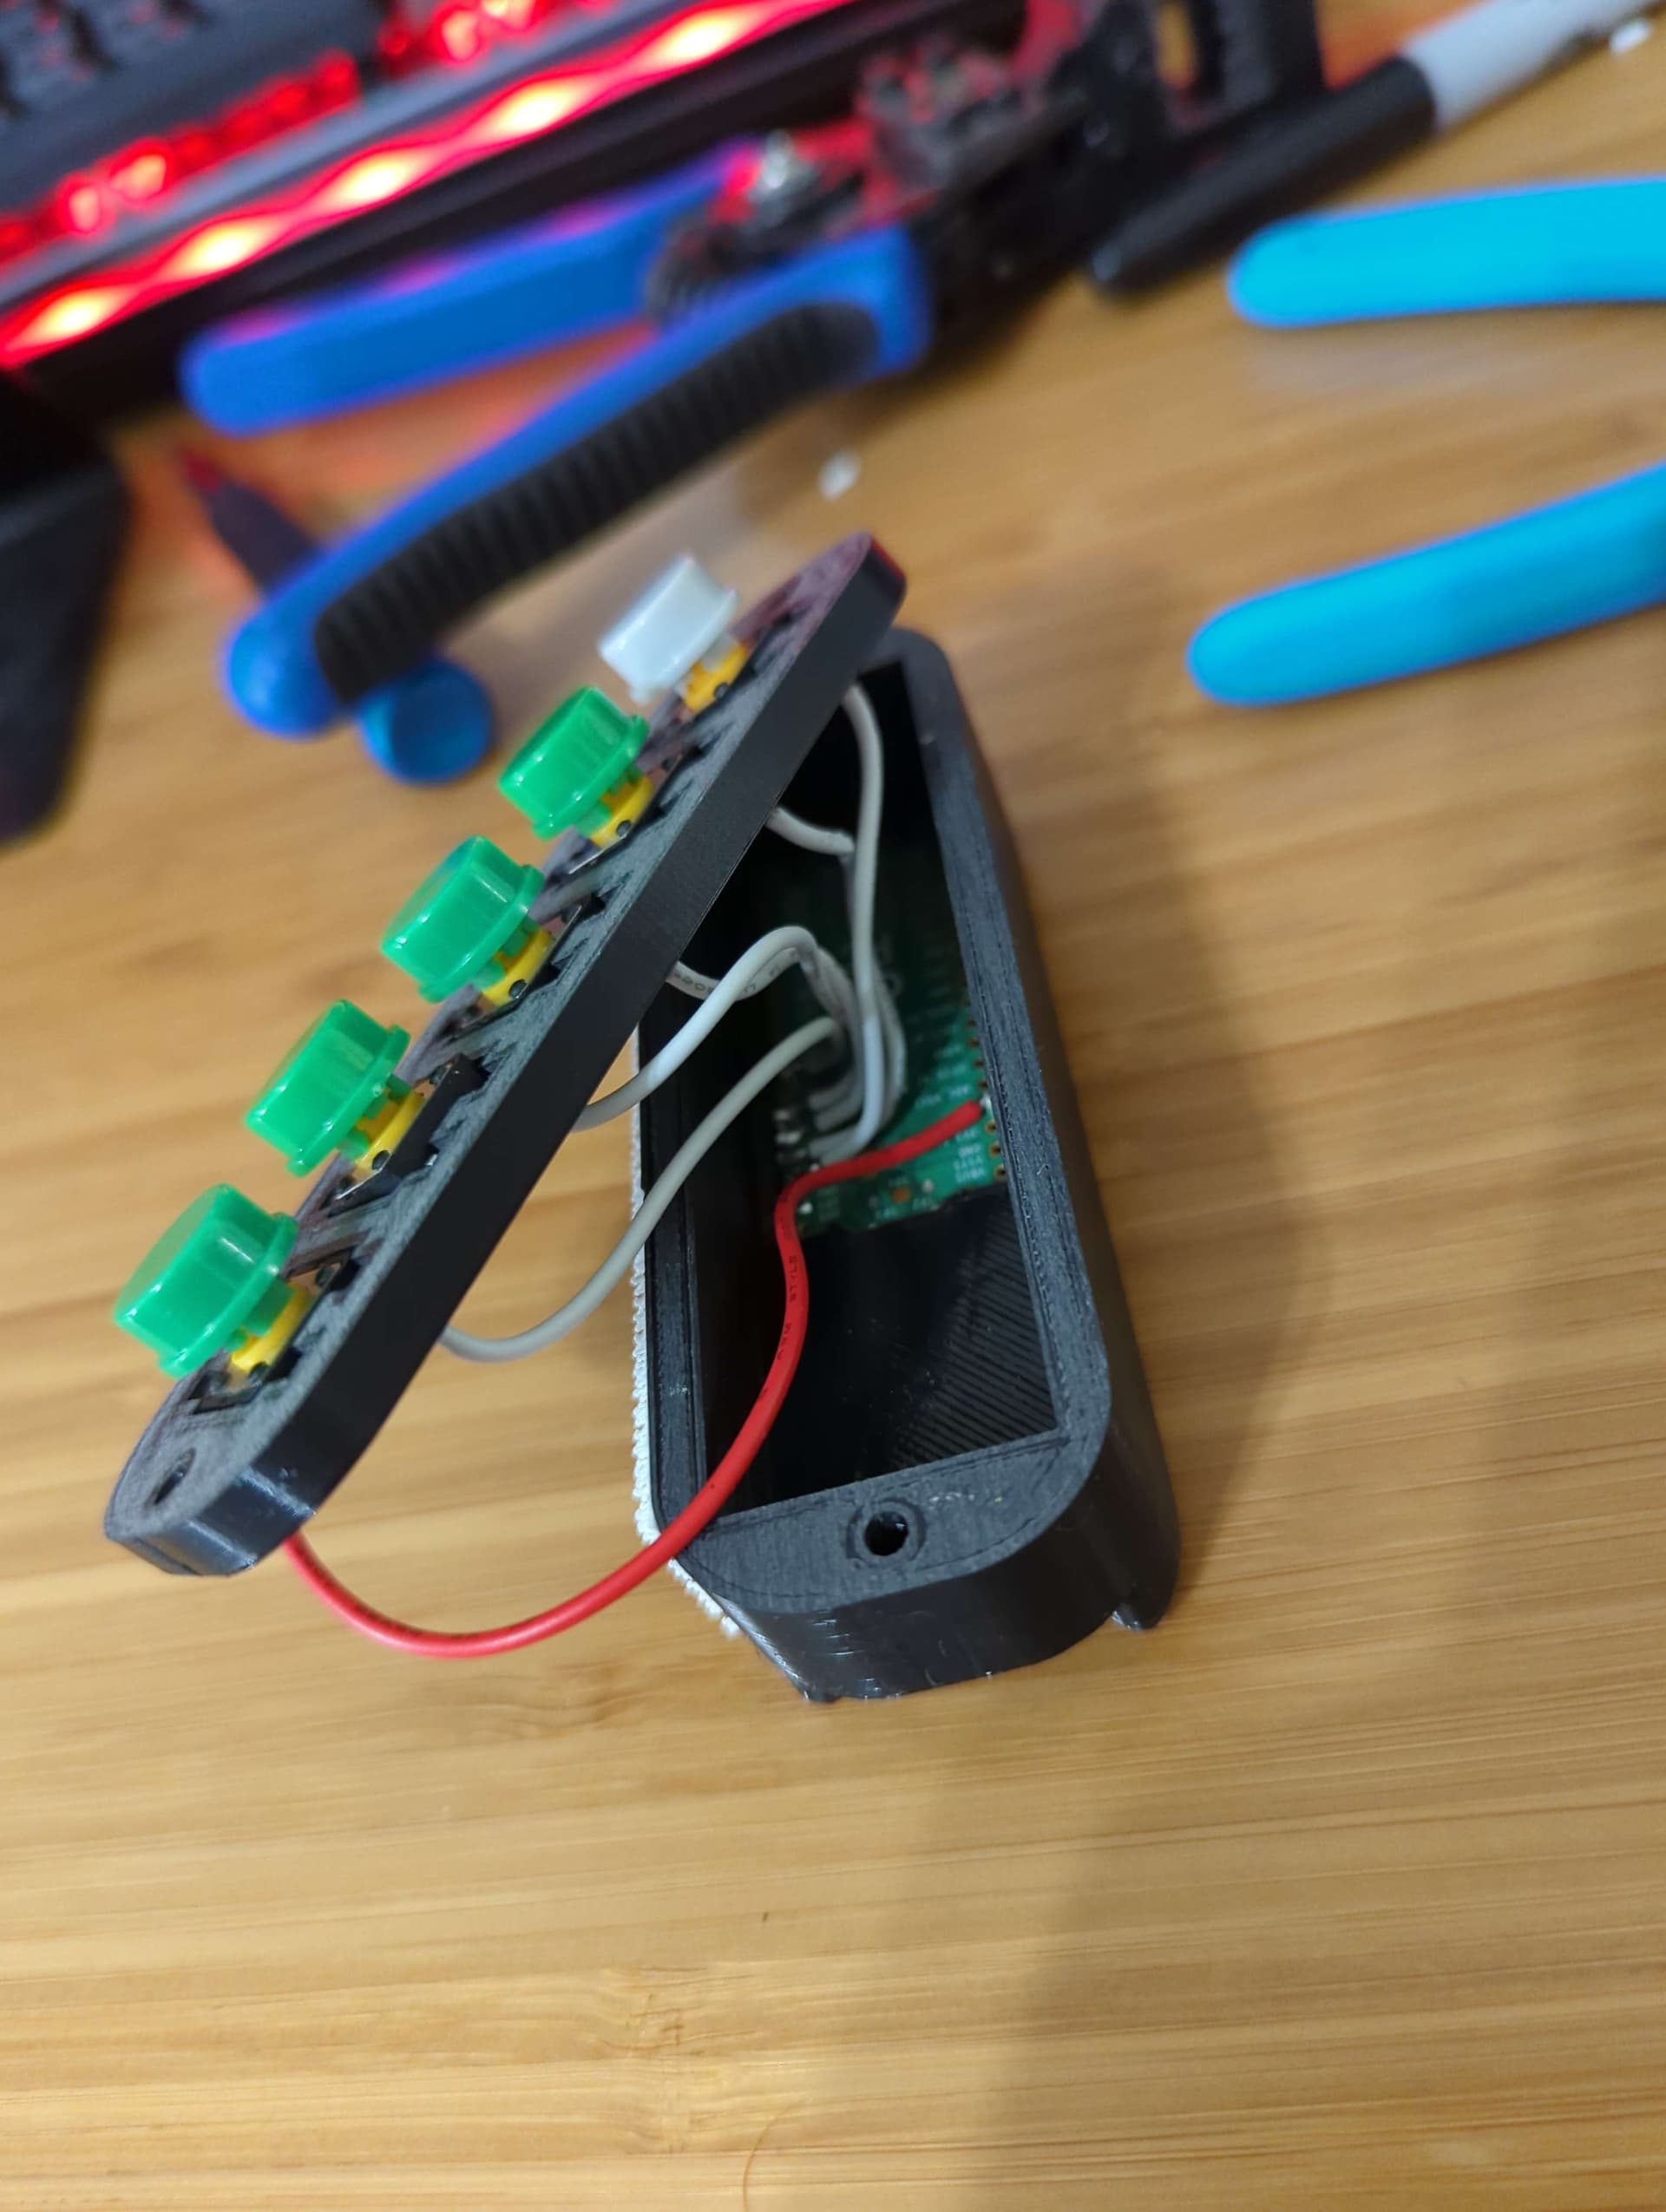
I dropped the idea to re-solder l1kvm switch button and went Teensy board way. I think it’s way better as the kvm switch has only one button (I thought those lights are buttons, but they are not) and with custom remote you can have as many buttons as there are hot keys for the switch or more. I have tried Arduino Pro Micro, but did not manage to make it work as a HID device (it works as a keyboard, but more magic is needed to make it work as hid device). I used two buttons from AliExpress and printed a case for them and Teensy board running usb-a to micro usb cable from remote to l1kvm switch.

Here’s my code for teensy keyboard:

const int pc1BtnPin = 22;
const int pc2BtnPin = 21;

const int MODIFIER_KEY = MODIFIERKEY_CTRL;
const int PC_1_KEY = 1;
const int PC_2_KEY = 2;

int currentPC = 0;

int cycles = 0;
int cyclesLimit = 100;


void setup() {
  pinMode(pc1BtnPin, INPUT);
  pinMode(pc2BtnPin, INPUT);

  Keyboard.begin();
  Serial.begin(9600); 
}


void loop() {
  if (digitalRead(pc1BtnPin) == HIGH && currentPC != 1) {
    switchPC(1);
  } else if (digitalRead(pc2BtnPin) == HIGH && currentPC != 2) {
    switchPC(2);
  }

  cycles++;
  resetCycles();
  
  delay(100);
}

void switchPC(int no) {

  Keyboard.press(MODIFIER_KEY);
  Keyboard.releaseAll();
  delay(100);

  Keyboard.press(MODIFIER_KEY);
  Keyboard.releaseAll();
  delay(100);

  switch (no) {
    case 1:
      
      Keyboard.write('1');
      break;
      
    case 2:
      Keyboard.write('2');
      break;
  }
  
  currentPC = no;
  cycles = 0;

  Serial.print("PC: "); 
  Serial.println(no);
}

void resetCycles() {
  if (cycles > cyclesLimit) {
    cycles = 0;
    currentPC = 0;
  }
}

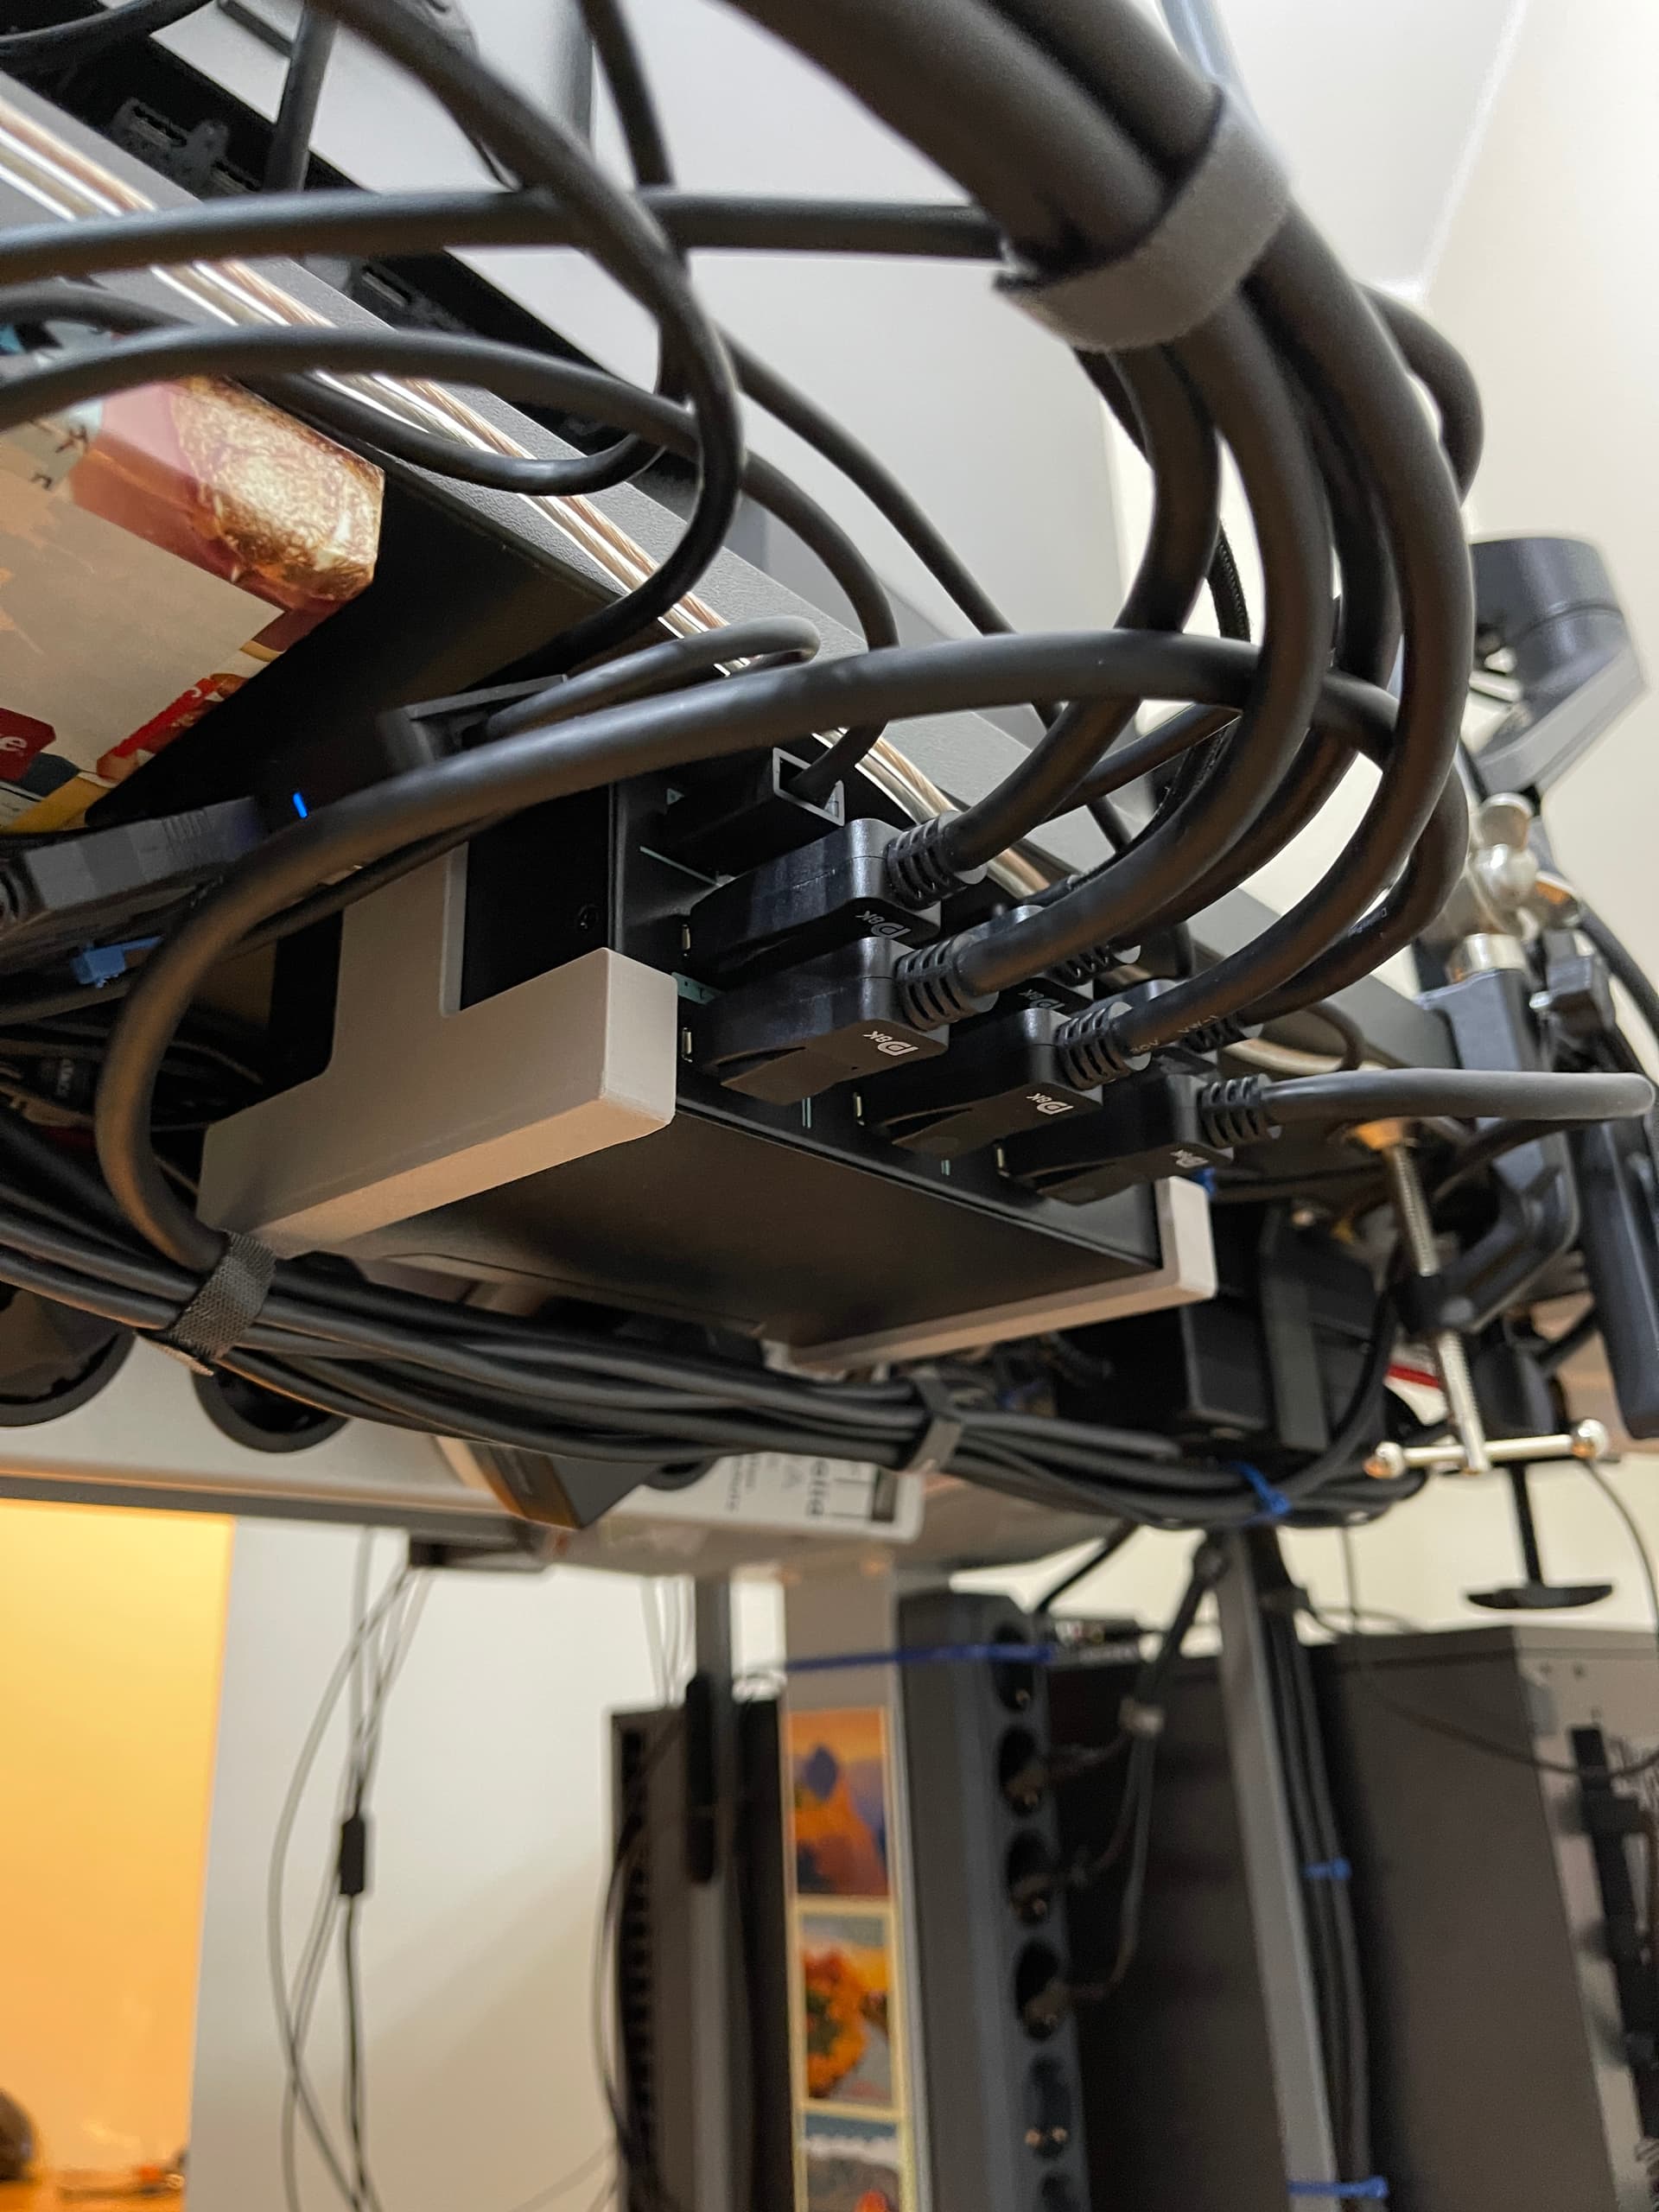
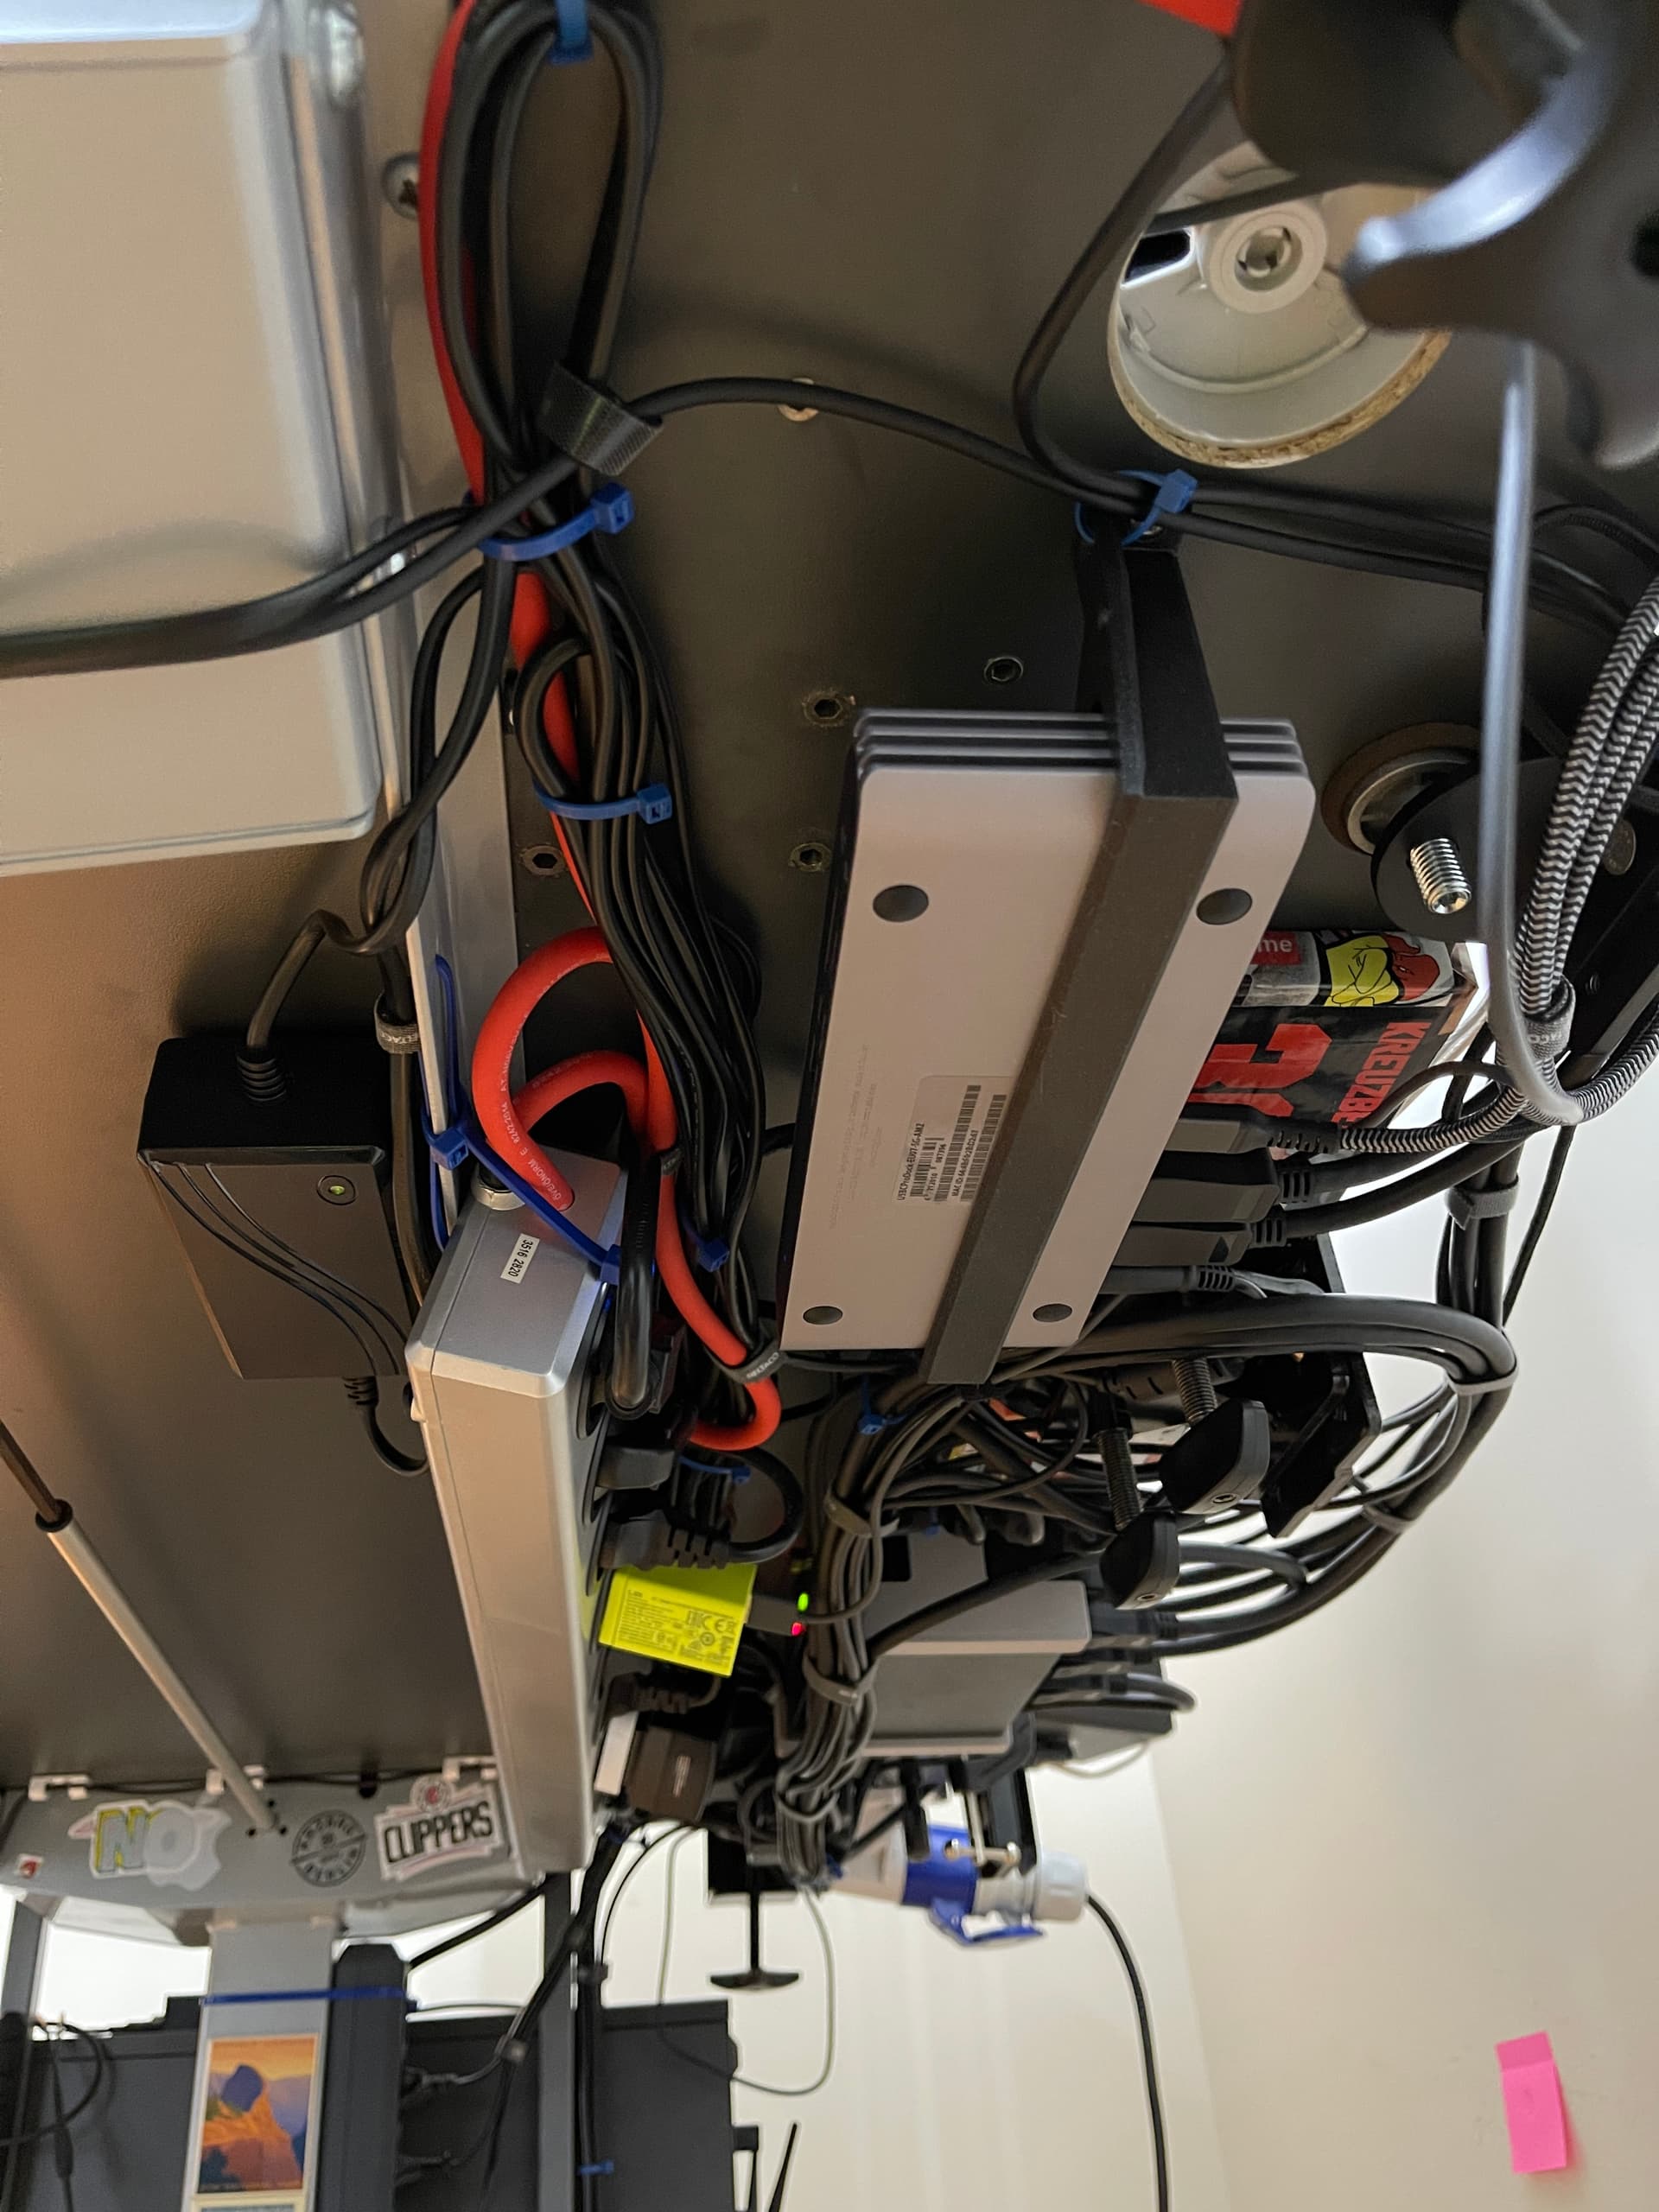
My setup is my personal PC and work MacBook Pro 2020 with two 4k Dell displays (U4320Q and U2718Q) PC is connected straight to l1kvm switch using display port cables and USB Type-A to Type-C cable. MacBook is connected to CalDigit USB-C Pro Dock using 2m thunderbolt cable and display port cables from dock to l1kvm switch and another usb-c cable from MacBook straight to l1kvm switch. All display port cables are Club3D as recommended. I have tried to connect usb-c cable from dock to kvm switch and have only one cable going to MacBook but I ran into problems - all usb devices randomly disconnects and never connects back unless I reconnect thunderbolt cable to MacBook, then it starts working again but after some random time disconnects again. Connecting USB-C cable straight from MacBook to l1kvm switch solved the problem.

I also tried to connect MacBook using one Club3D display port to usb-c cable and CableMatters USB-C dongle which has display port connection, but ran into problems when switching - pc side works great, but switching to mac only sometimes turned on displays, sometimes it shows mac desktop for a second and goes black, sometimes only 1 display connected though dongle worked, but most of the time displays went straight to standby mode. Also usb did not work at all (cablematters dongle usb type-a to kvm switch type c). I have belkin usb-c dock, it worked but display link sucks, felt like using 30Hz, so i decided to try thunderbolt dock and it worked great.

I also have Logitech unifying receiver connected to kvm switch hid port - works great, Logi Bolt receiver connected to first usb3 port - works great and usb3 hub to second usb3 port on l1kvm which has Logitech Brio 4k camera, Stream Deck Mini, Mayflower ARC MK2 dac and Audioengine A2+ speakers connected to it. All devices work great, only problem is with Logitech MX Keys Mini - sometimes when I switch for example from Windows PC to MacBook, keyboard still thinks that the layout is windows and Start button works as CMD and vice versa - CMD works as Start. It fixes itself after some time and sometimes stays like that :)) i’ll do more debugging as I’ll use my setup.

Thanks to everyone for your input and help from this thread and others and @wendell for a great KVM switch!
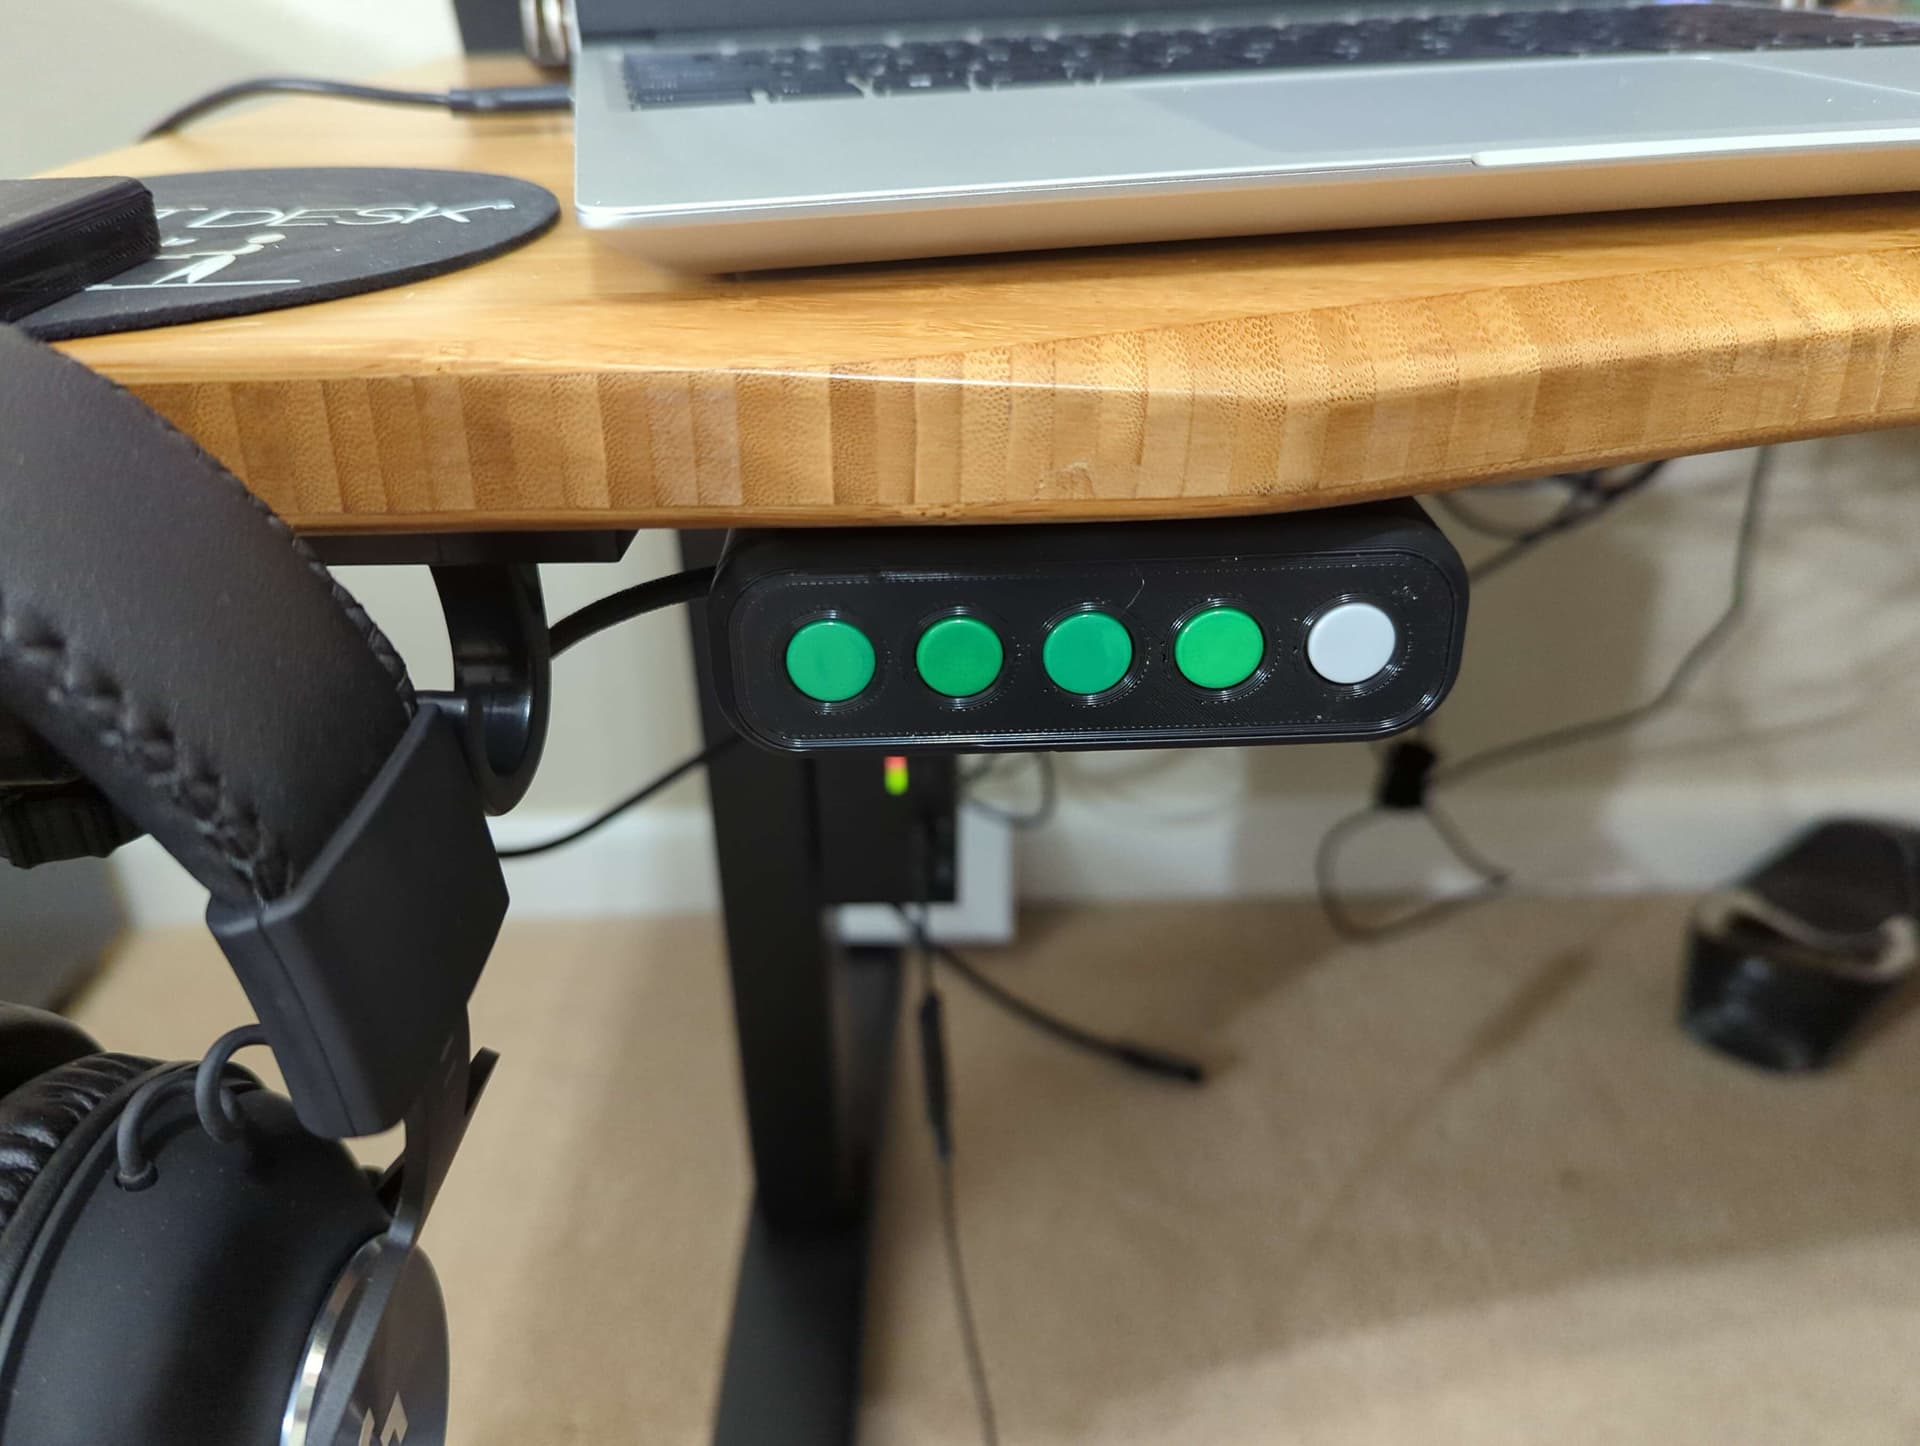
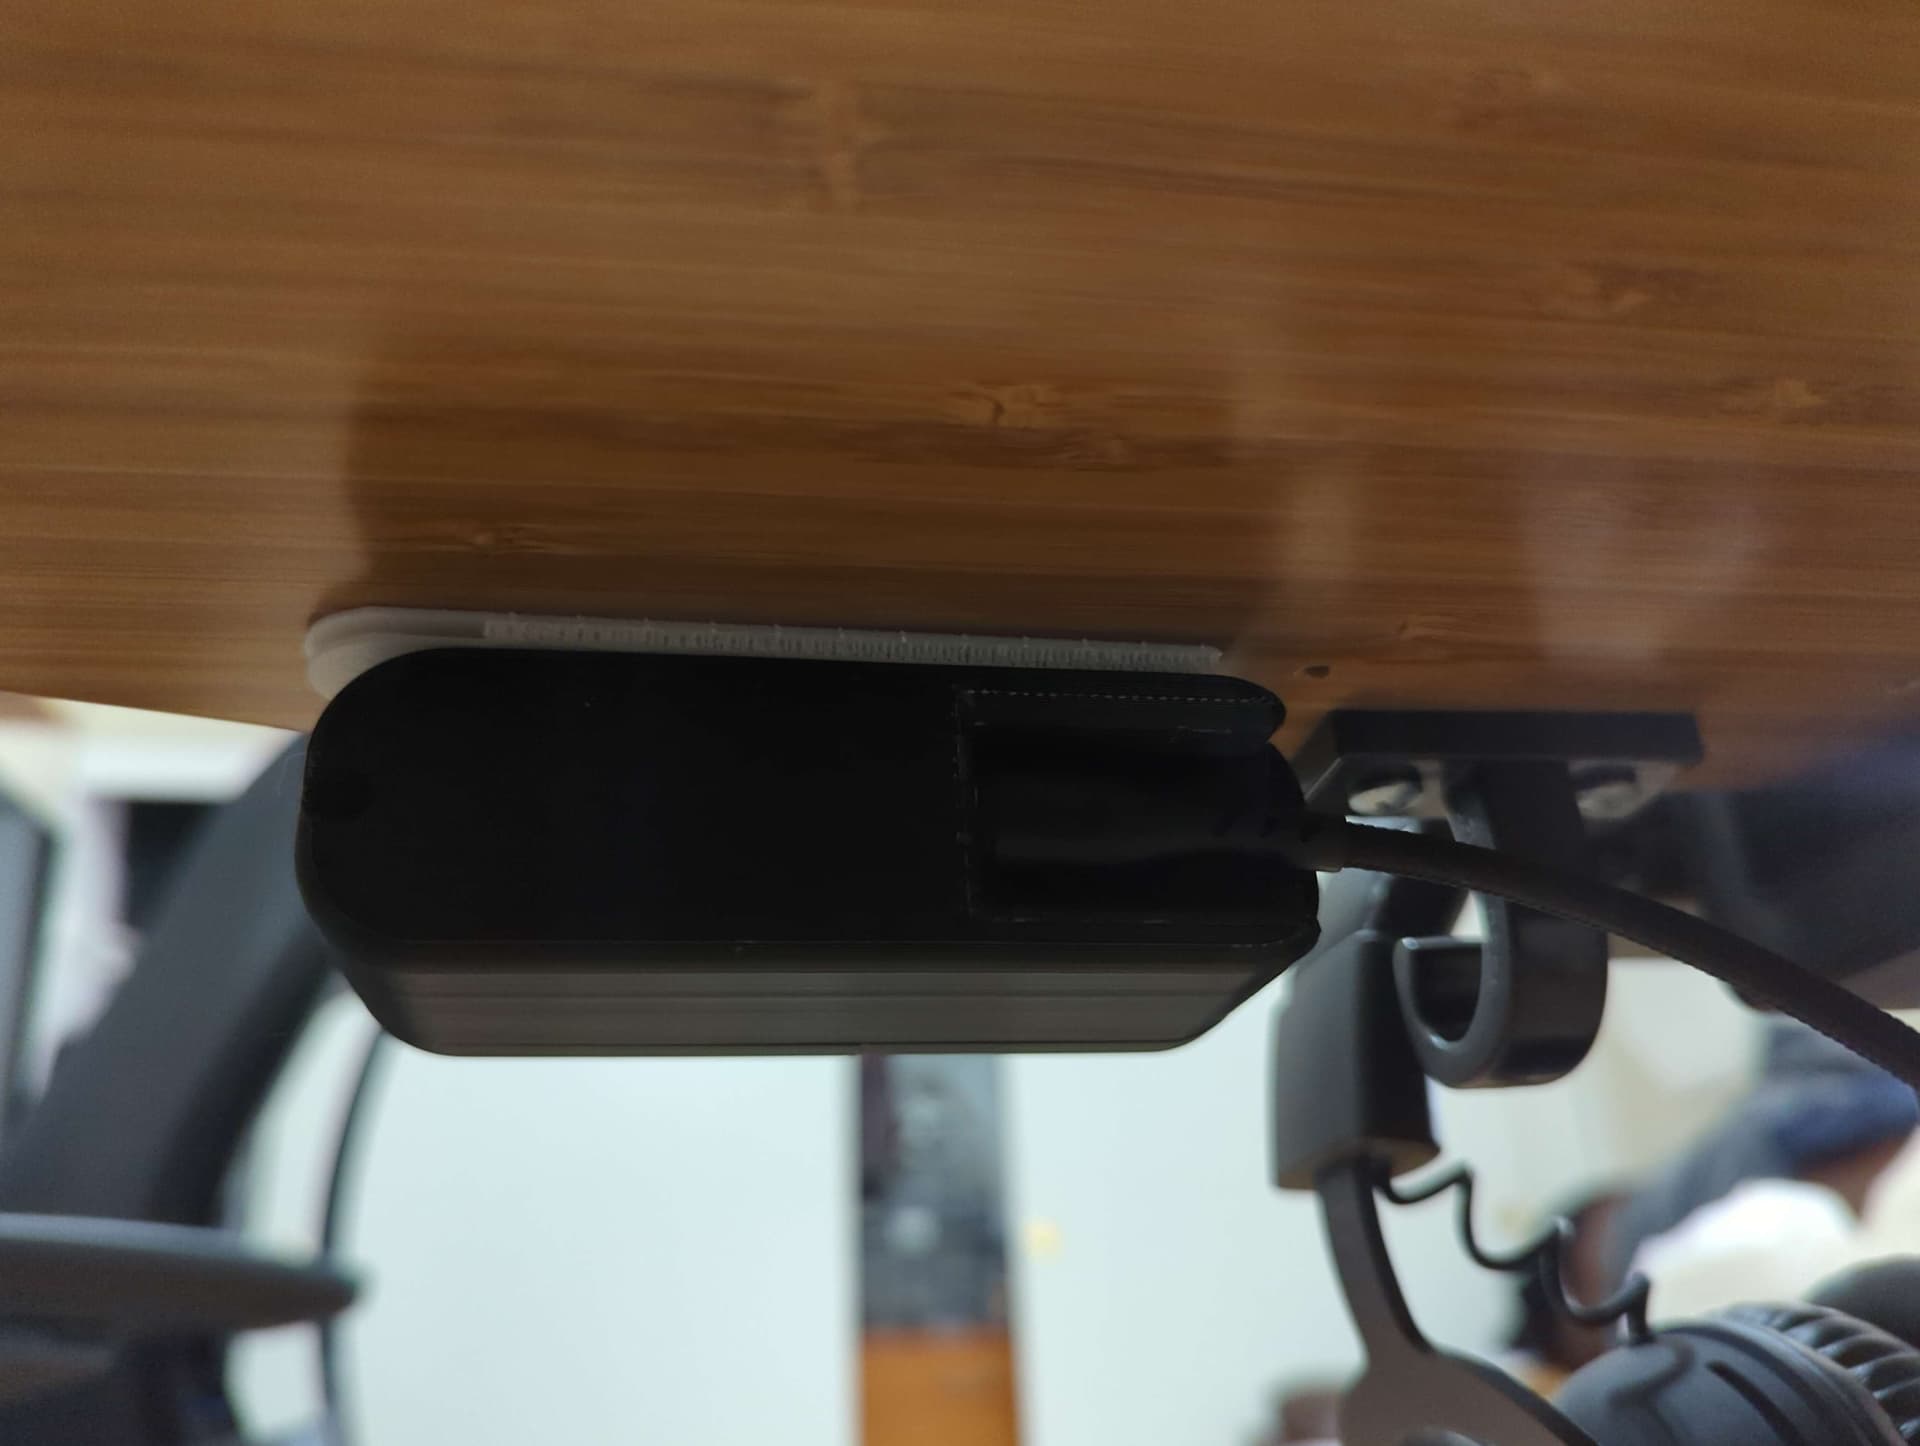
Some more photos


3 Likes

Wendell should probably add a port for a remote on these. Would be a good feature

I thought the same when I was looking for a kvm switch, but in a way there already are 4 ports for remote - usb hid ports. And if remotes would be added then question is how many buttons should they contain - one, two or for every computer or as many as there are hot keys.

Okay, so I had to take a leave of absence for a family thing, but during that time I was able to finalize the hardware design (turns out, babysitting covid patients is a great time to do CAD work) and print off the last of the parts.

I felt the need to switch from plastic tabs to M3 screws, since I couldn’t get the tabs to snap in just right. and was too worried about breaking them after a couple installs. I found that the M3 screws work just fine, but I might release a version of the front panel that supports M3 heat-set inserts. I did self-tapping since I didn’t have access to heat-sets during the construction. They’ve since been ordered.

Here’s the repo:

Images

1 Like

Congrats! thats a nice looking button box, i like the color scheme. Much more code compared to Teensy board, but the price of pi pico justifies the amount of code for sure!

A question about usb follow - what about keyboard, if it won’t follow it means that you would not be able to do anything (unless you plug a new keyboard to switched system) just view the screens is that the only use case for usb not to follow?

The thing about this code is that it’s a much lower level library than what Teensy provides, which is specifically why I chose it, so it’ll be BIOS compatible and work with the KVM.

USB follow is only for the USB 3.0 ports on the KVM. I wasn’t entirely clear on that, sorry.

I think the idea is that you can keep your USB storage/audio devices plugged into a single computer (through the KVM) for communication and file transfer, while switching to another machine for whatever reason.

I don’t personally use it, but I wanted an engineering challenge.

Thanks, I don’t know how I feel about the button colors, but I designed some 3d printed buttons, so I could make my own if the need strikes me. Plus I just ordered 10 spools of filament from Proto Pasta, so I’m going to be making gucci prints for a while.


Doing the math, here’s my cost breakdown:

Filament, assuming $20 spool of eSUN PLA+ (my go to for non-exotic prints):

  • $0.60 for the housings
  • $0.08 for all 5 buttons if needed.

Electronics:

  • $8 wire
  • $4 Pi Pico
  • $6 button switches
  • $6 M3x20mm BHCS

All in: $24.68 assuming printed button caps.

Of course, I printed probably 3-4 iterations of this so I could get the dimensions correct and revising the attachment method and whatnot, so I think I probably closer to $30 on this project.

That explains everything, if hid ports would follow that would be almost useless.

xixixi, fashion electronics :grin: :grin:

my teensy board cost almost twice as all your button box - 41.1 euro :smiling_face_with_tear: 
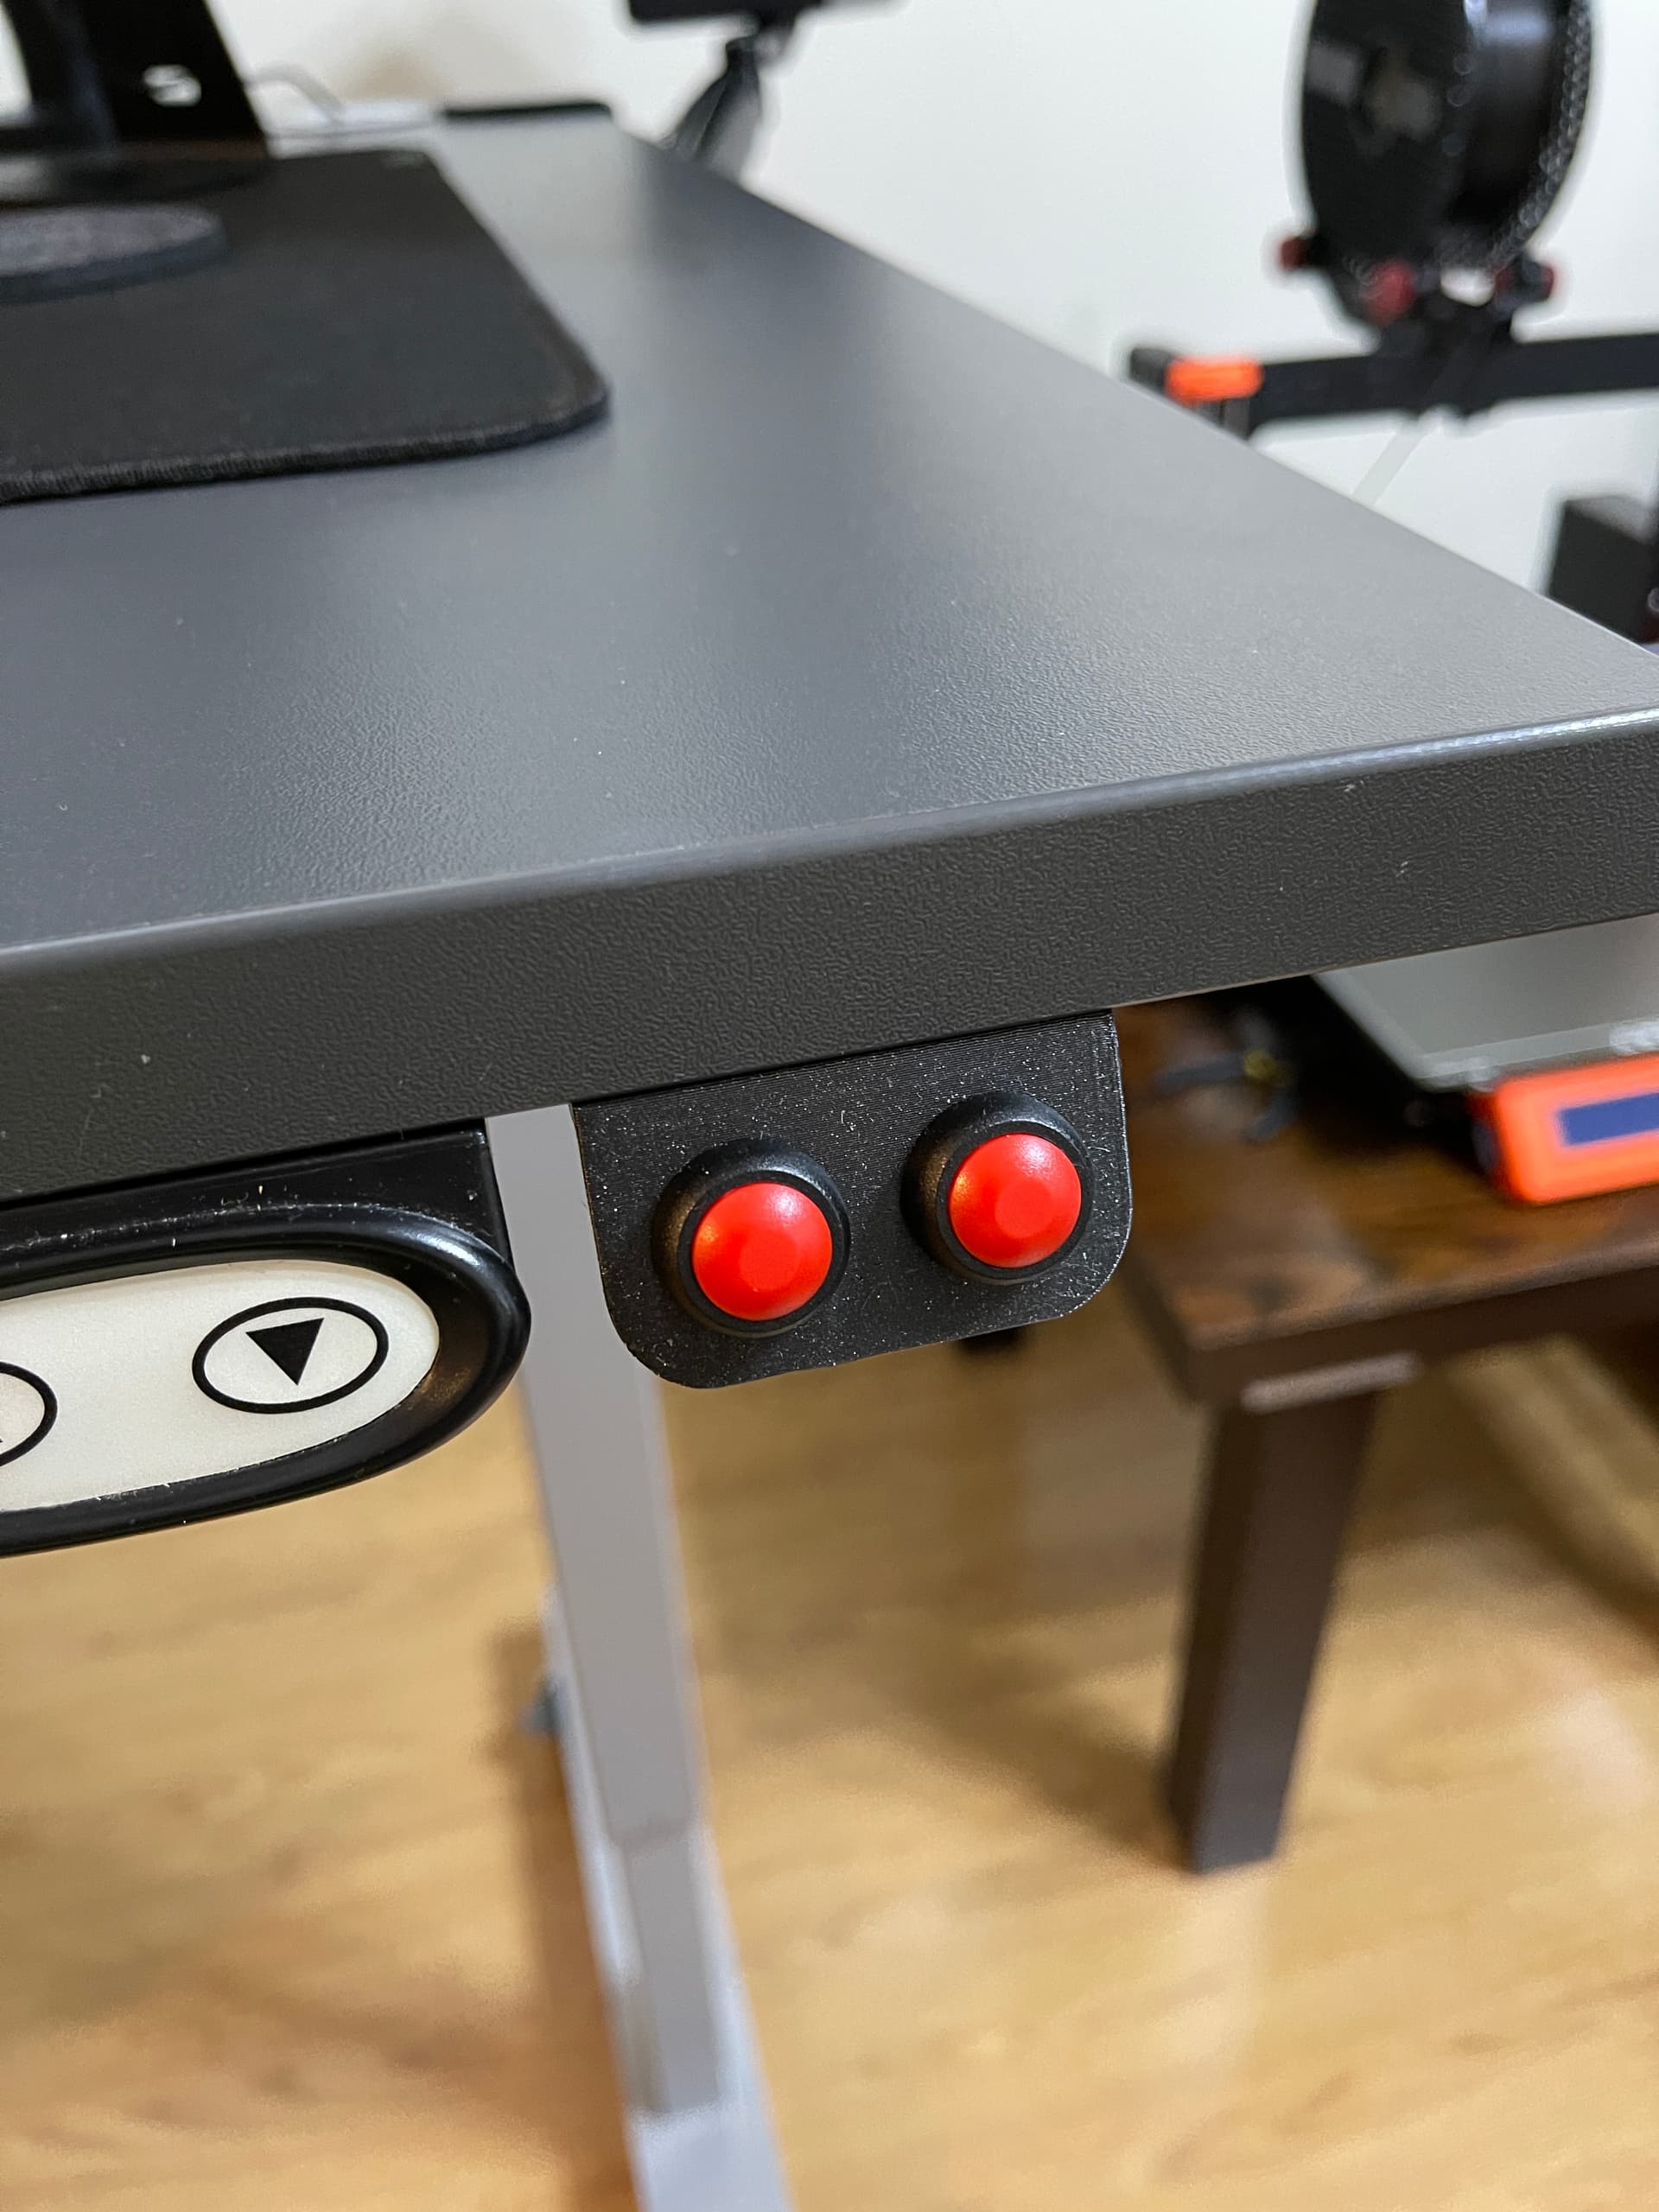
but i guess its a tax you have to play if you lack knowledge or interest to learn more, and/or need as small board as you can get.

1 Like

I considered the Teensy as well, and have one sitting on a breadboard, but I decided I wanted to see if I could find something cheaper.

There’s always value with going with what you know, or what you have in stock.

For your next project, definitely consider the Pi Pico. It’s so much nicer to develop against than the Teensy, considering it’s got a first-class library support that doesn’t rely on the wonky Arduino IDE, and the flashing of it (just drag and drop the UF2 file onto a disk drive that appears) is so easy a child could do it. With Teensy, I was always fighting the support libraries. With Pico, I’m just fighting my bad code. :joy:

I got a sparkly black filament, and I’m seriously considering re-printing the front housing in that, just for the cool factor.

Also have a “heartthrob red” that I’m considering making a couple buttons in.

Here’s some of the cool colors I got:

This should round out my current color scheme of “black, gray, white” filaments I currently have :joy:

sorry, I’m geeking out a bit too much.

i definitely will, but my c skills are crap, but also it’s a thing i want to invest more time in as it’s quite a useful skill. But i’ll buy some pi picos for sure, to at least have them when i need them as i had some troubles getting teensy, had to order two times from different suppliers as one of them was out of stock and only informed me several days after i placed an order :expressionless:

post it when/if you’ll do it! :grin:

I have a problem which i should debug more - after i plugged second usb hub, my logitech unifying receiver in hid port started acting out - mouse would start randomly stutter/twitch (don’t know the word), i’m using usb 3 5gb from pc/mac to kvm, i’ll have ordered usb-c cables to make it 10gb and see if that helps

The Pico also supports circuitpython.org, with a very similar development methodology. You can absolutely make good firmware with that as well, but I chose C because I have a bit better control over the USB configuration that way.

Is it a powered hub? If not, consider a powered one. you may be drawing too much current across the devices.

Stutter or twitch would be the correct words, if you mean it occasionally doesn’t send input, for a few milliseconds.

xixixi, no problem, i love my 3d printer, i have a problem with filaments - i like ordering new ones, different colors etc, also i can’t wait till i’ll have more time to do an upgrade, i already have upgrade kit from prusa mk3s to mk3s+, its so relaxing to tinker with it.

1 Like

thats a good point, both of my hubs are not powered, i’ll do that too. I was doubting that its 5gb problem as i don’t have hard drives or something which would use much bandwidth connected, only mouse, keyboard, speakers, 2 dacs and stream deck.

Yeah, I definitely think it’s the USB power.

This topic was automatically closed 273 days after the last reply. New replies are no longer allowed.